
Spirit Animal Painting Tutorial

The Picture Stencil Maker serves as a helpful tool for making your ideas come to life. I have used this tool to turn a photo into a painting stencil for my spirit animal watercolour painting tutorial.
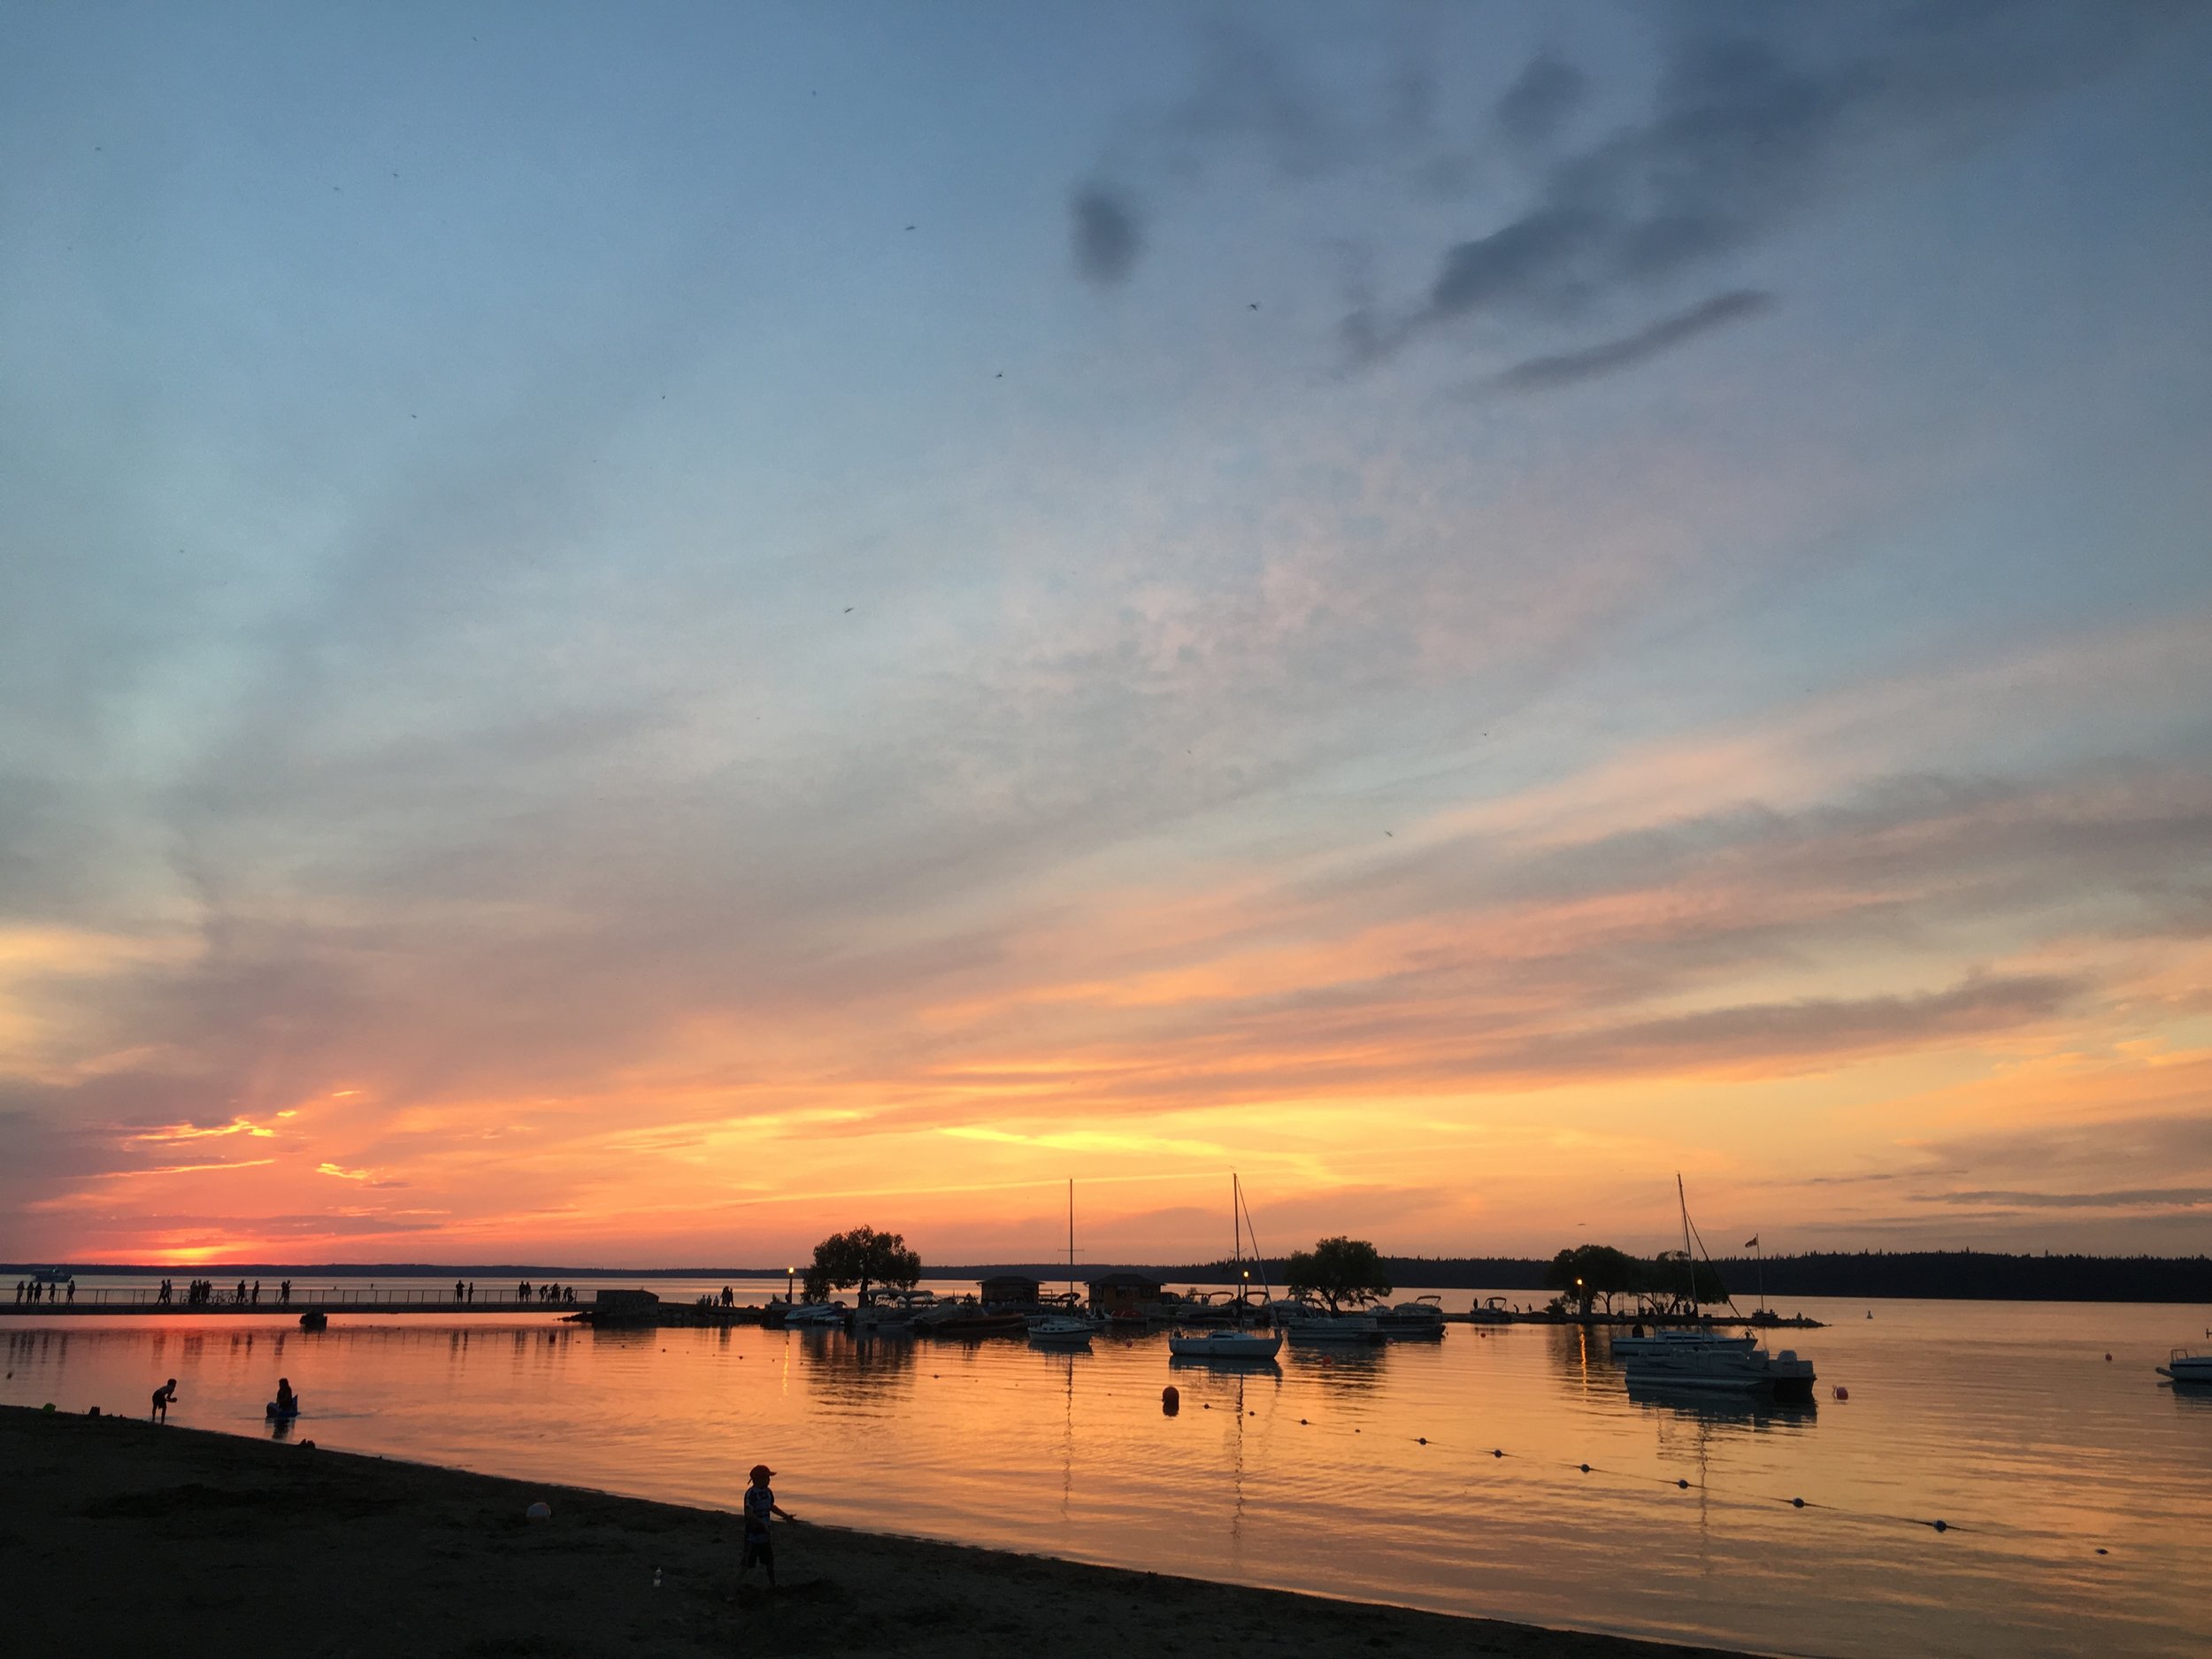
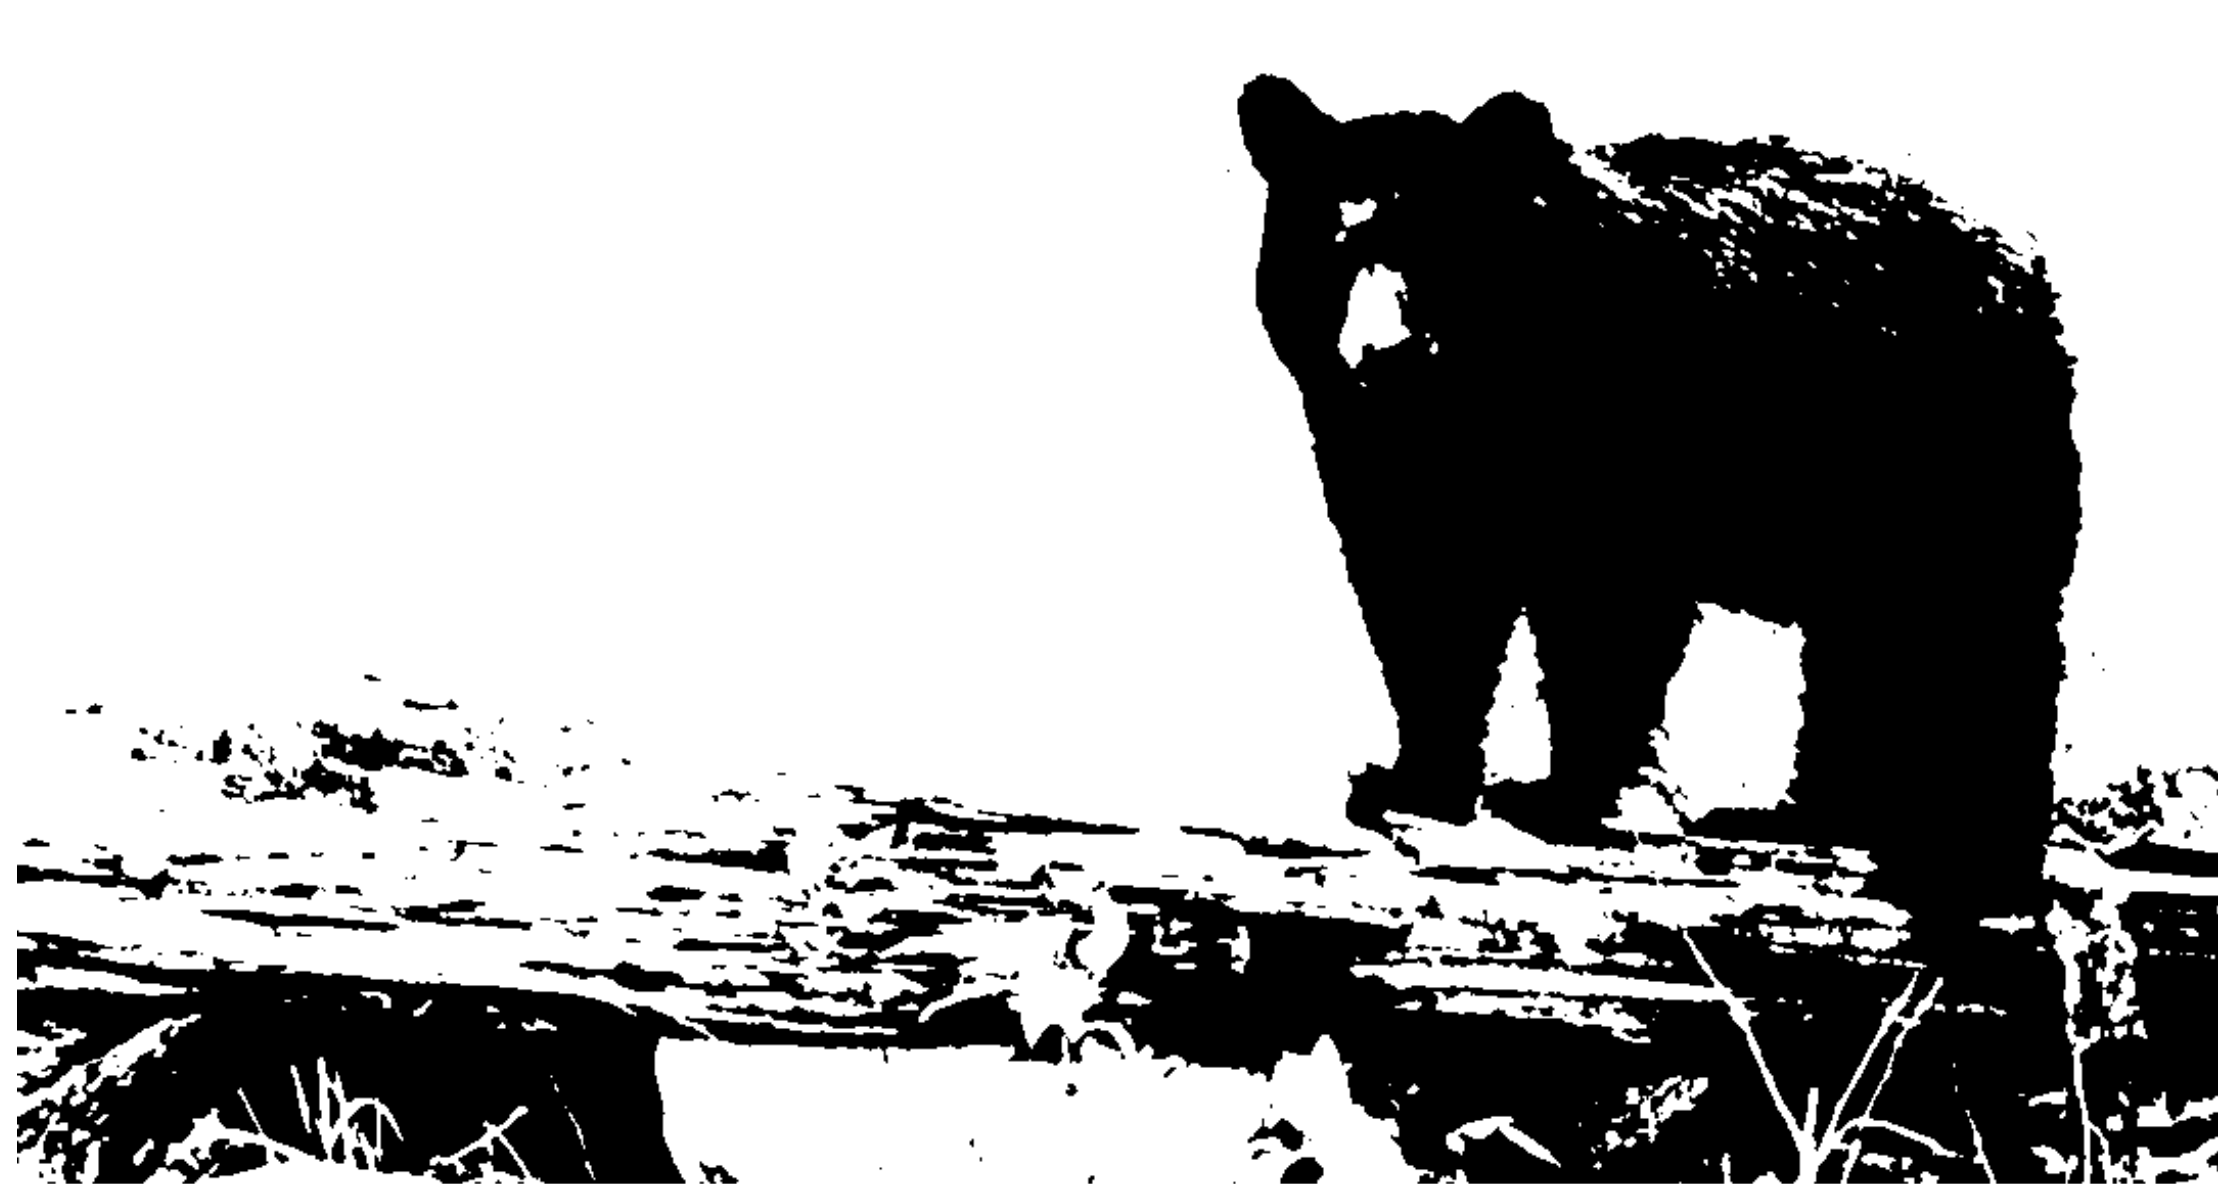
My recent trip to Riding Mountain National Park in Manitoba Canada inspired me to make this painting tutorial. The park is home to amazing wildlife and beautiful landscapes. Along with many wildlife sightings, I was lucky enough to get to see the northern lights during my trip. Nature never ceases to amaze me and is the main source of the inspiration for my art projects.

To make your own spirit animal painting you will need:
- watercolour paint
- a printed stencil
- tape
- pencil
- watercolour paper
- white paint (I used tempera)
- toothpick or sharp pointed tool


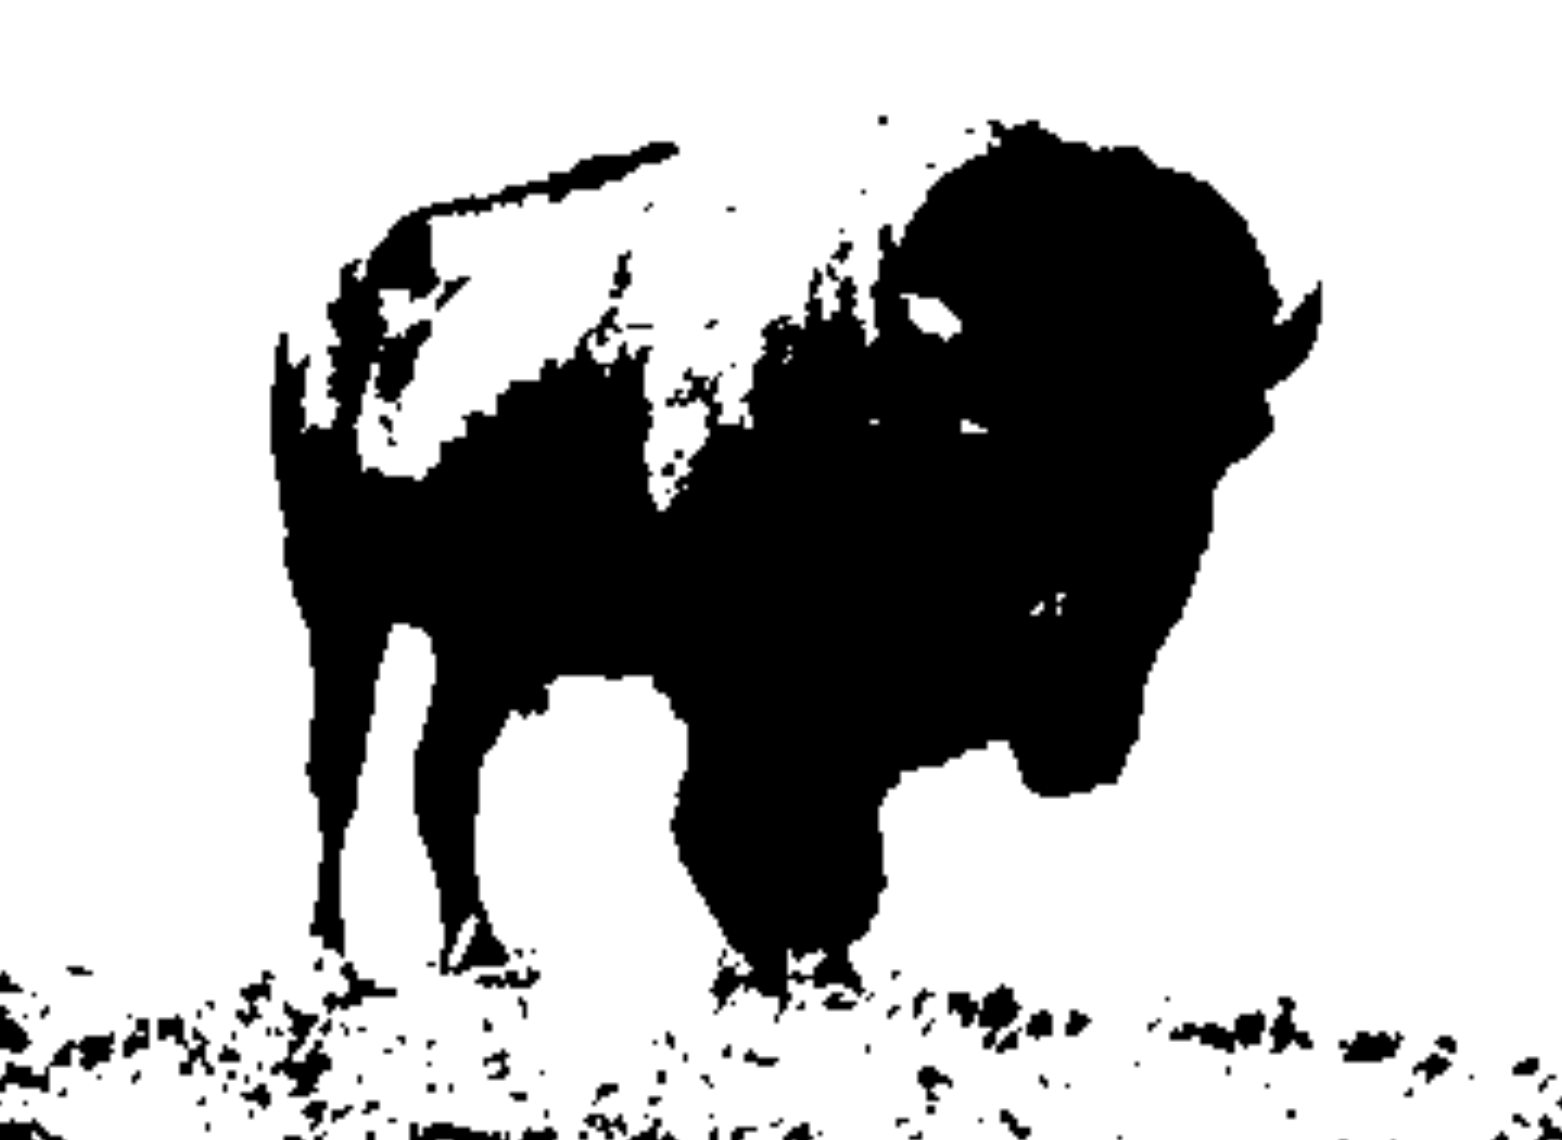
I used the Picture Stencil Maker to turn my photo into a stencil using the Threshold style. I then used the ink saving feature which turned my stencil into a line drawing. This makes tracing my design much easier. I used the same window tracing method I have used in a previous watercolour painting tutorial. All you need is a window and a pencil.

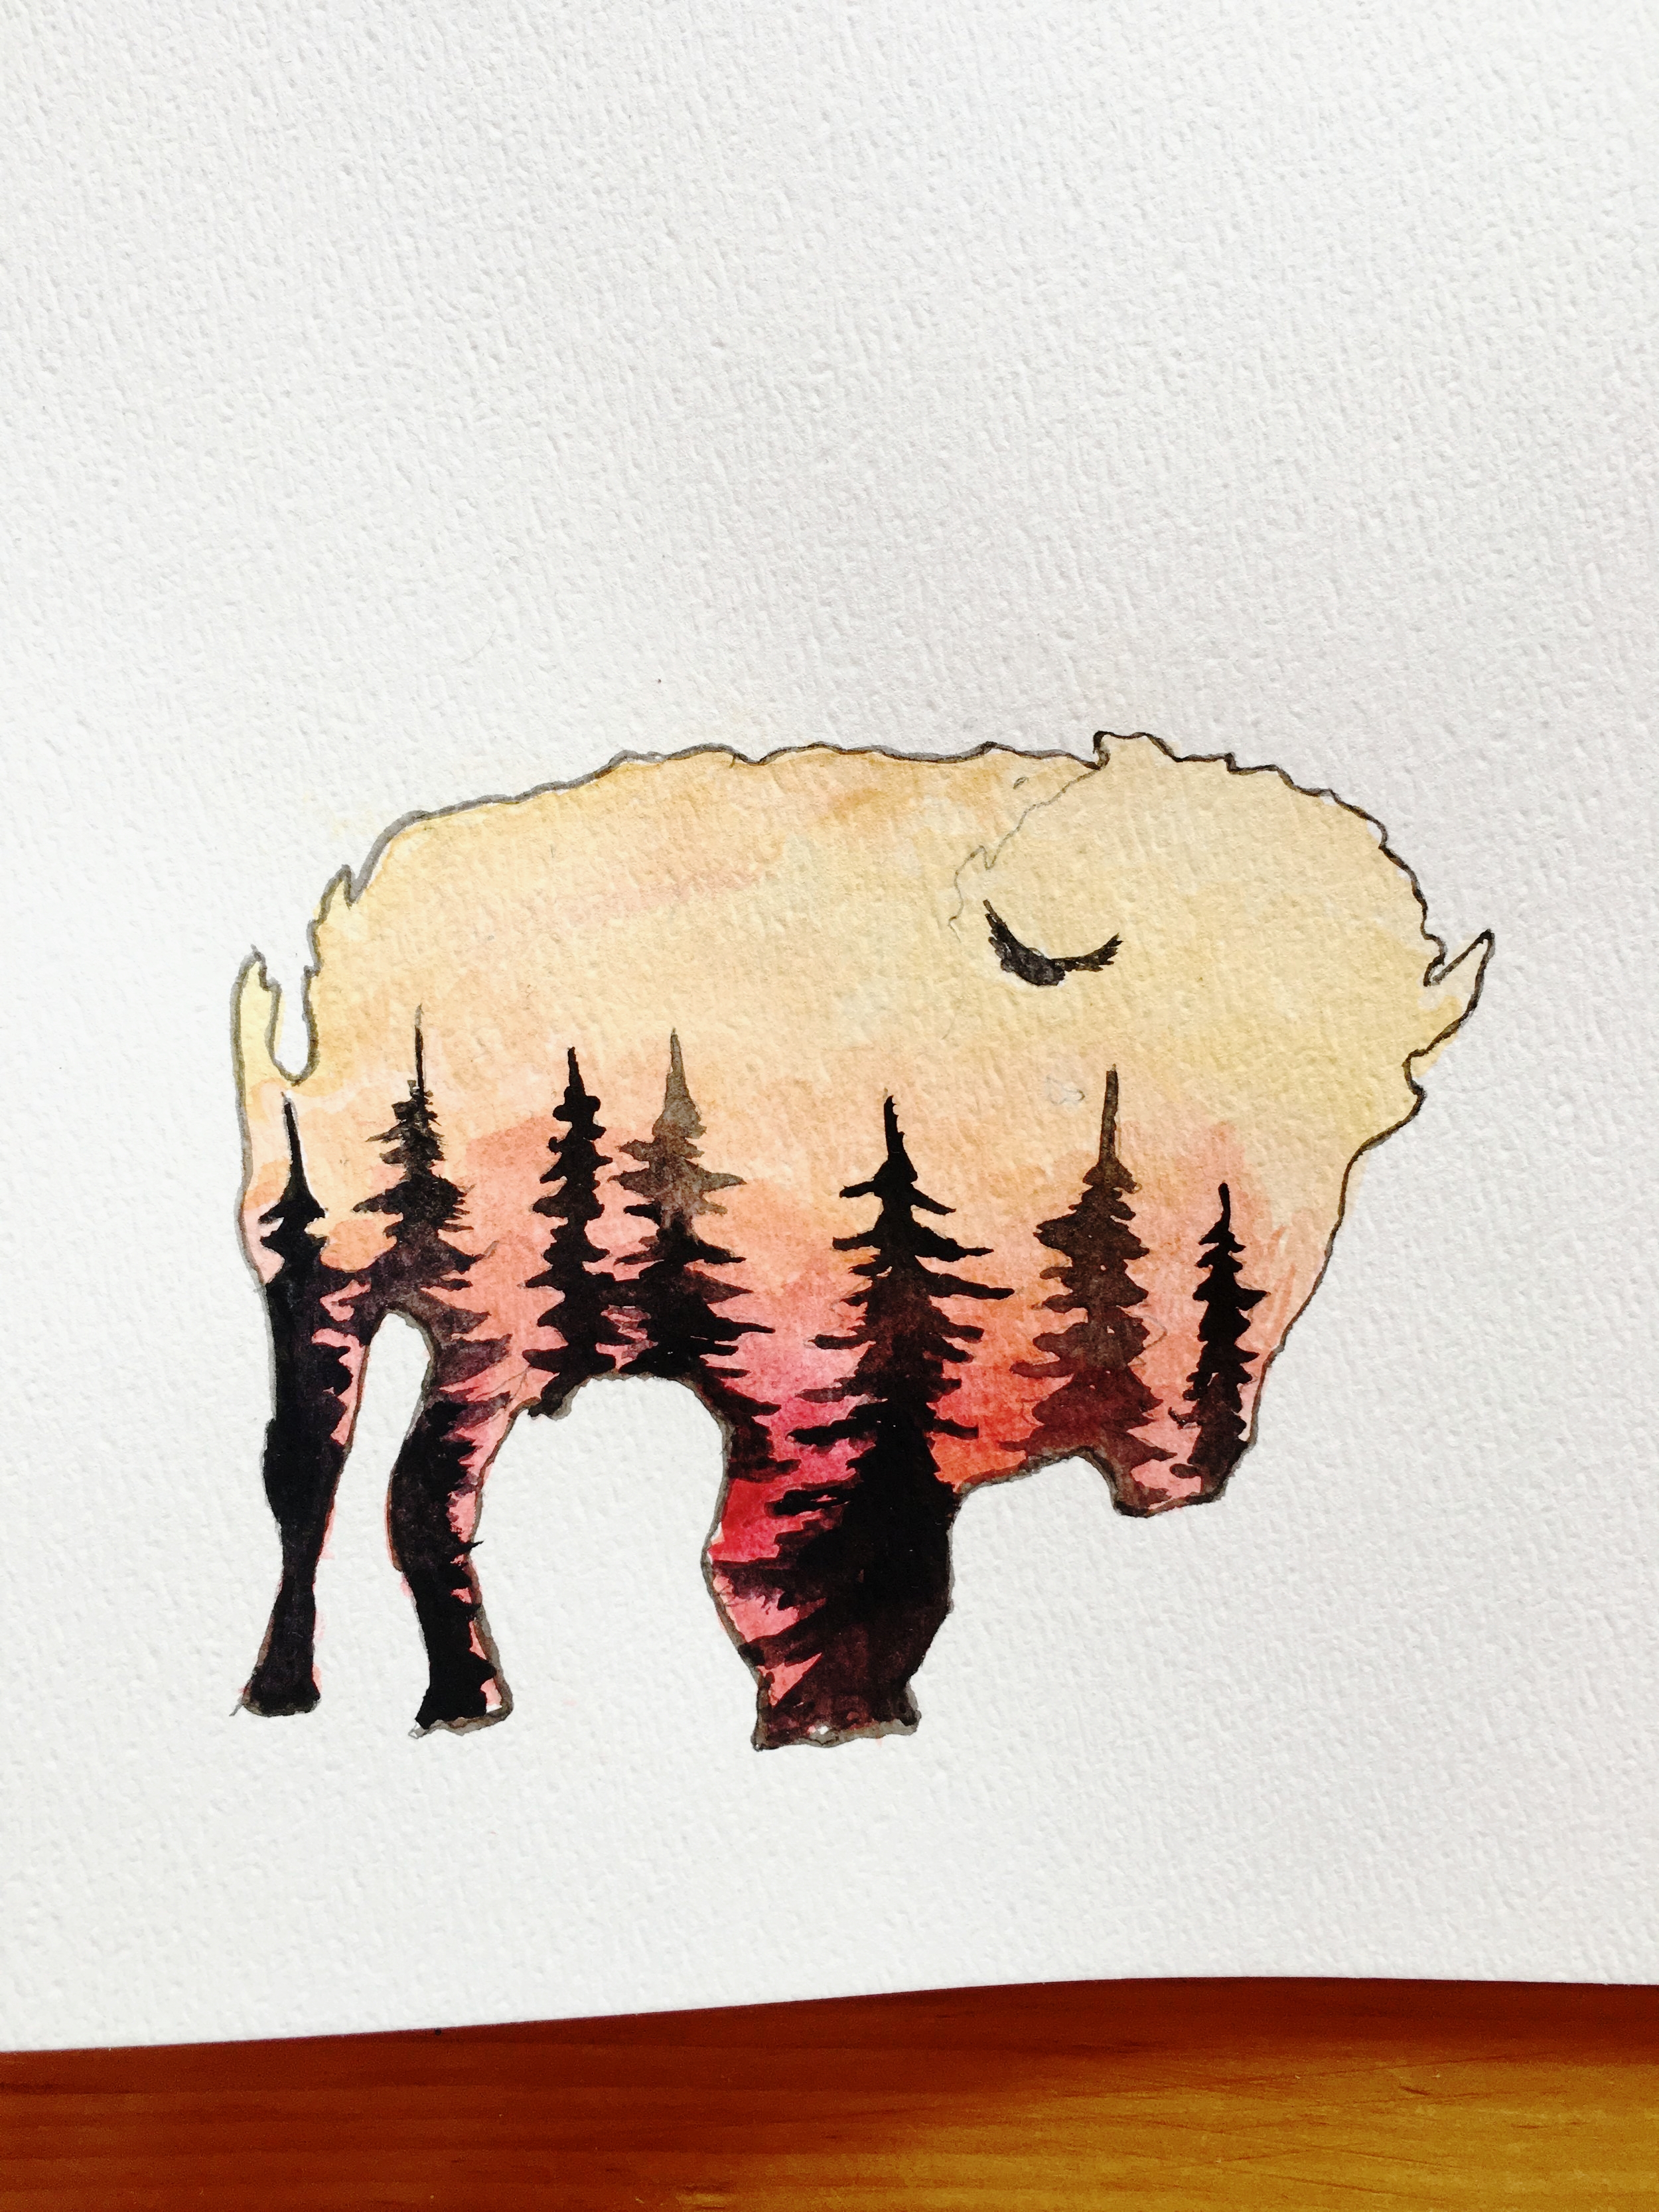
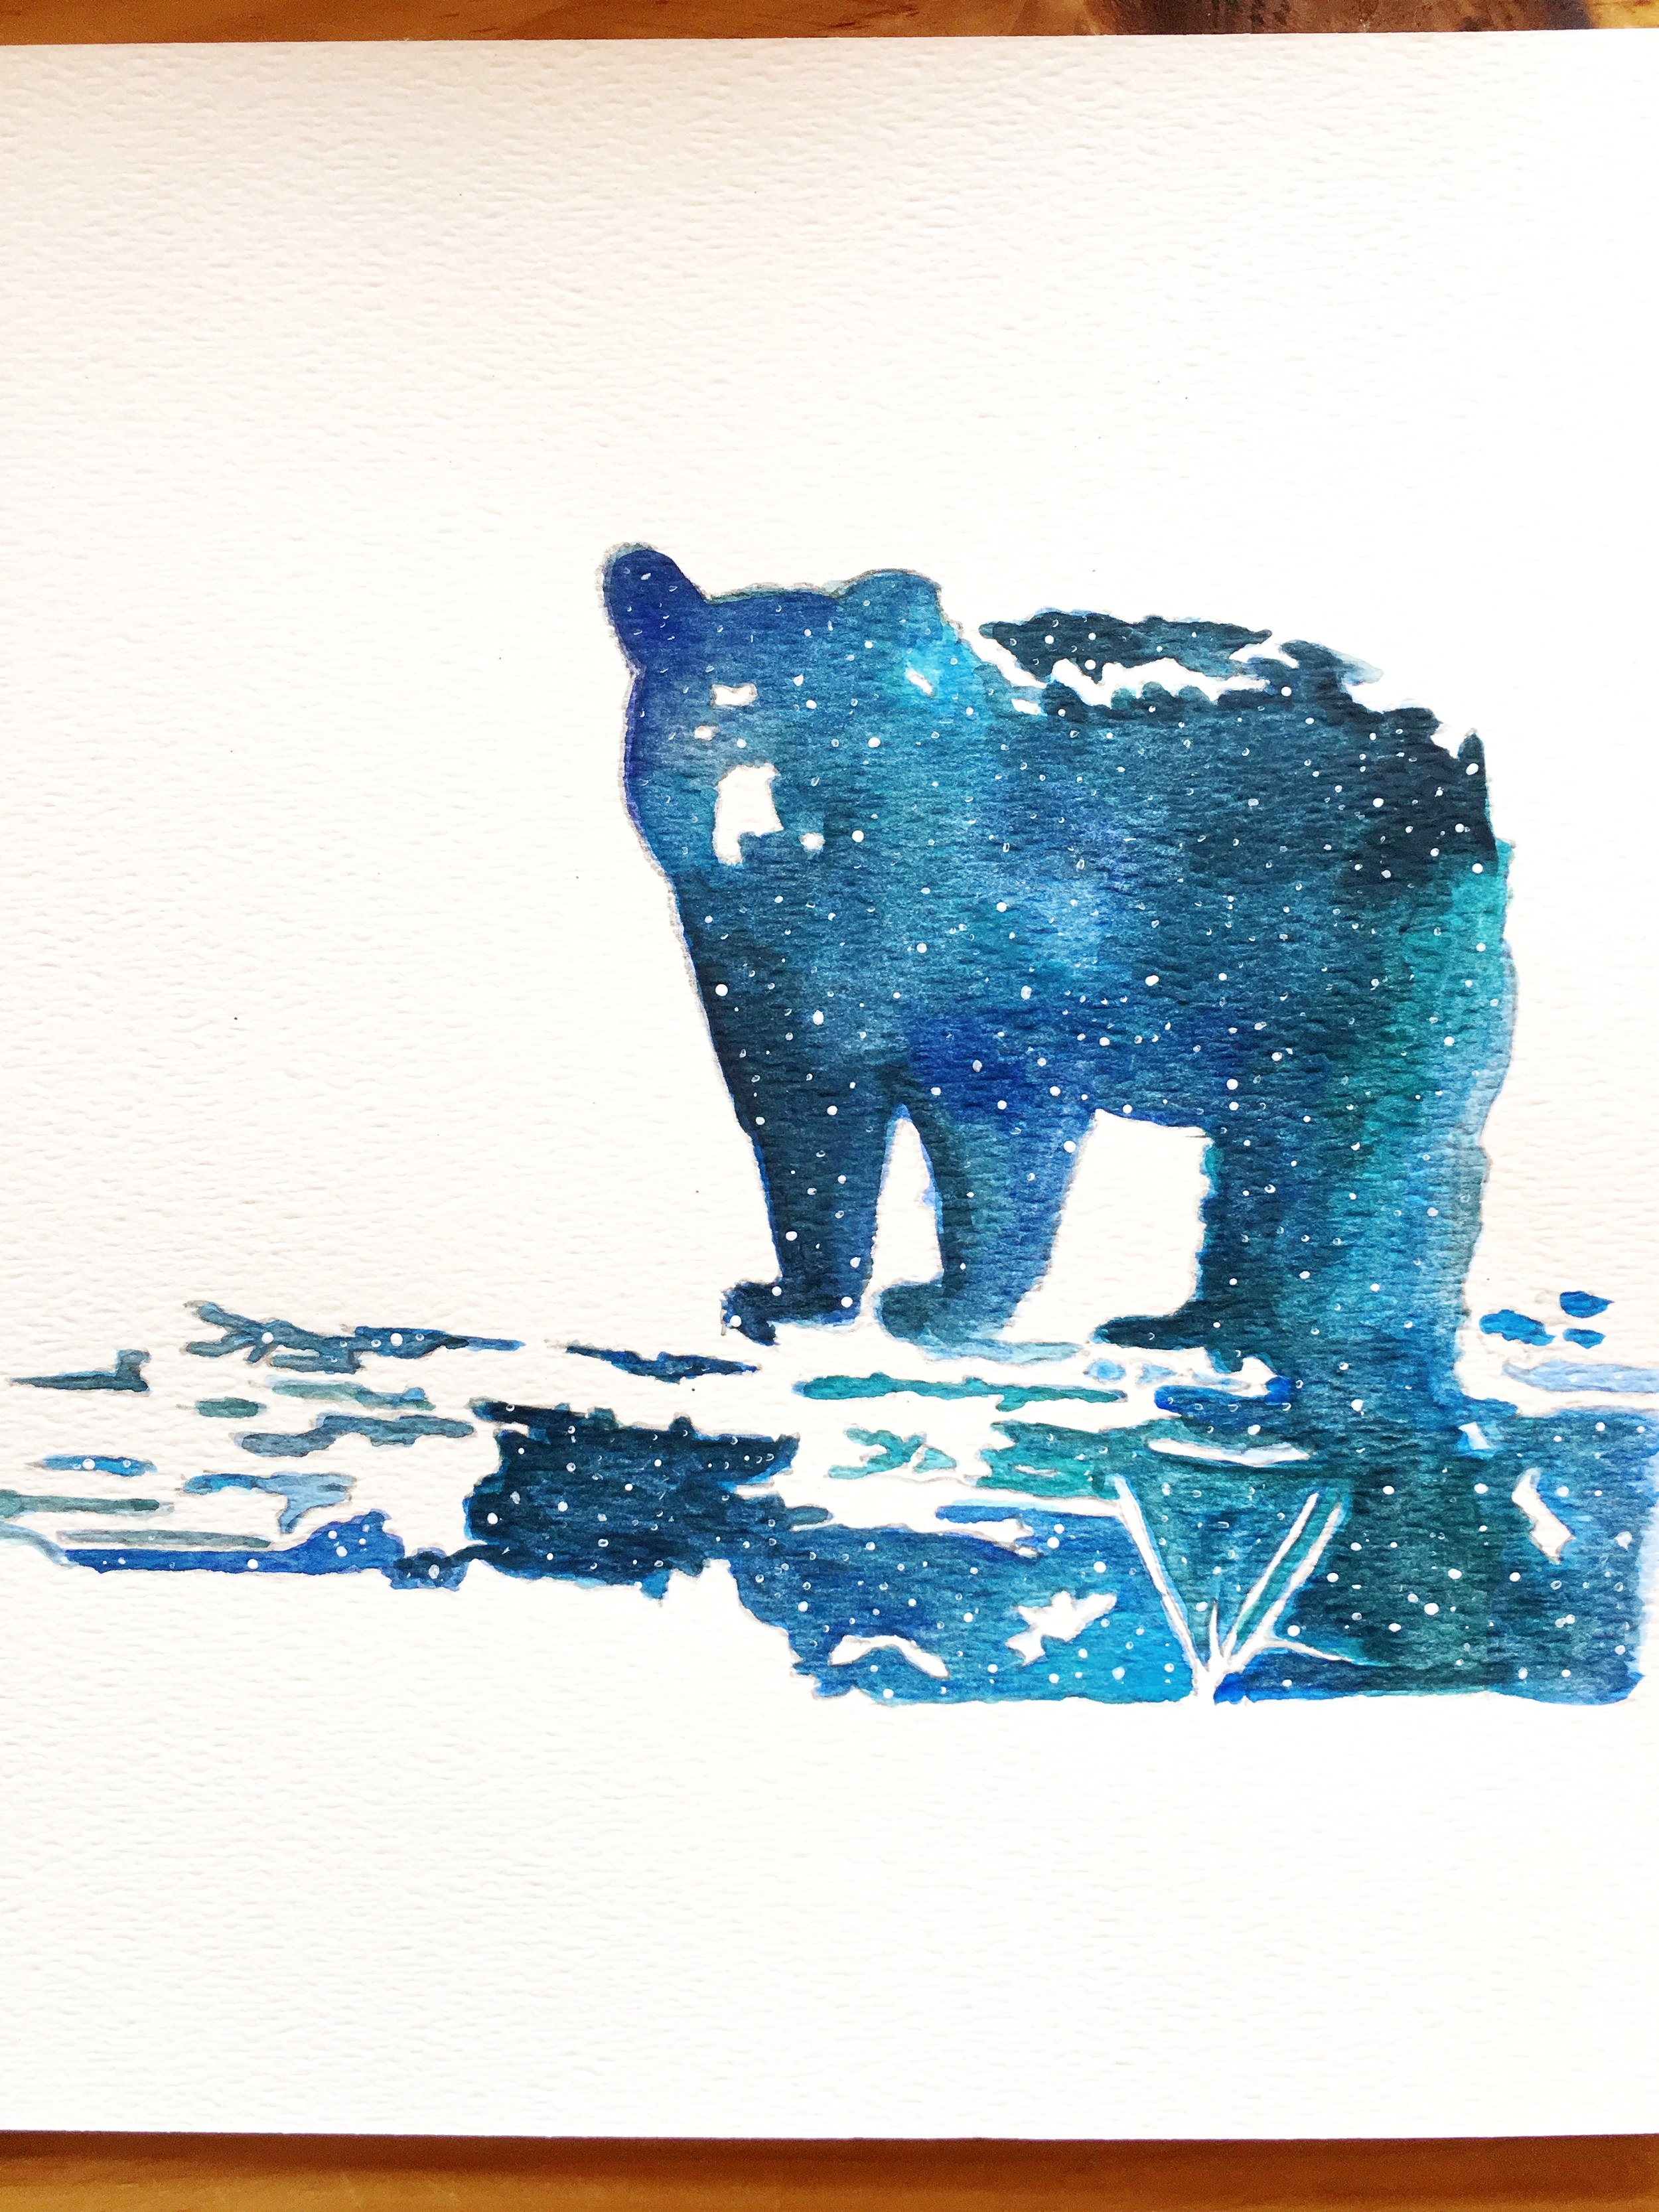
After tracing your stencil onto watercolour paper, its time to paint! I used mostly blues, greens, and black shades to create the look of a night sky. I started with a thin layer and then built the color up as I painted to create depth.

When my painting was fully dry, I added the stars. I did this by simply dipping a toothpick in white tempera paint and dotting it all over my painting.

The possibilities are endless when you have the help of the Picture Stencil Maker. Get started on your own spirit animal painting project by using the Picture Stencil Maker.
Keep on creating!
Steph @ Rapid Resizer