
Sugar Skull Pumpkin Tutorial

This week I made a sugar skull stencil to decorate a pumpkin. Sugar skulls designs are used in the Mexican holiday the Day of the Dead, as this is a time to honor the lives of loved ones who have passed on. It is traditionally a fun celebration and one way to show respect is to offer cookies decorated with a sugar skull, also known as La Catrina, to the dearly departed.
The word Halloween came from the Scottish term All Hallows Eve and originally meant ‘holy evening’ and was also a time to pay respects to those who have passed away. Although these customs come from different times and places, they are also similar which inspired me to use a sugar skull design for carving a pumpkin. Watch the short video below to learn how you can make one too.
What you need:
pumpkin
pumpkin carving set
knife
packing tape
pushpin or pen
vegetable peeler/linocut or woodcarving tools
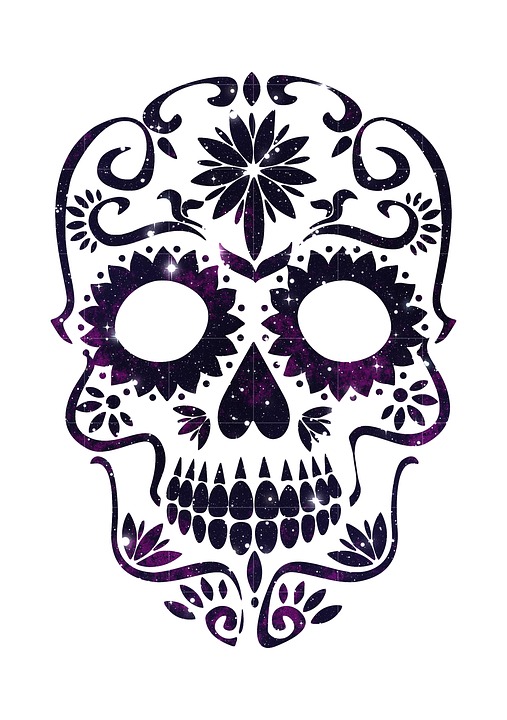
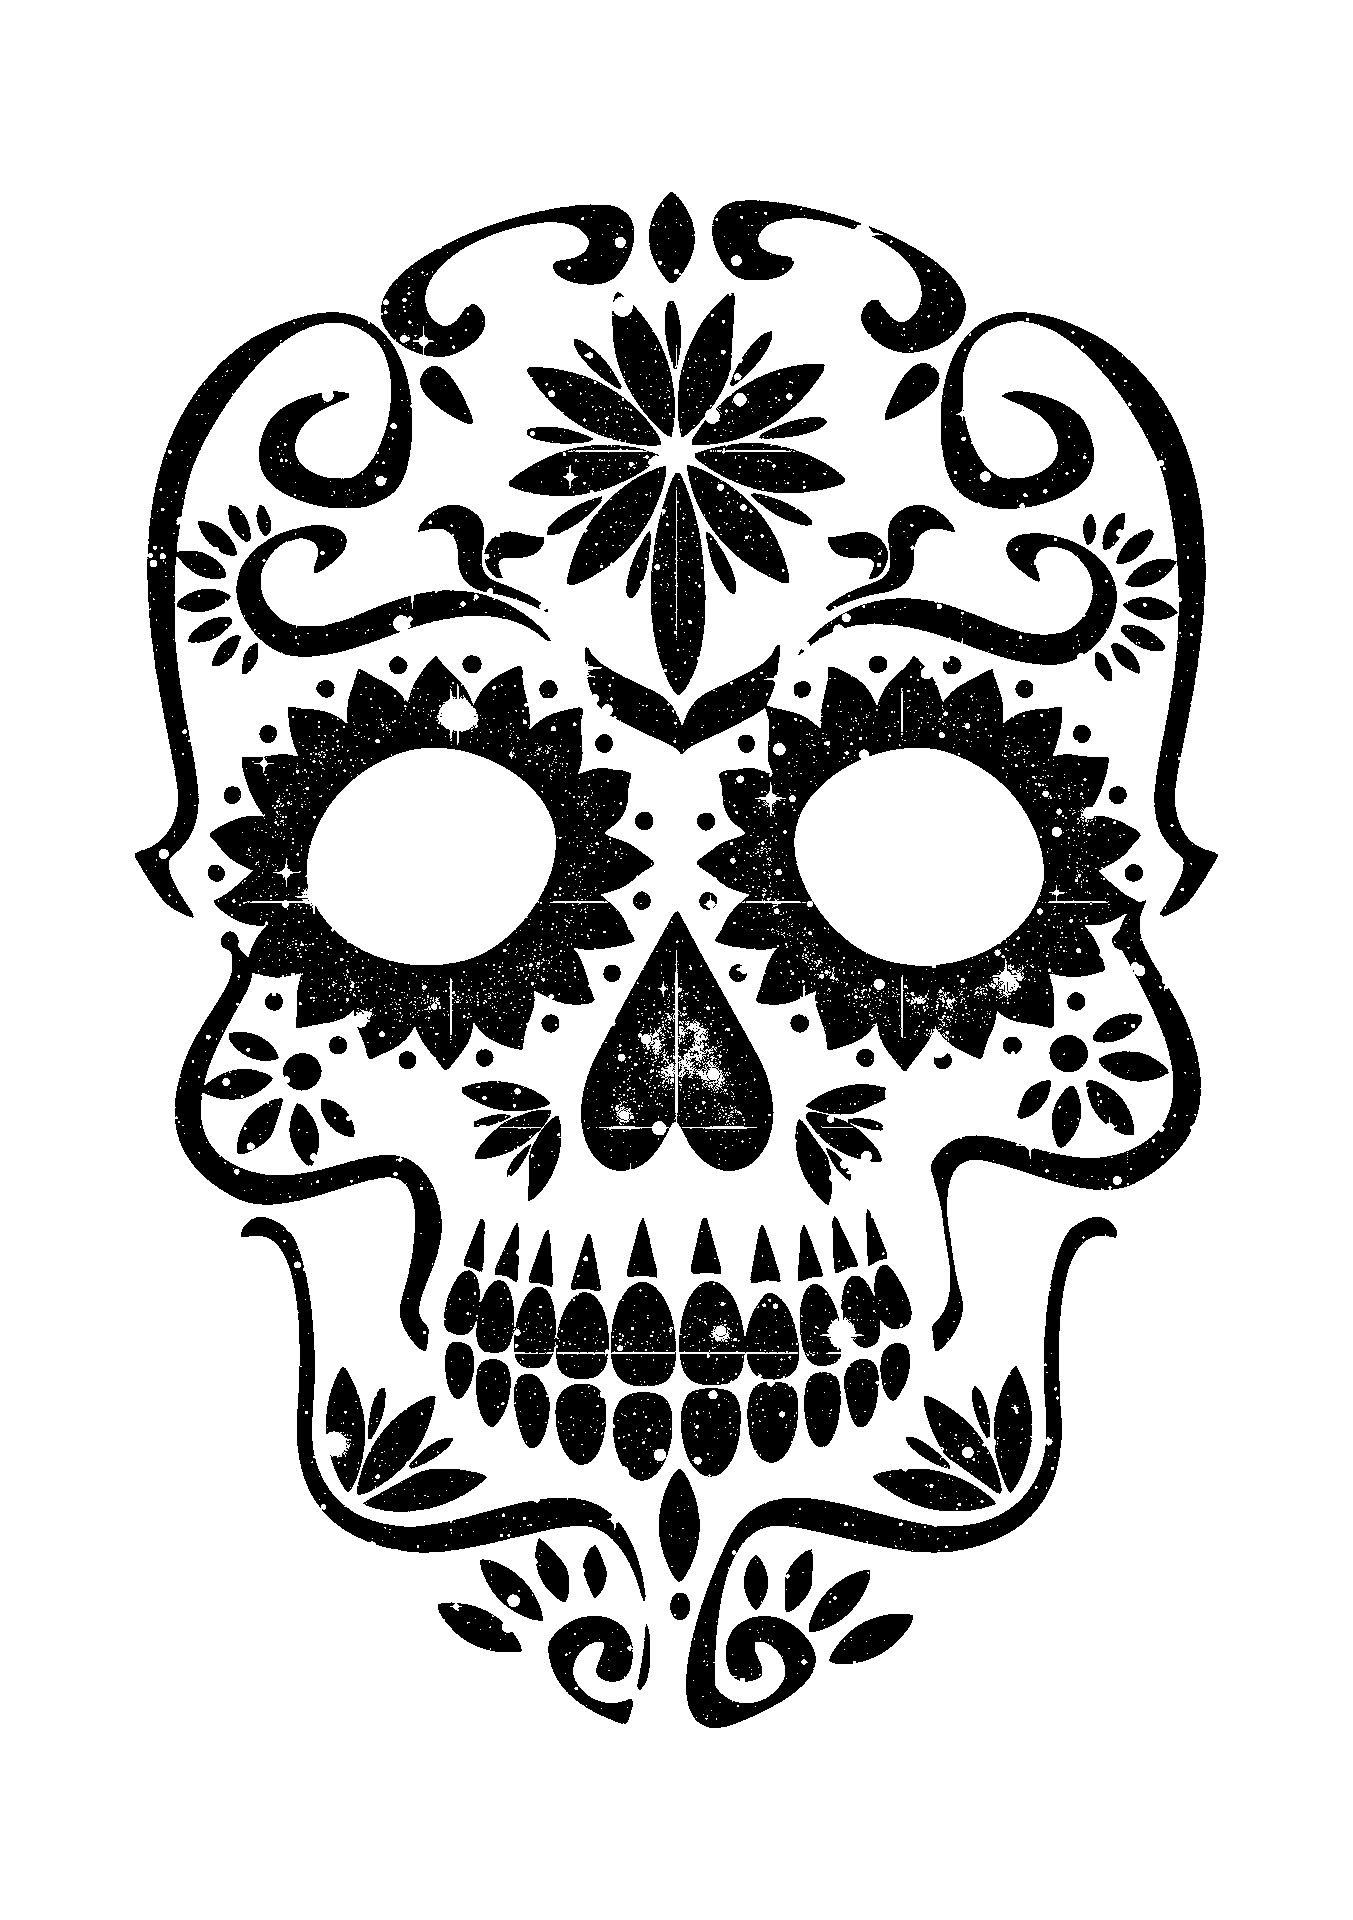
I saved this image of a sugar skull from Pixabay with thanks to TheDigitalArtist. It is free for commercial use and is purple with stars. I opened it in the free Picture Stencil Maker and edited it to print black and white in order to create a pumpkin carving stencil. You can save and use either of these versions however you like.
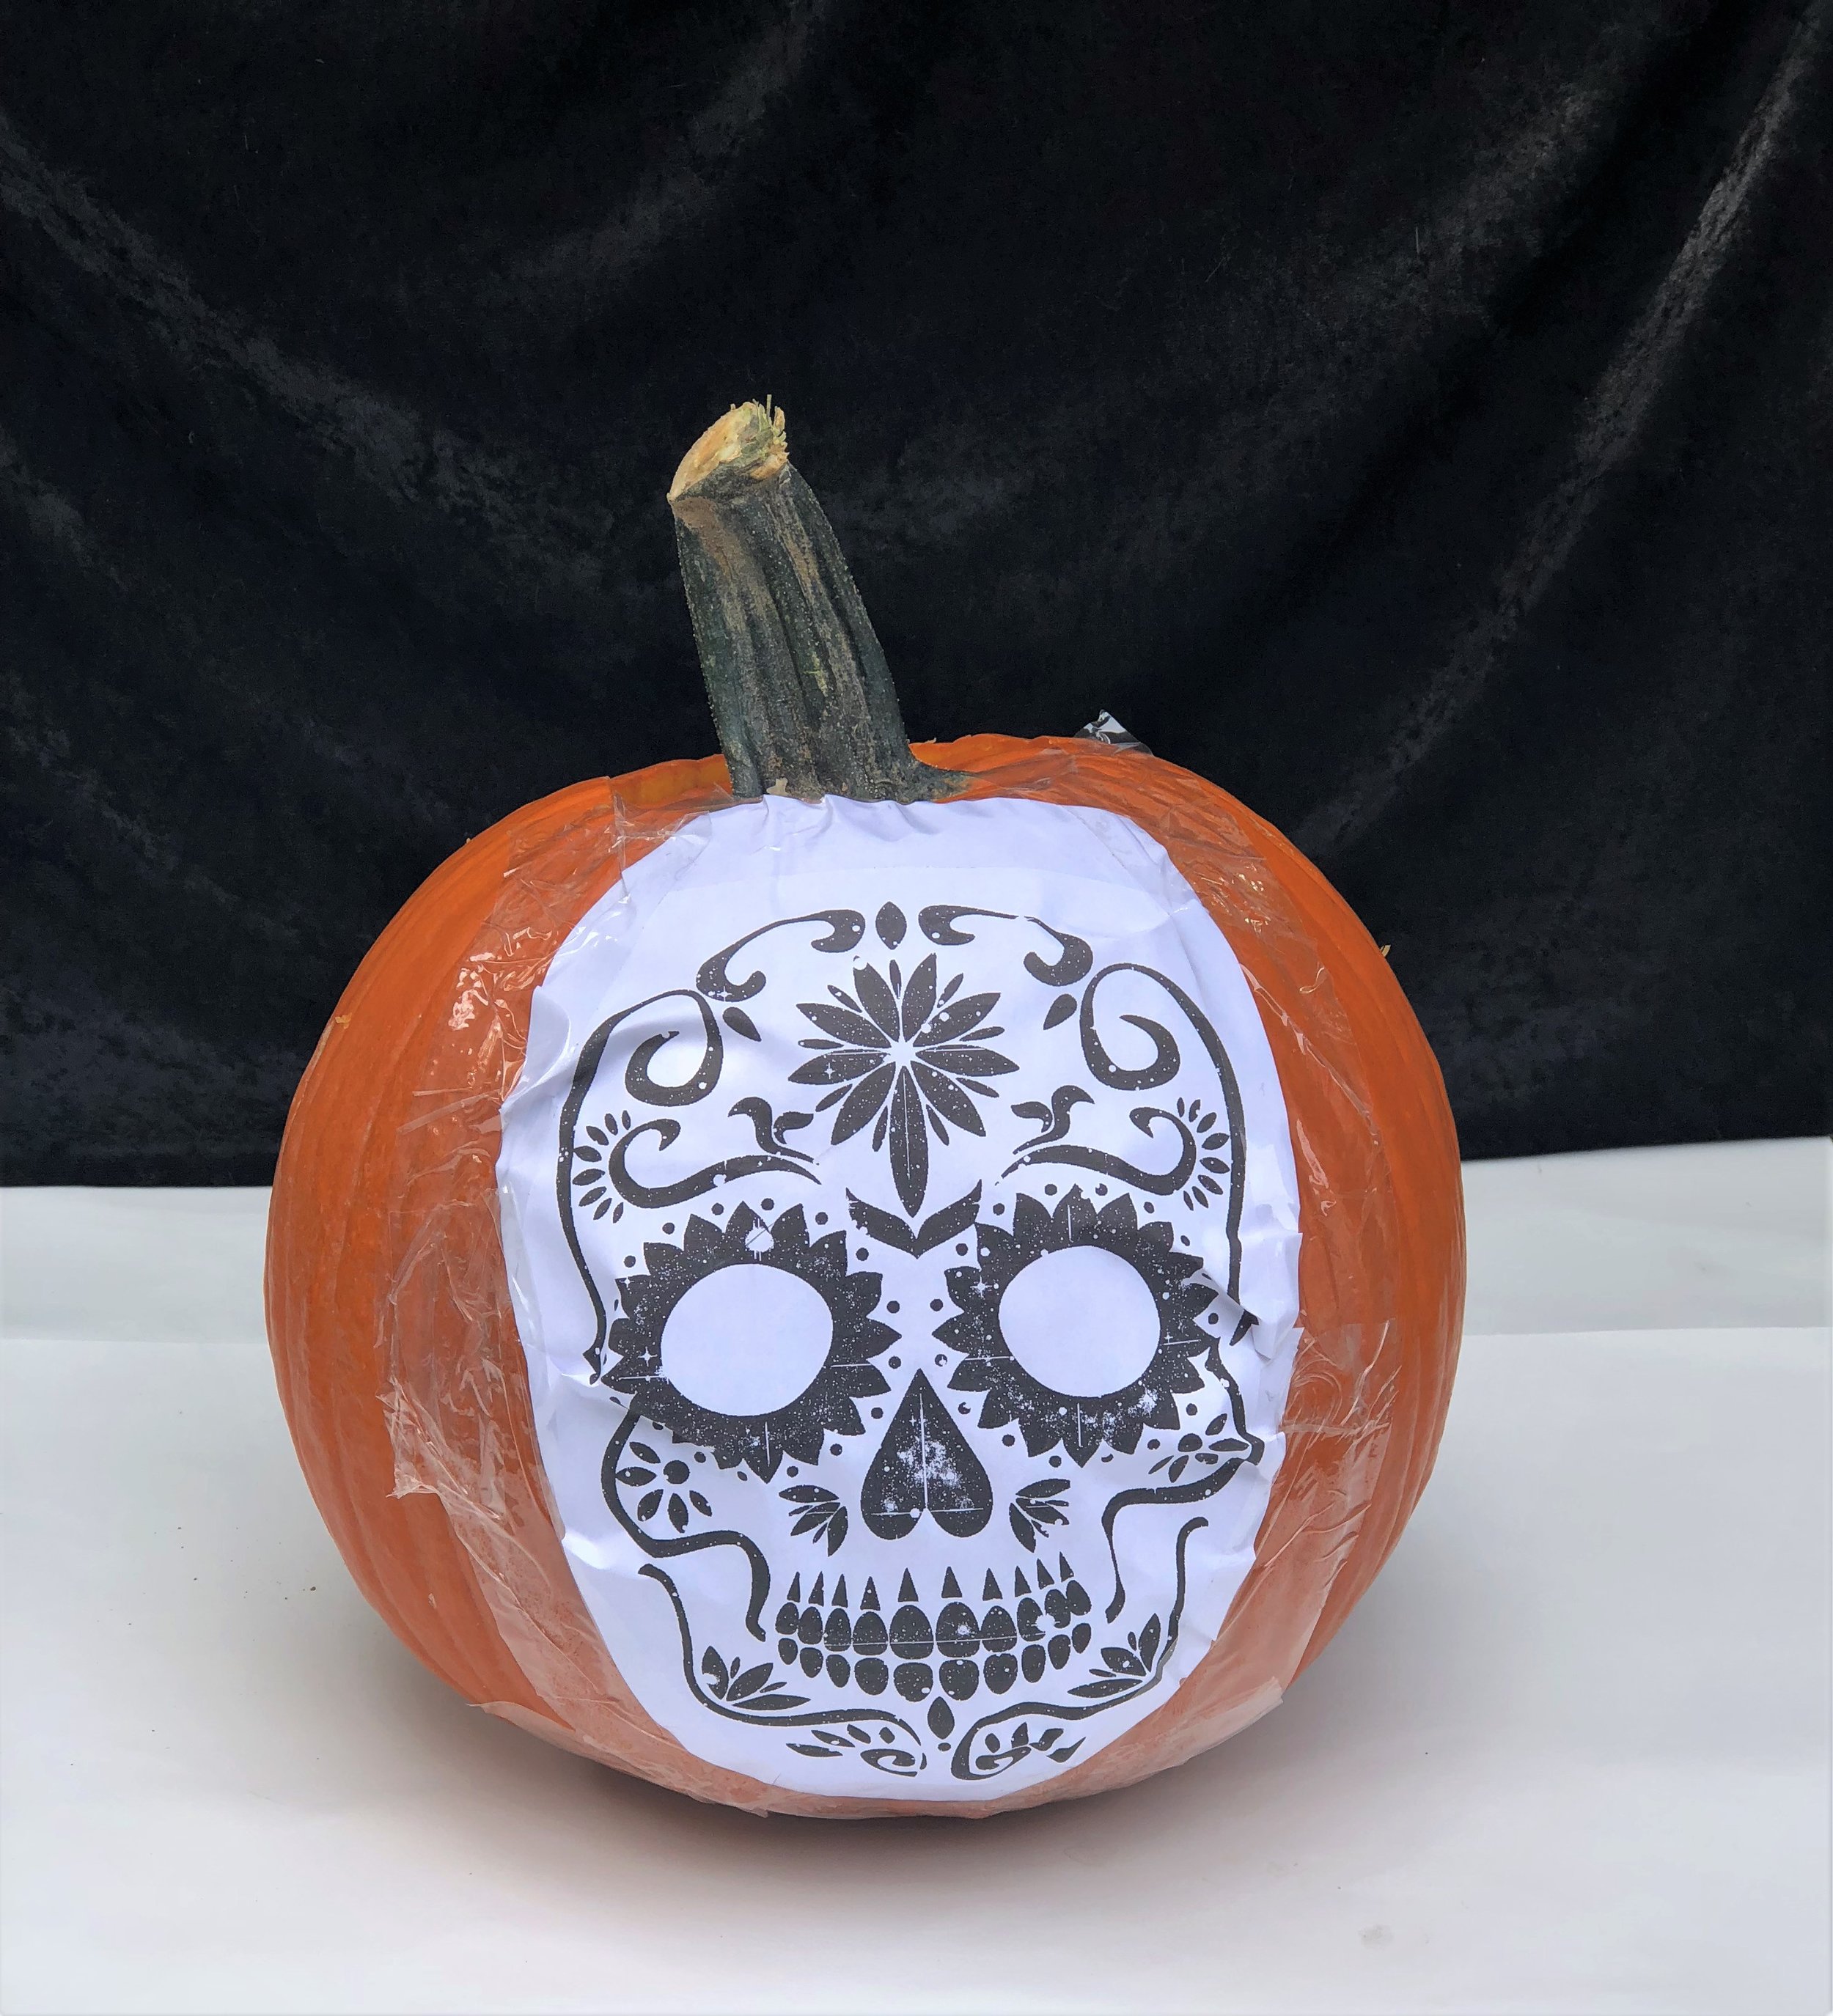
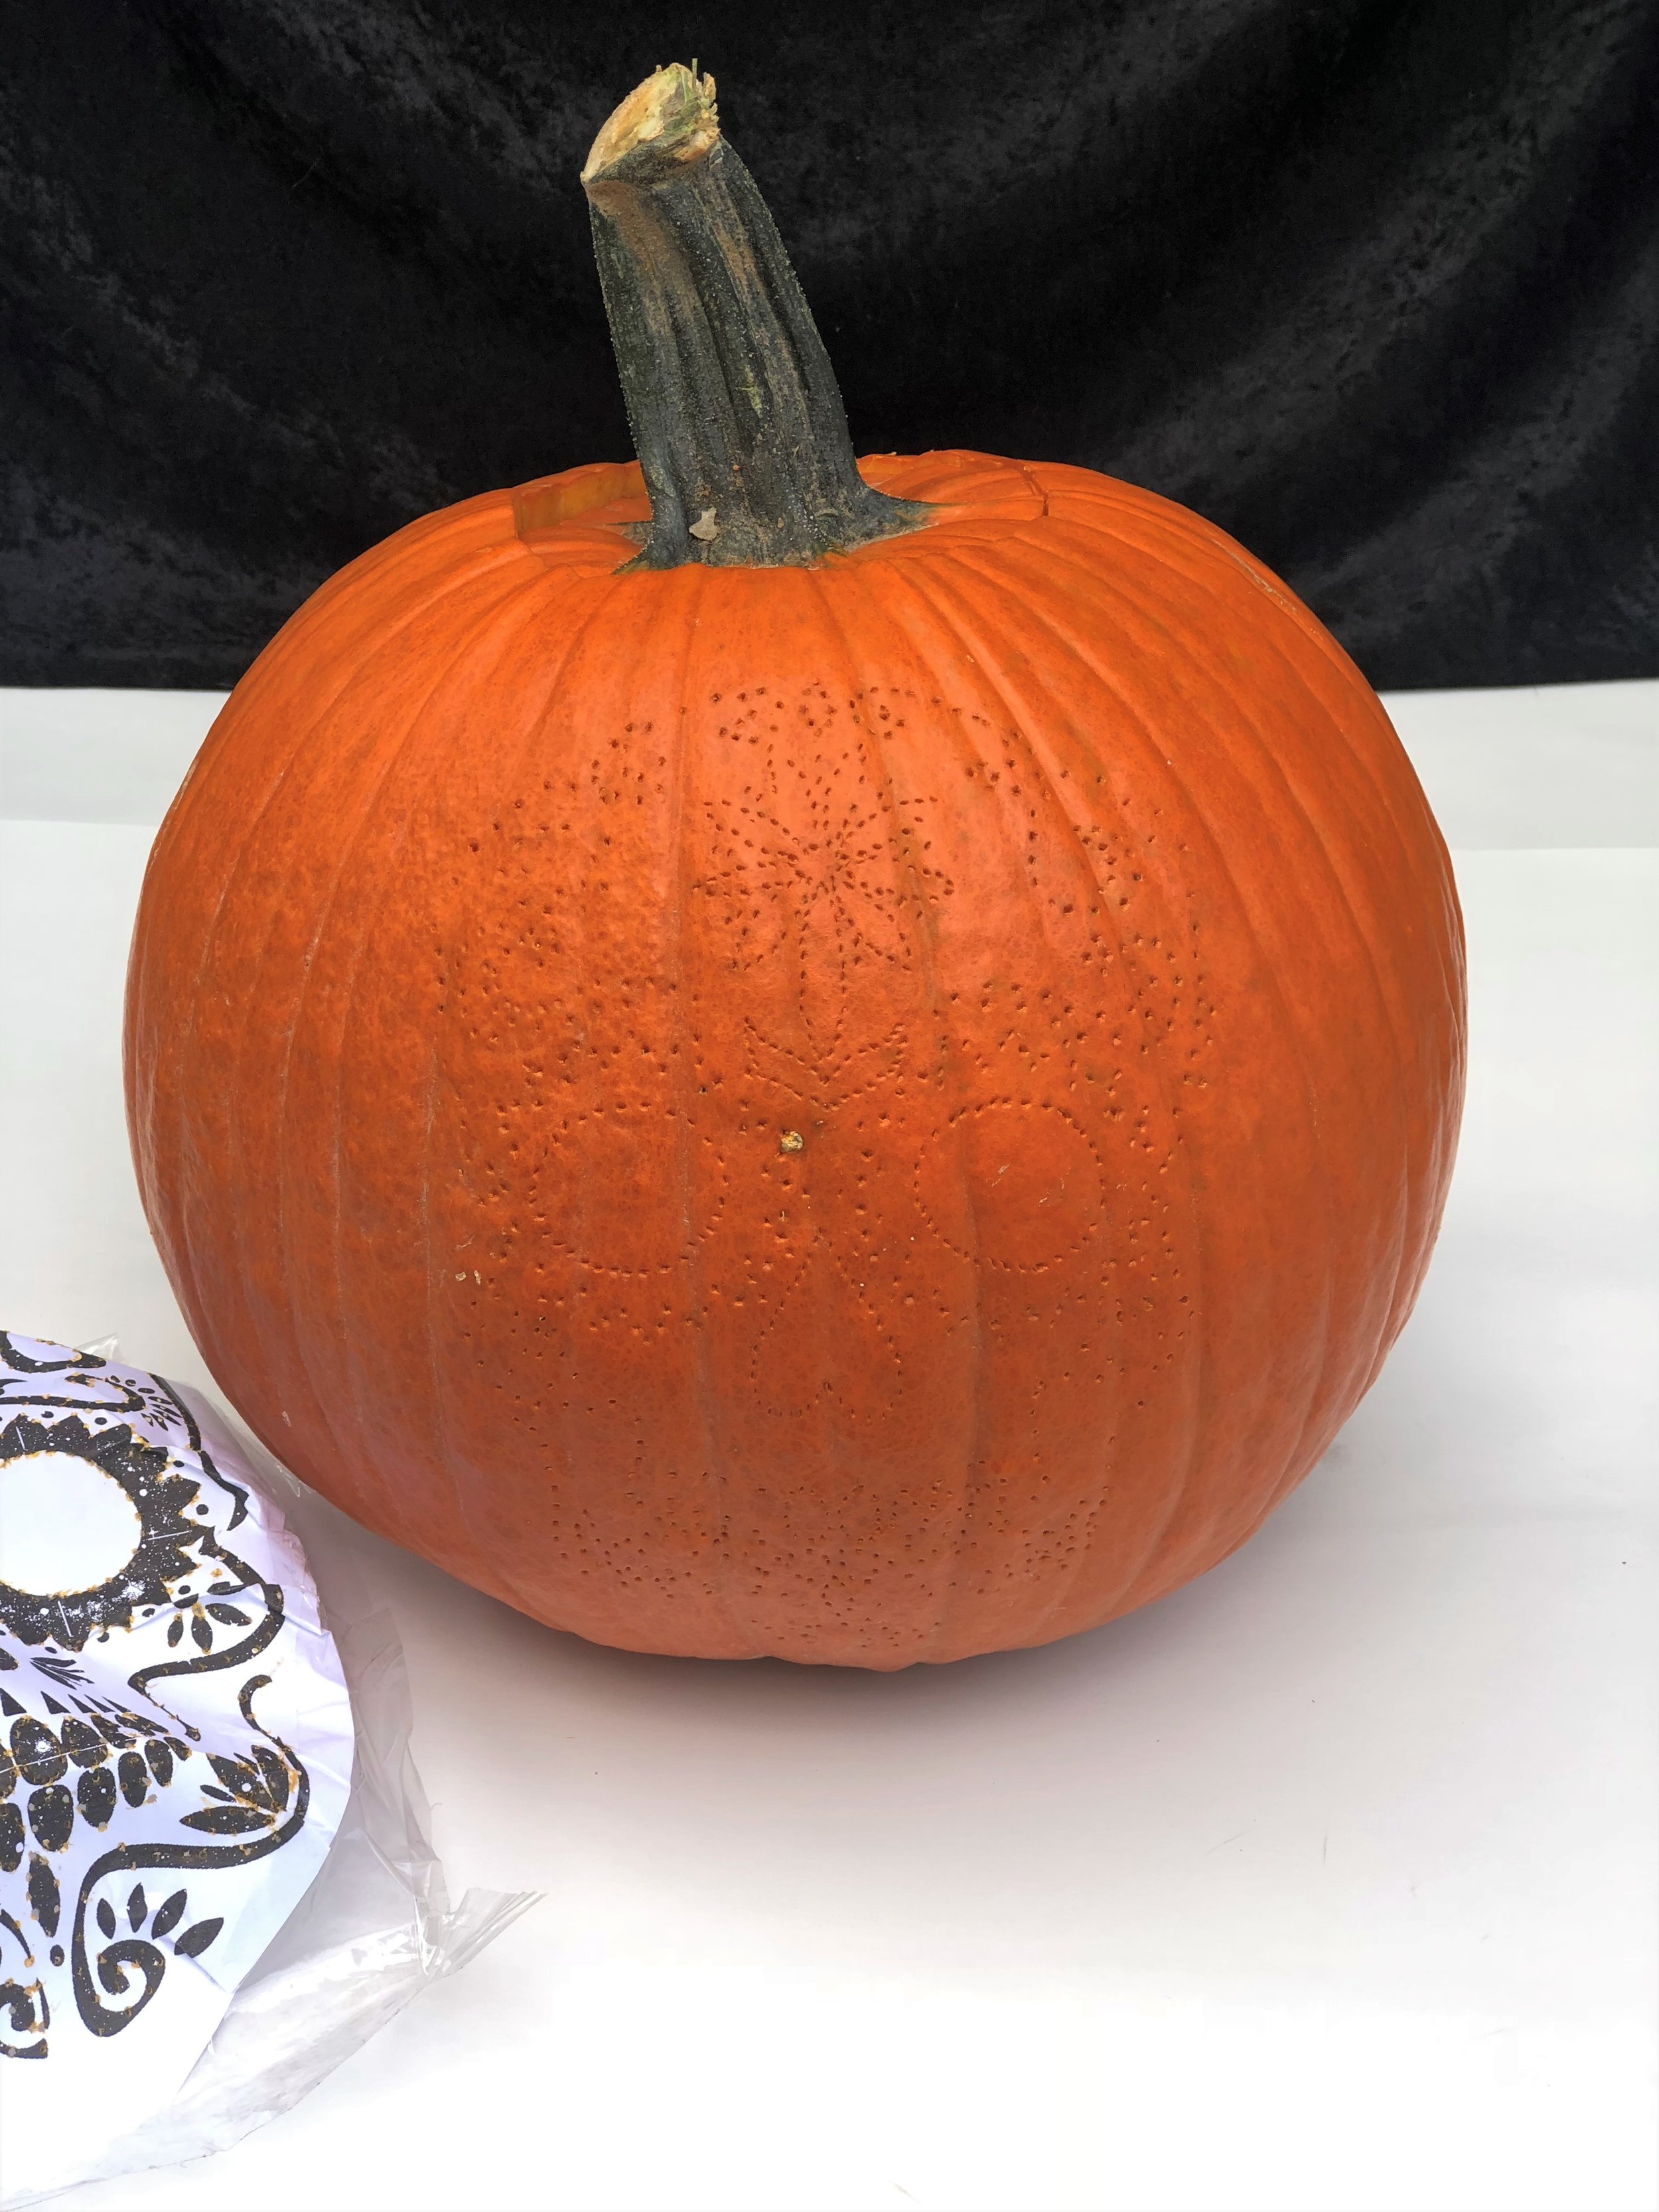
Then I cut the top off my pumpkin, cleaned it out, and taped the printout of the sugar skull to the pumpkin with packing tape. The most common way to transfer a design to a pumpkin is to hold it in your lap and poke holes closely together around the shapes in the stencil. If you are using a pumpkin carving kit then it likely came with a tool to poke holes with. Otherwise, you can use a regular pushpin or a pen to poke holes with.
There are a lot of shapes and details in this stencil, so you may want to punch holes only around the main shapes that you are sure you want to carve. Keep a copy of the stencil beside you as a guide for the finer details which can be drawn on with a marker and then cut out after the main design has been carved out.
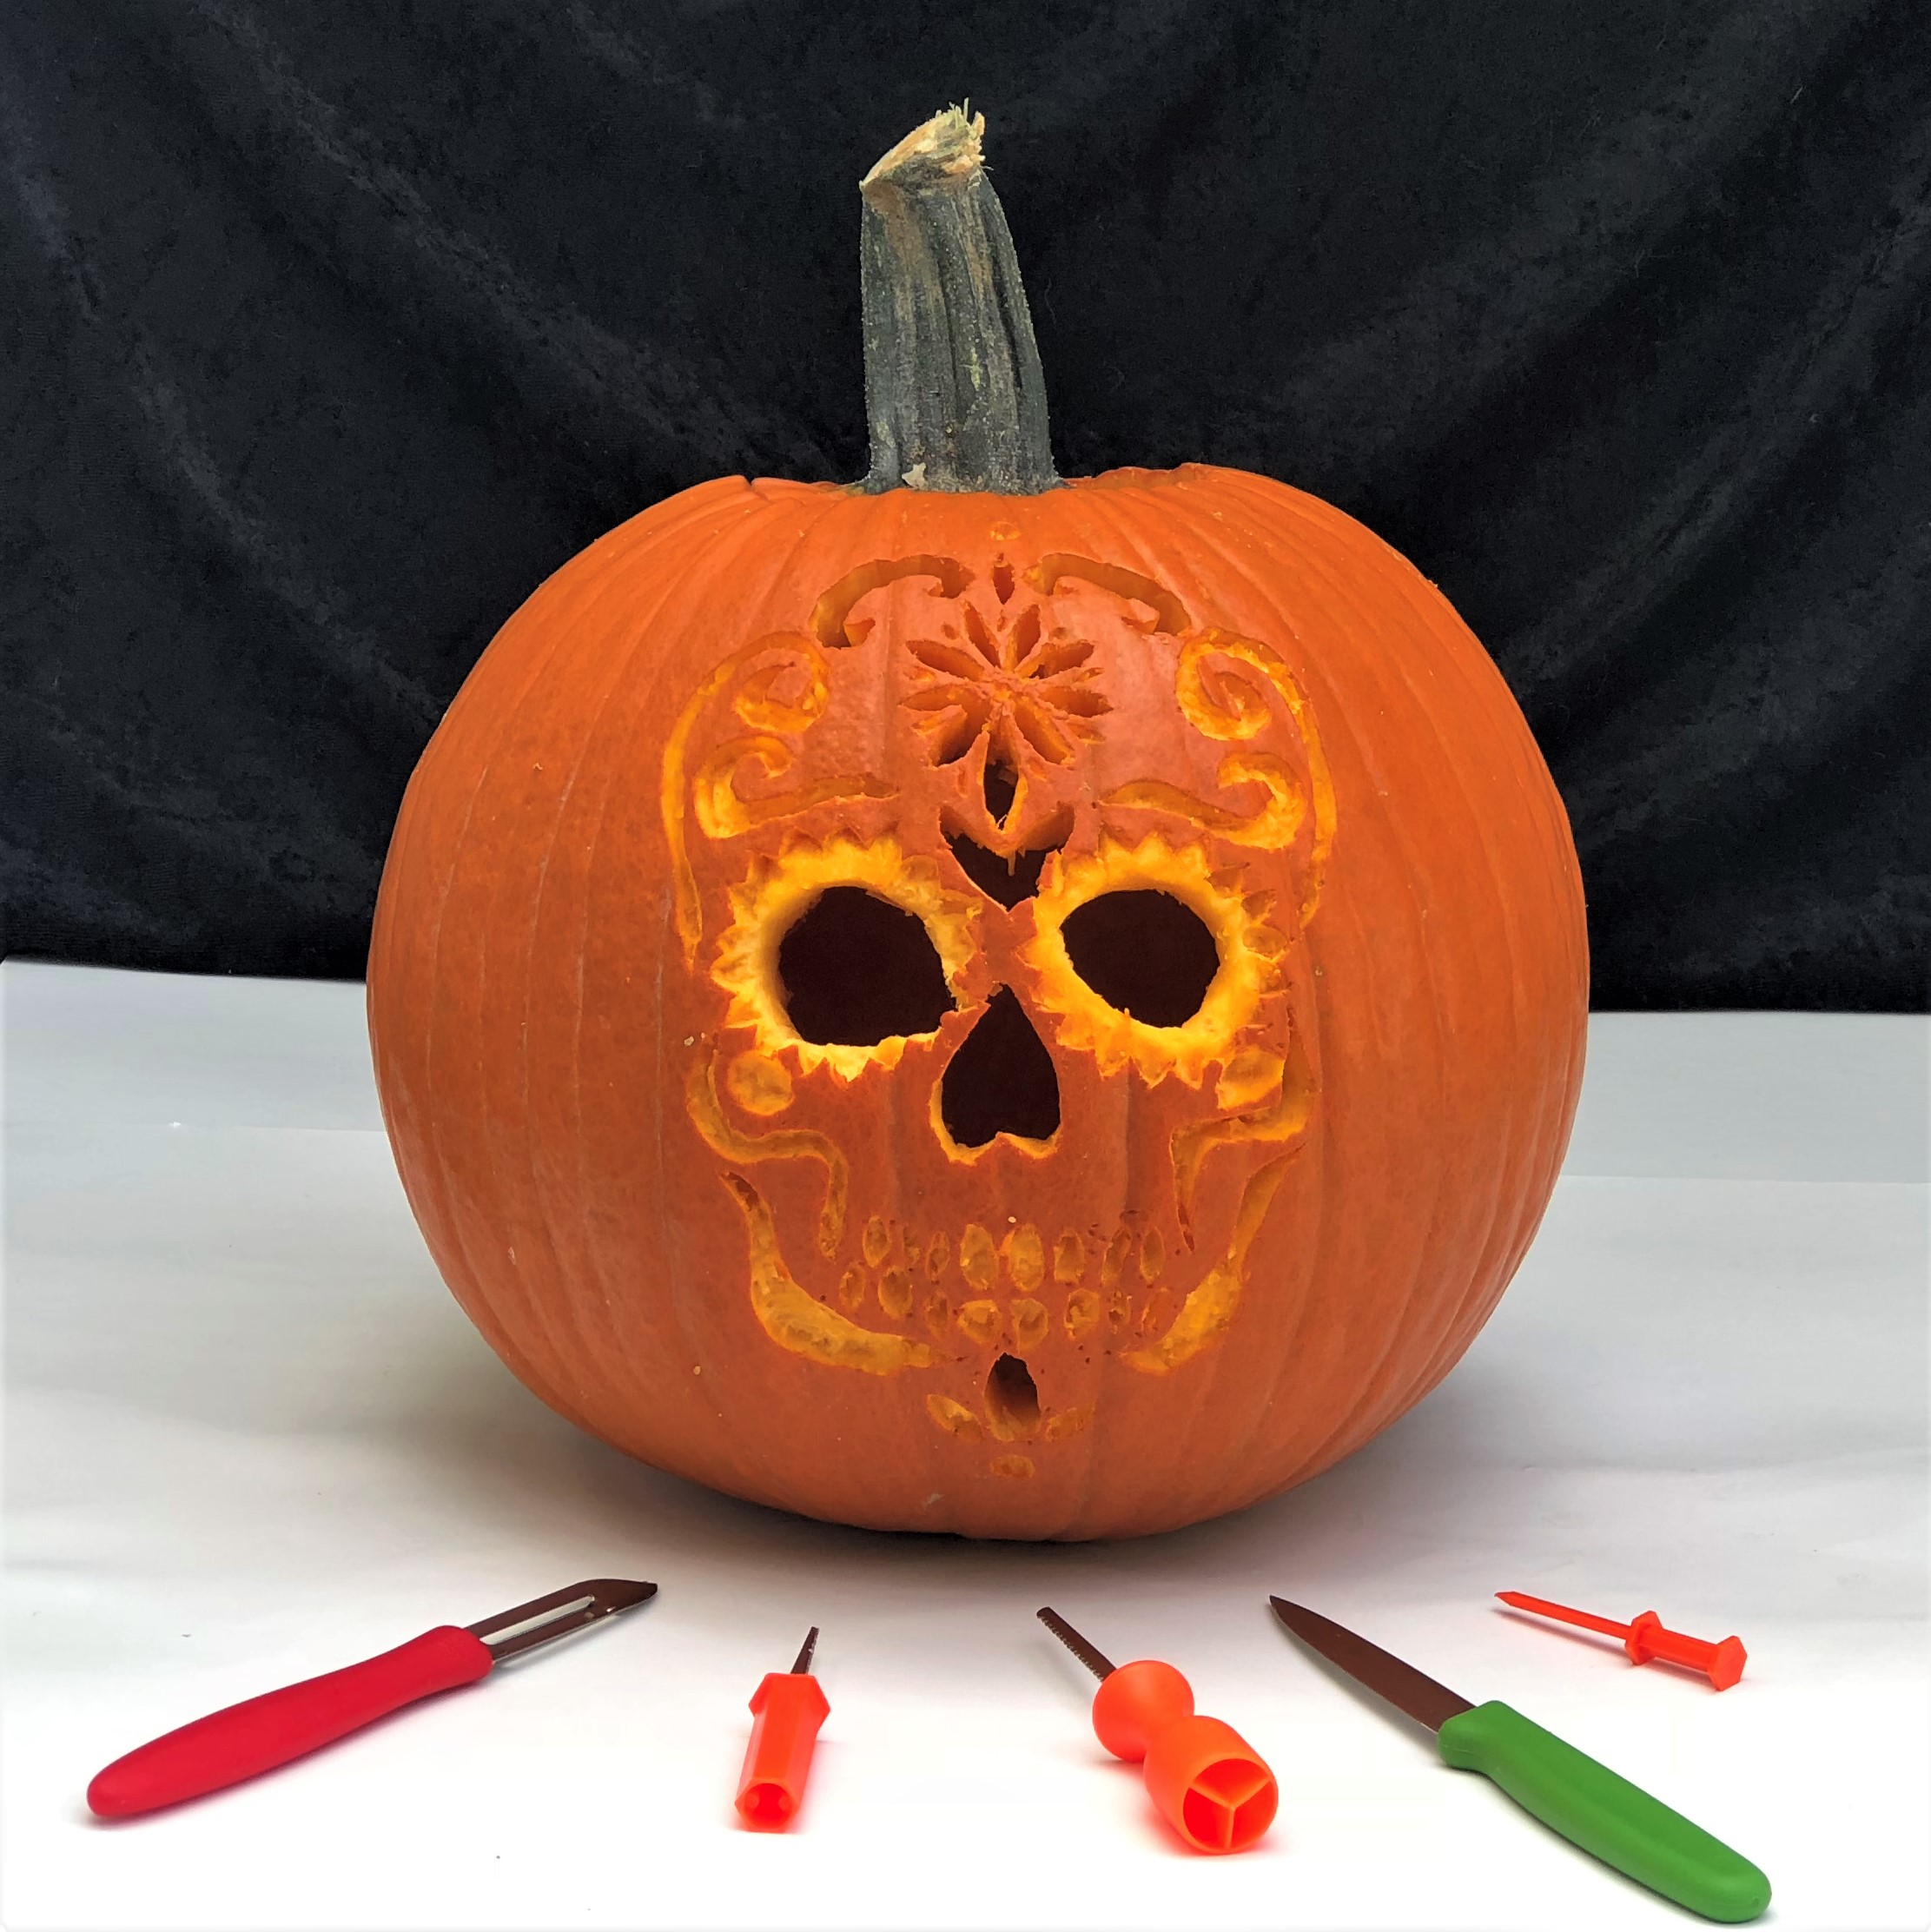
I cut some of the shapes all the way through the pumpkin with a knife and pumpkin carving tools. Then I used the tip of a vegetable peeler to connect the dots and carved out the other shapes just deeply enough to show the design. You can also use lino-cut or woodcarving tools to carve only the surface of the pumpkin, as long as the blade is somewhat curved.
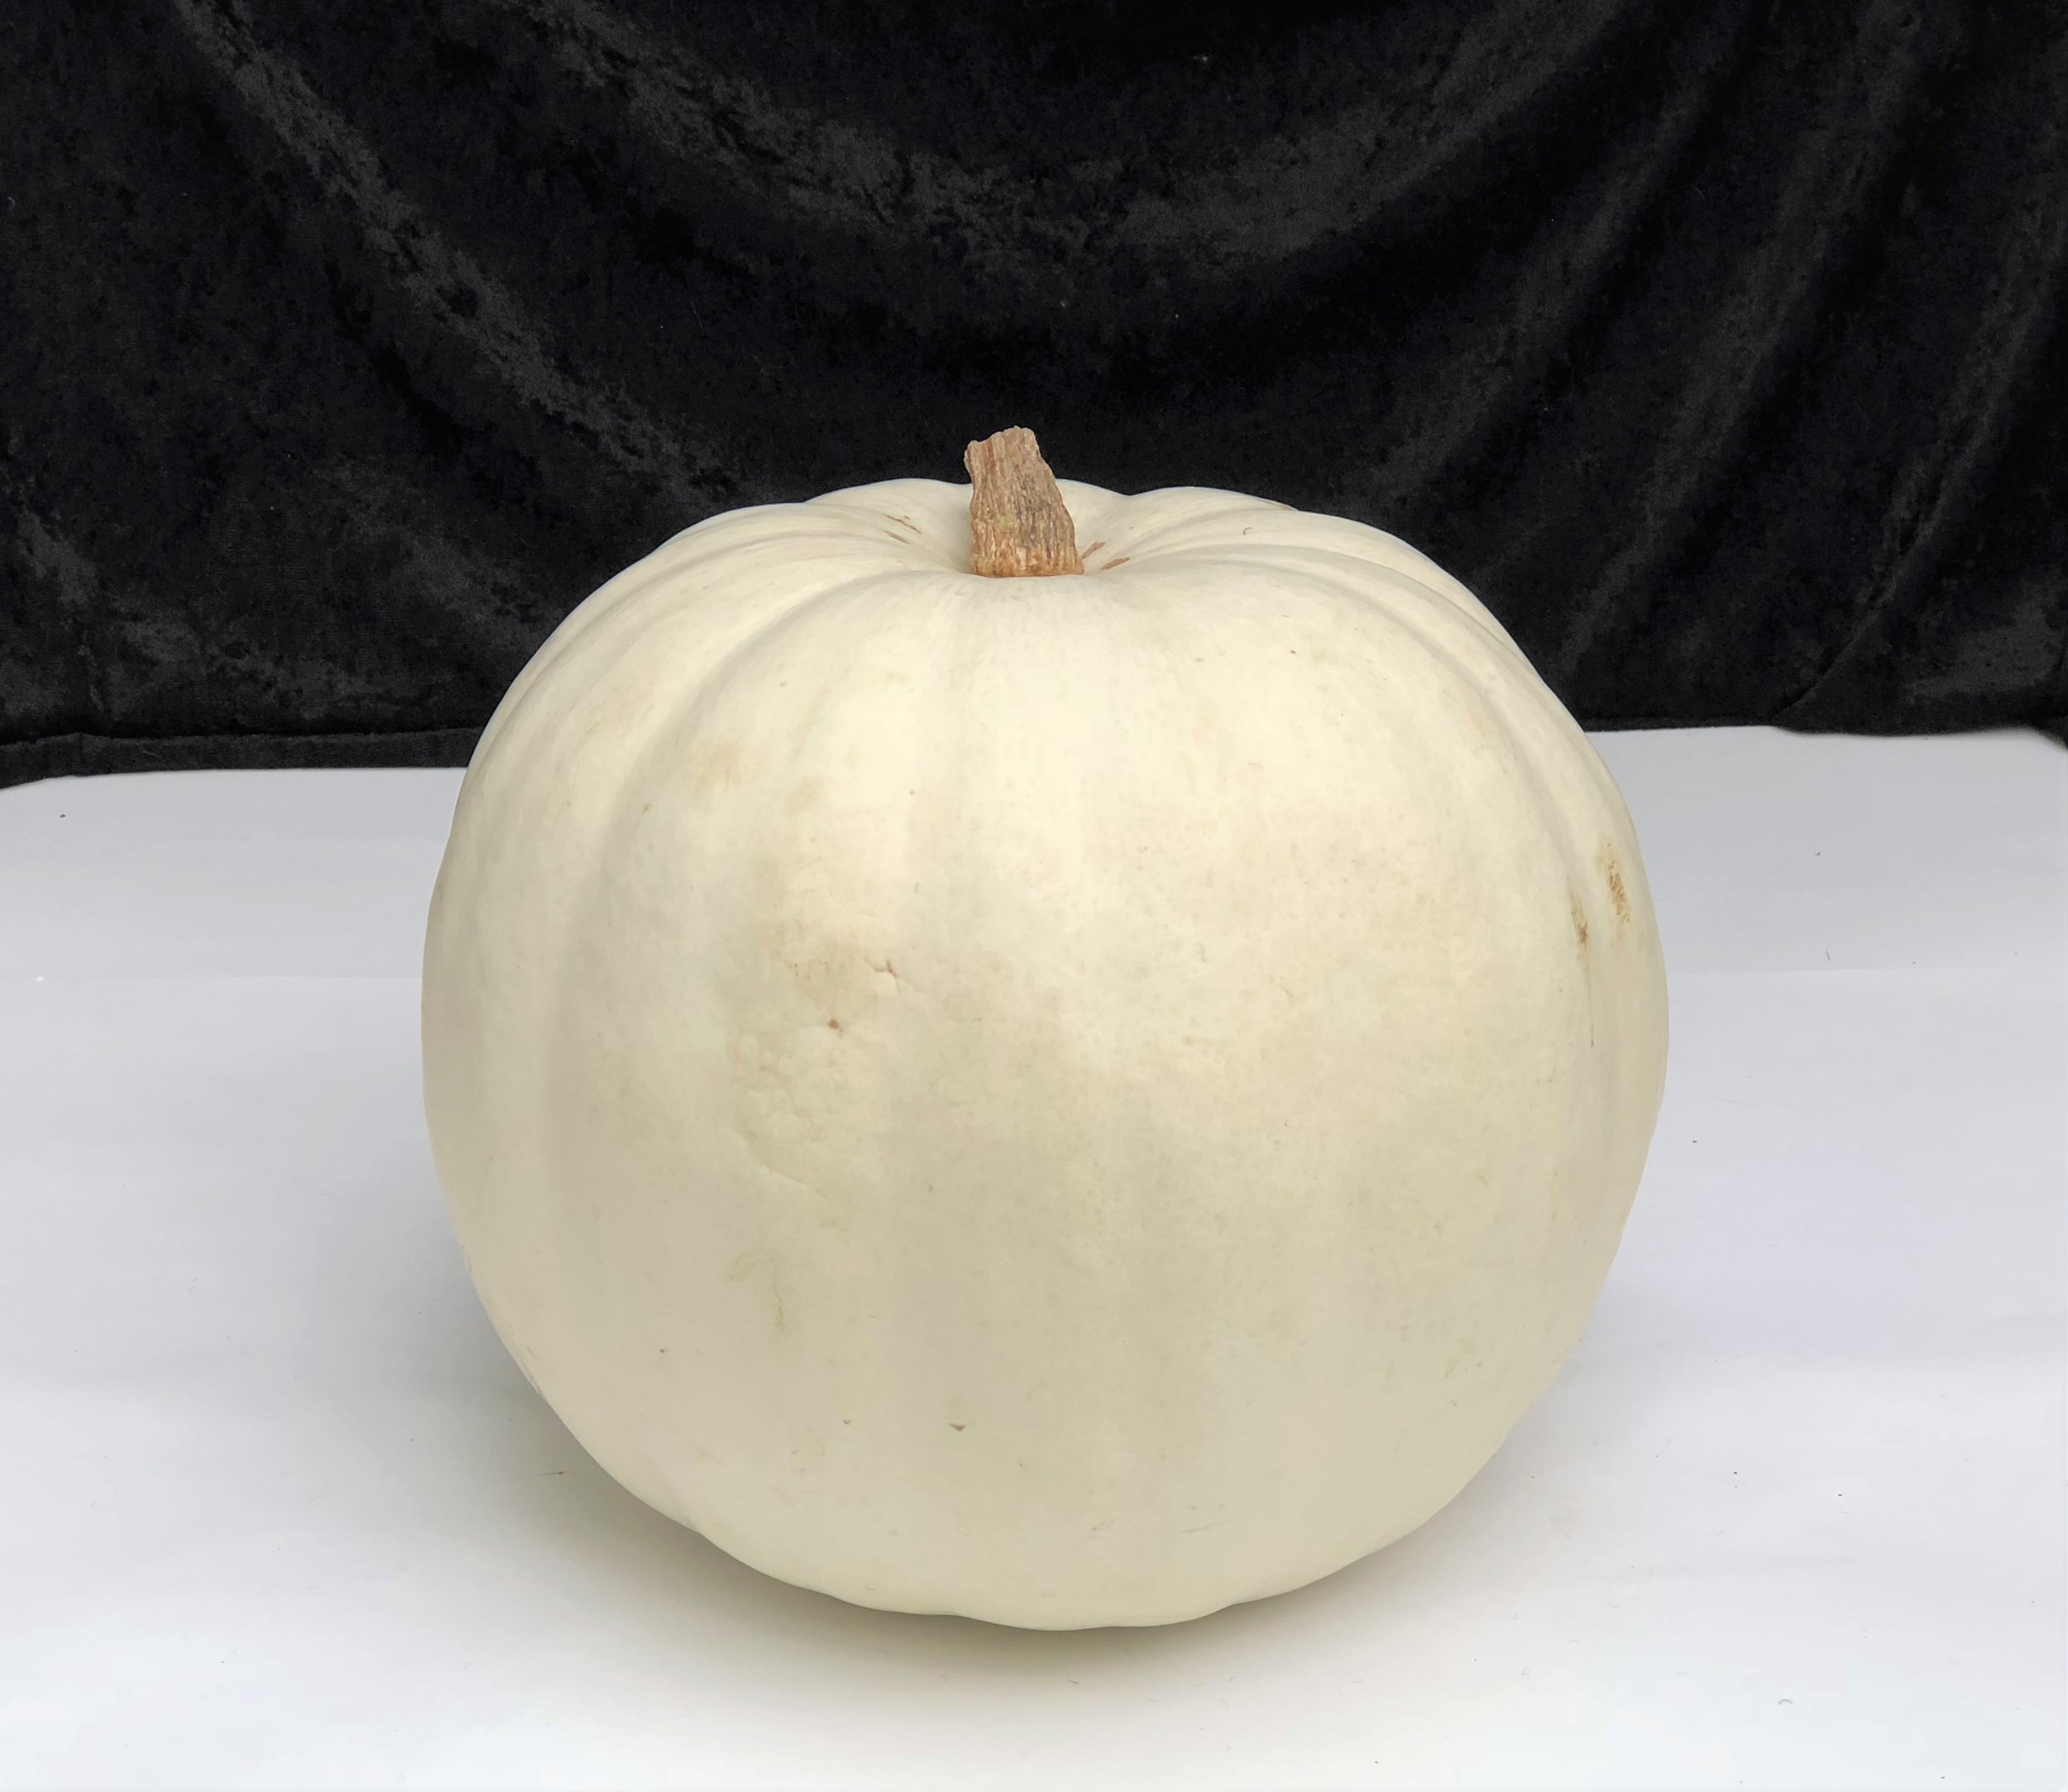
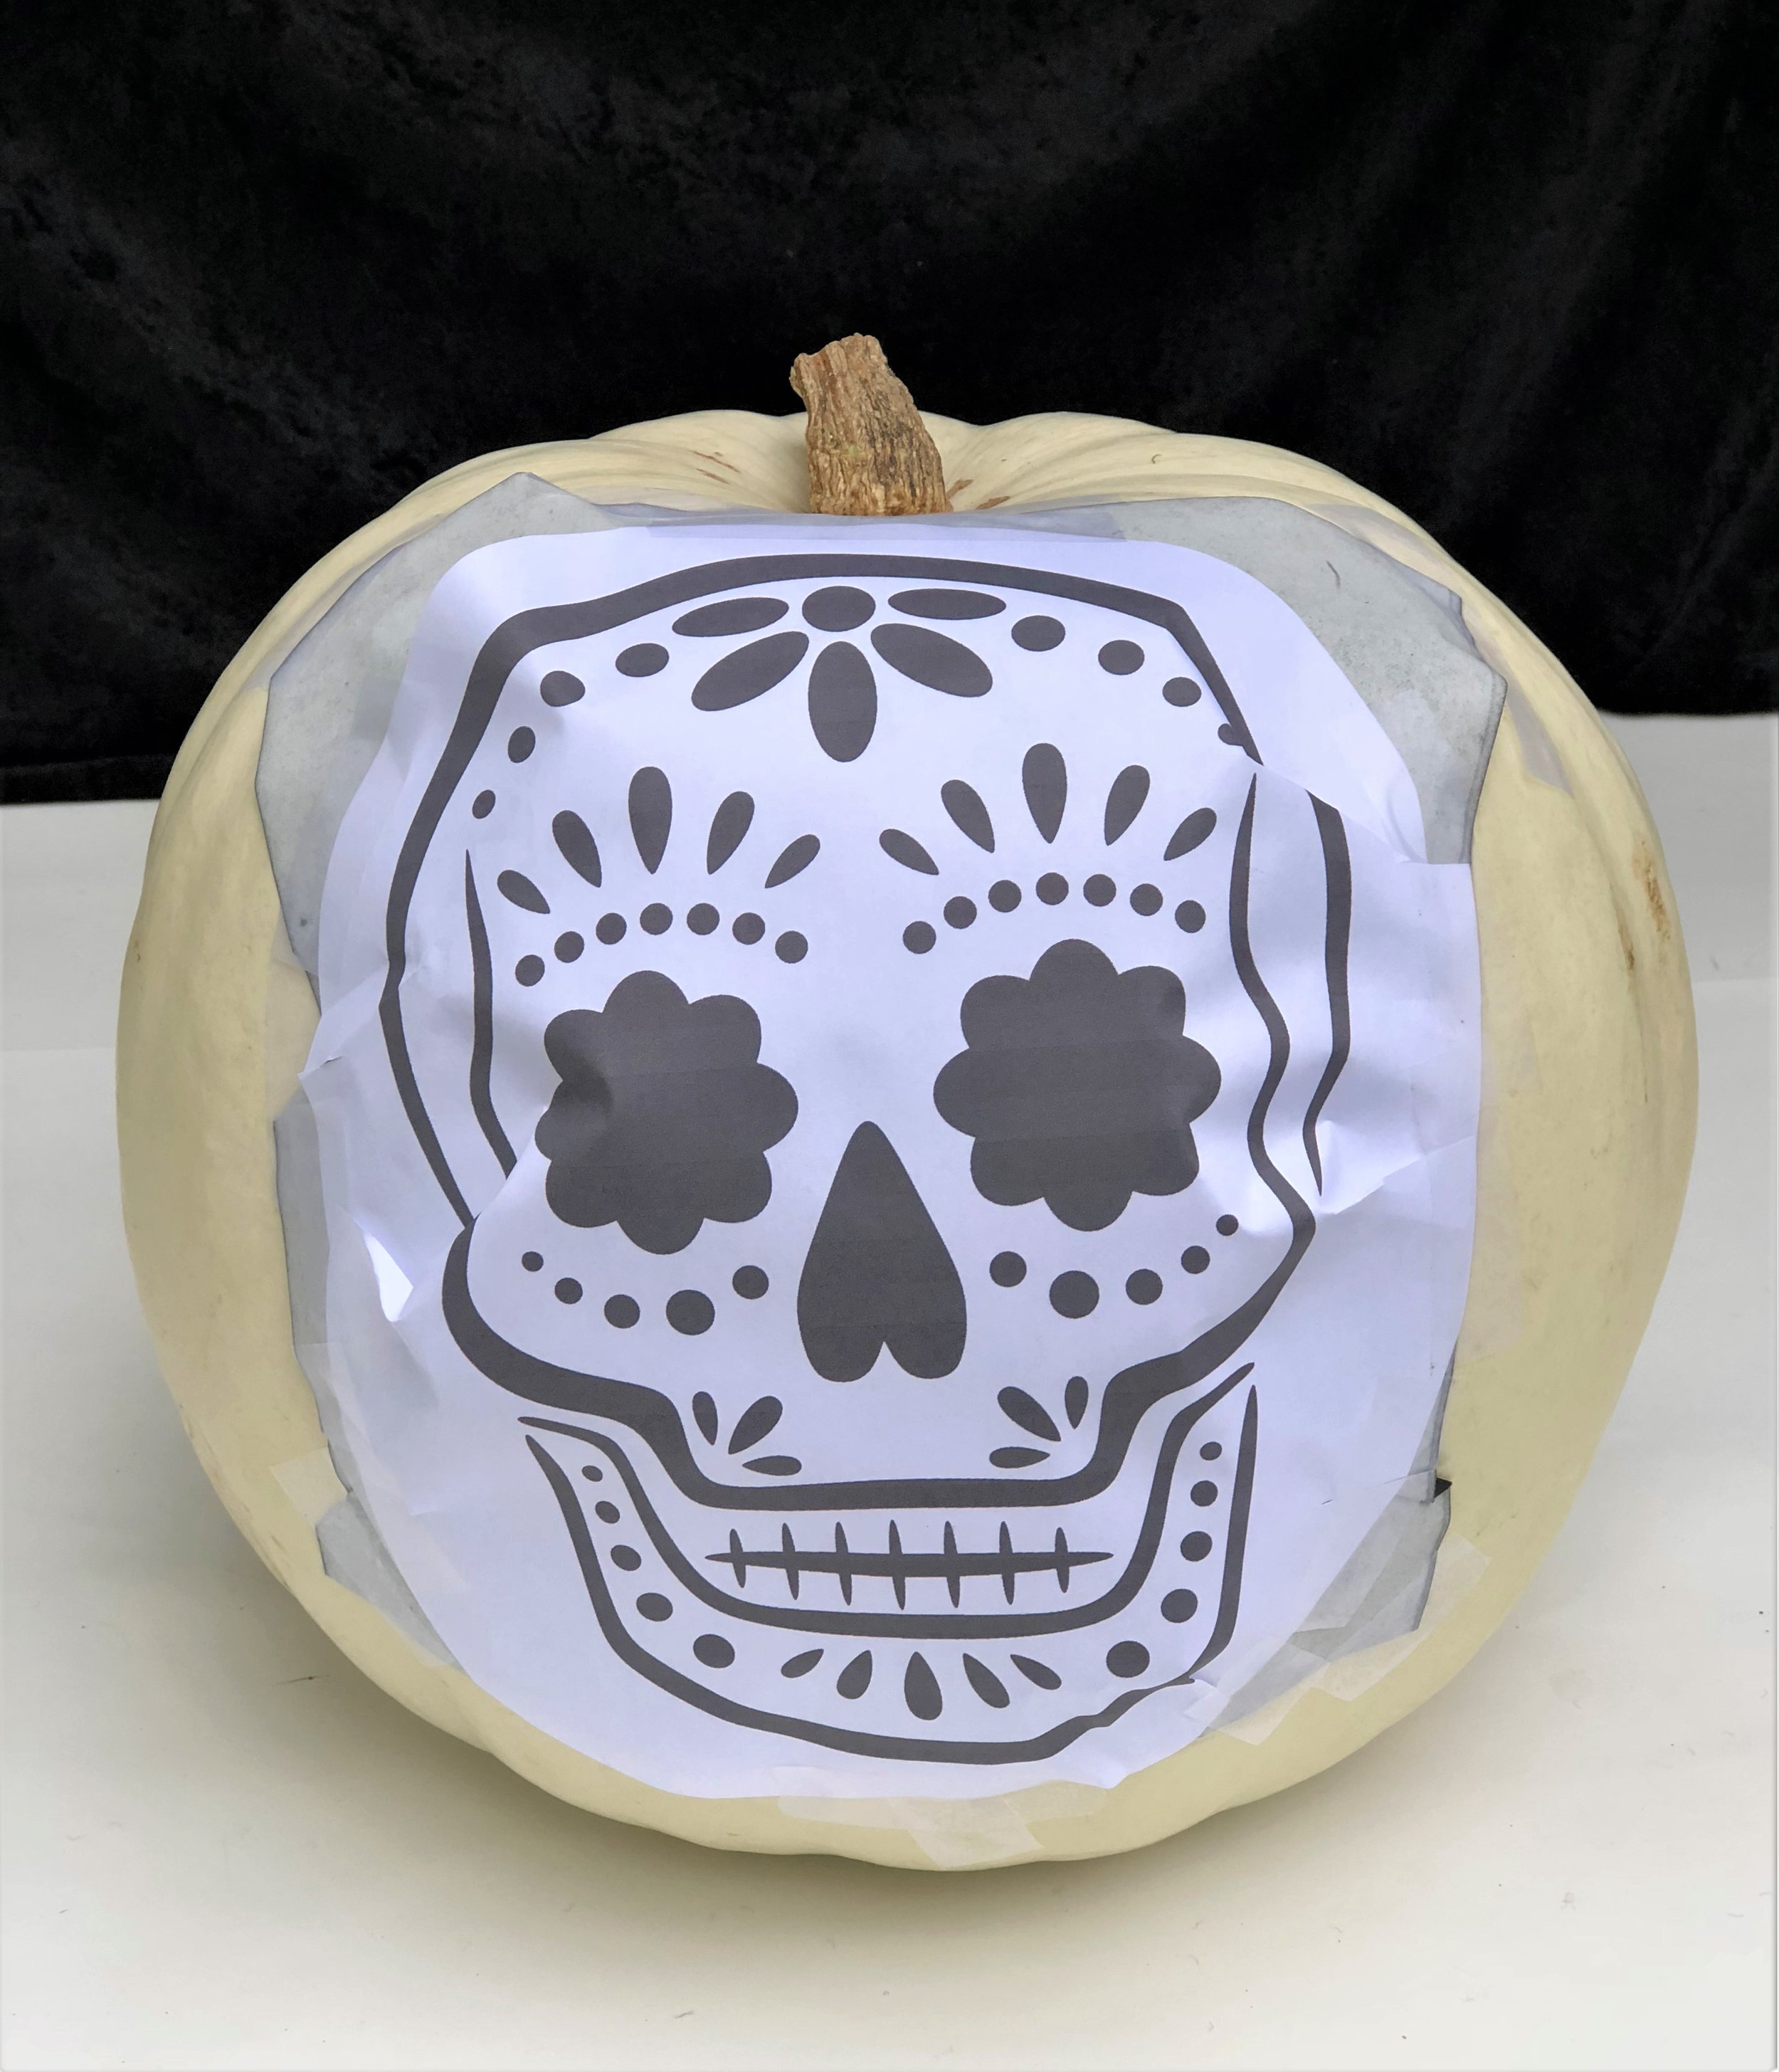
I also decorated a white pumpkin with a sugar skull design using permanent markers instead of carving it the design. I used a more simple stencil that you can download for free here. If you are a paid Rapid Resizer subscriber then you can also print either of these stencils across several pages for decorating larger pumpkins or making other decorations.
You will need:
a pumpkin
carbon paper
masking tape
pen
permanent markers (I found that some brands worked much better than others so be sure that the markers you plan to use will color a pumpkin well!
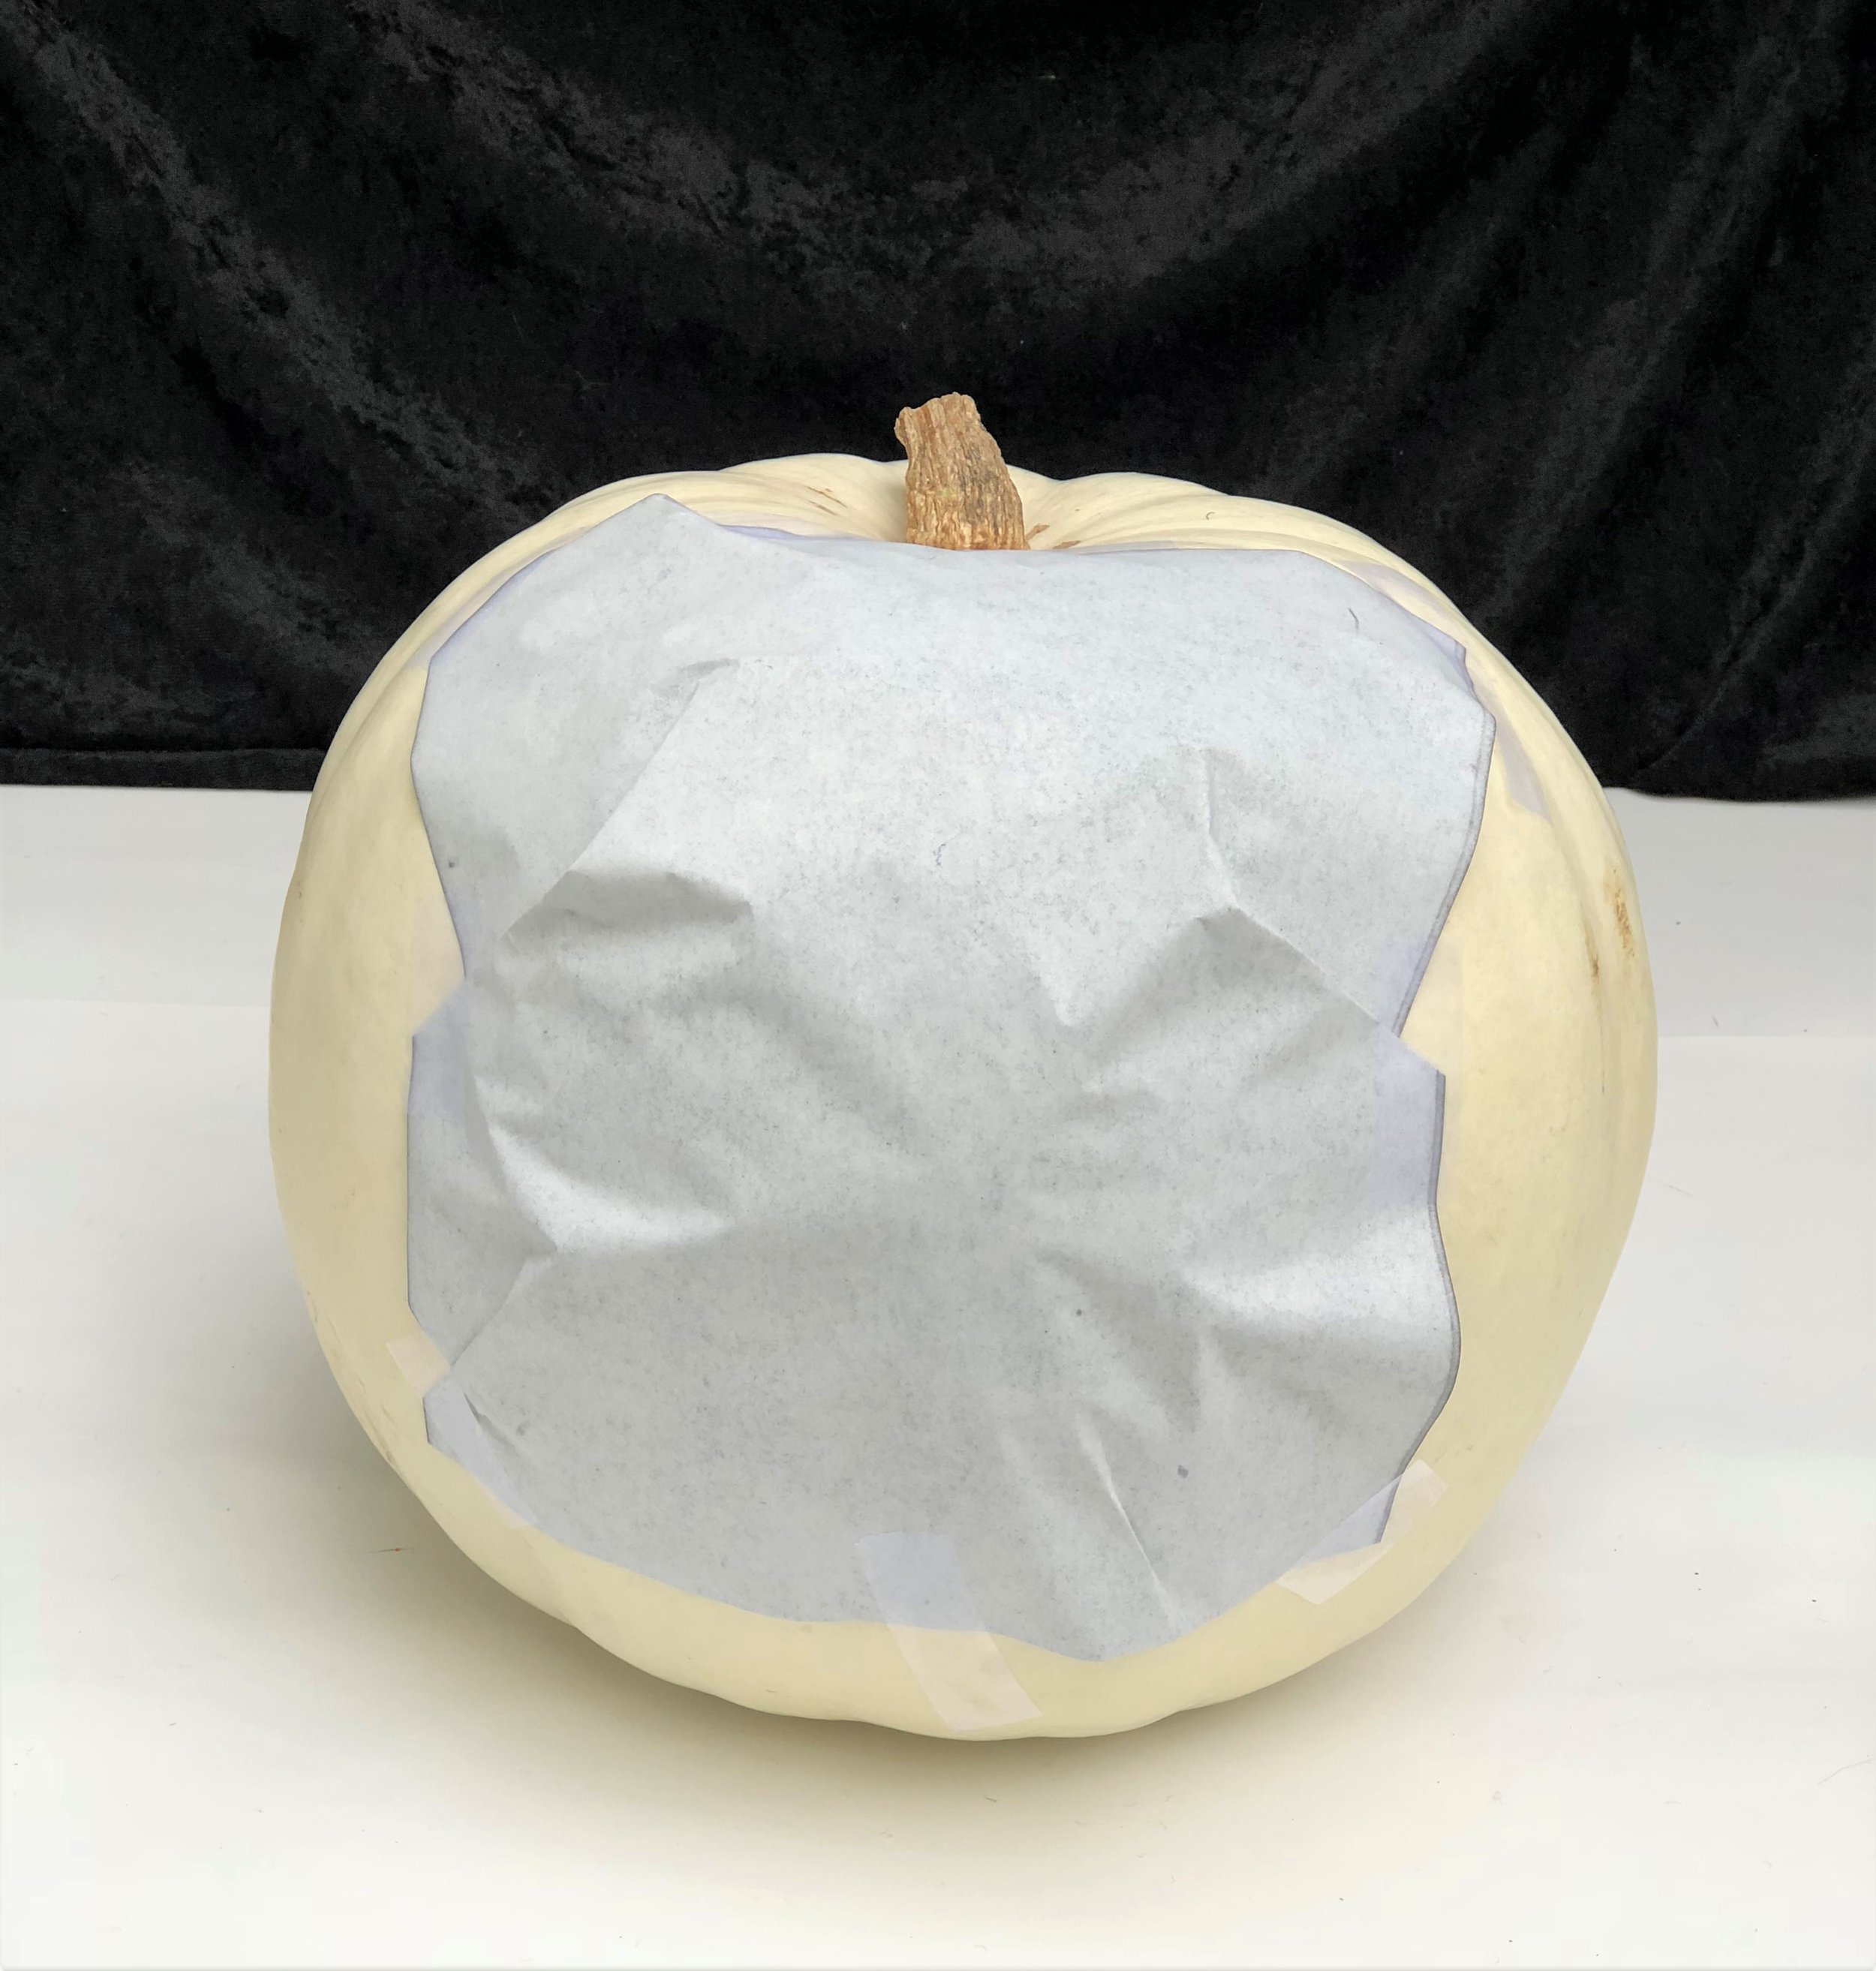
Begin by taping the carbon paper to the pumpkin carefully with masking tape or low tack tape. Try to touch the carbon paper only where necessary as it will leave a mark on the pumpkin. Stronger tape will be more difficult to peel off and may leave more marks. Then tape the stencil over it.
Helpful tip: using carbon paper to transfer the design will also work if you are carving the pumpkin in case you aren’t a fan of the hole punching method. You can use a toothbrush and soapy water to scrub off any extra carbon marks after you remove the stencil.
Also, if you only have an orange pumpkin then you can paint the area that you plan to stencil with white acrylic paint.
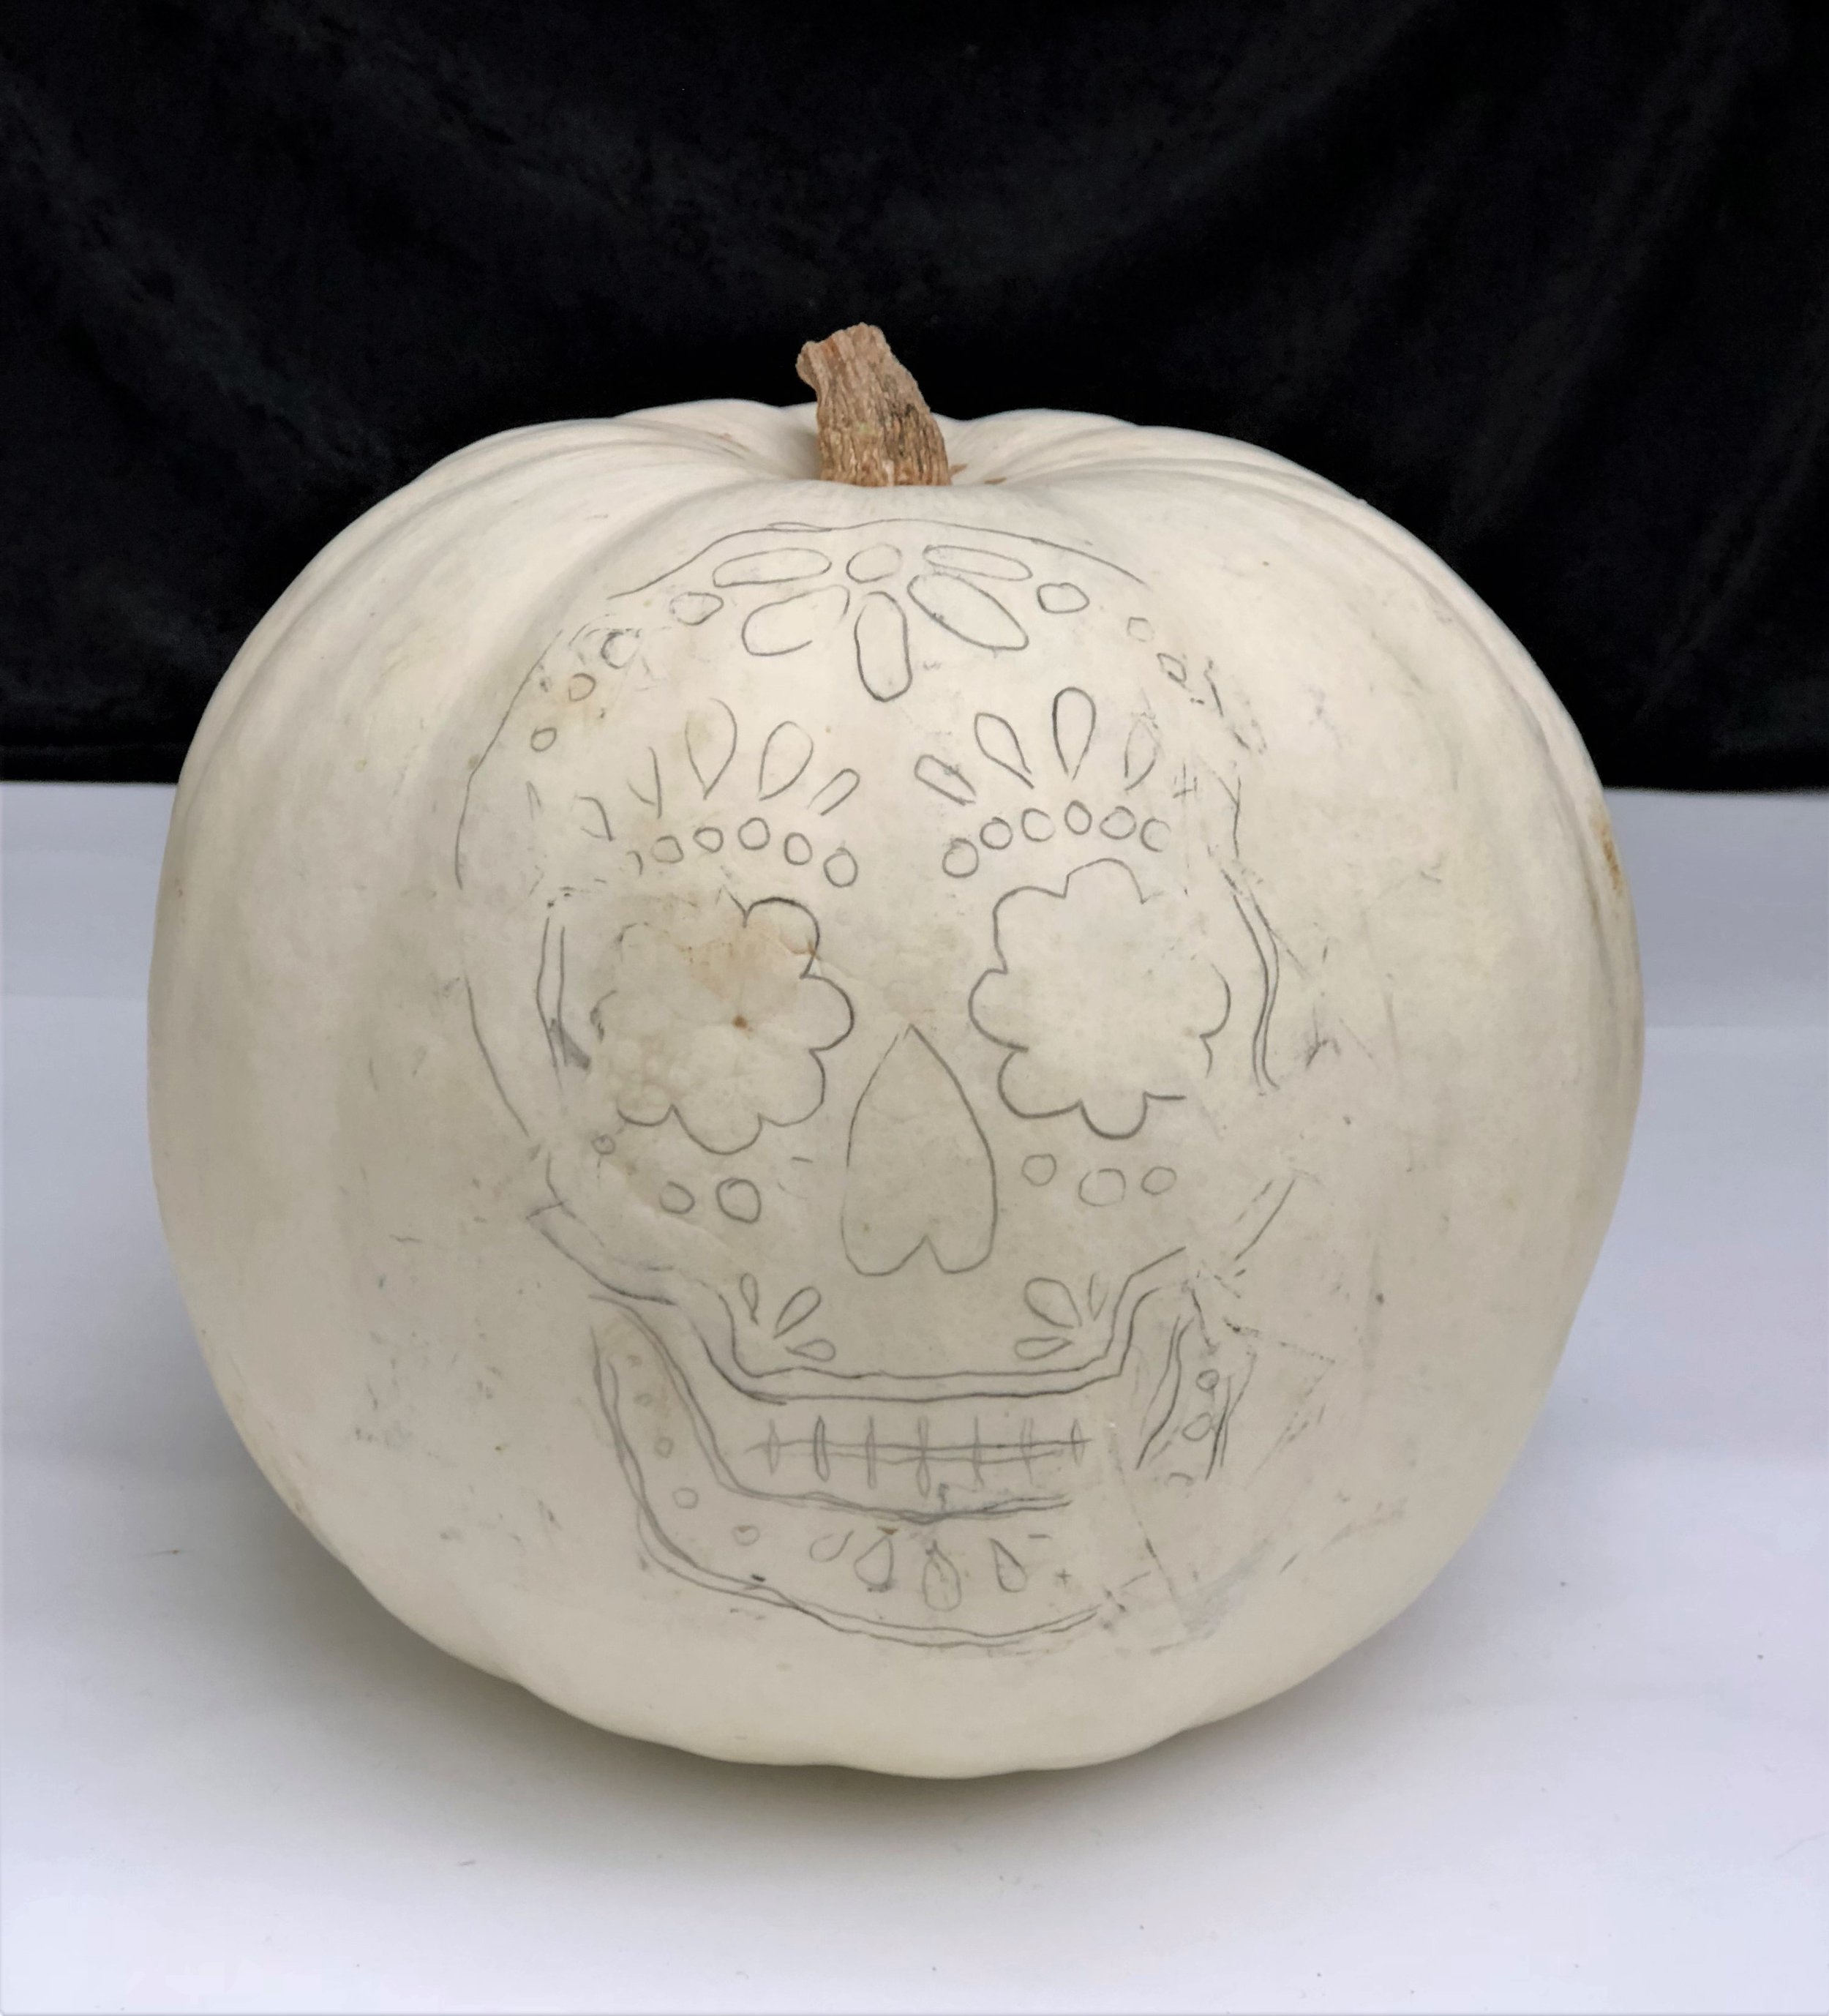
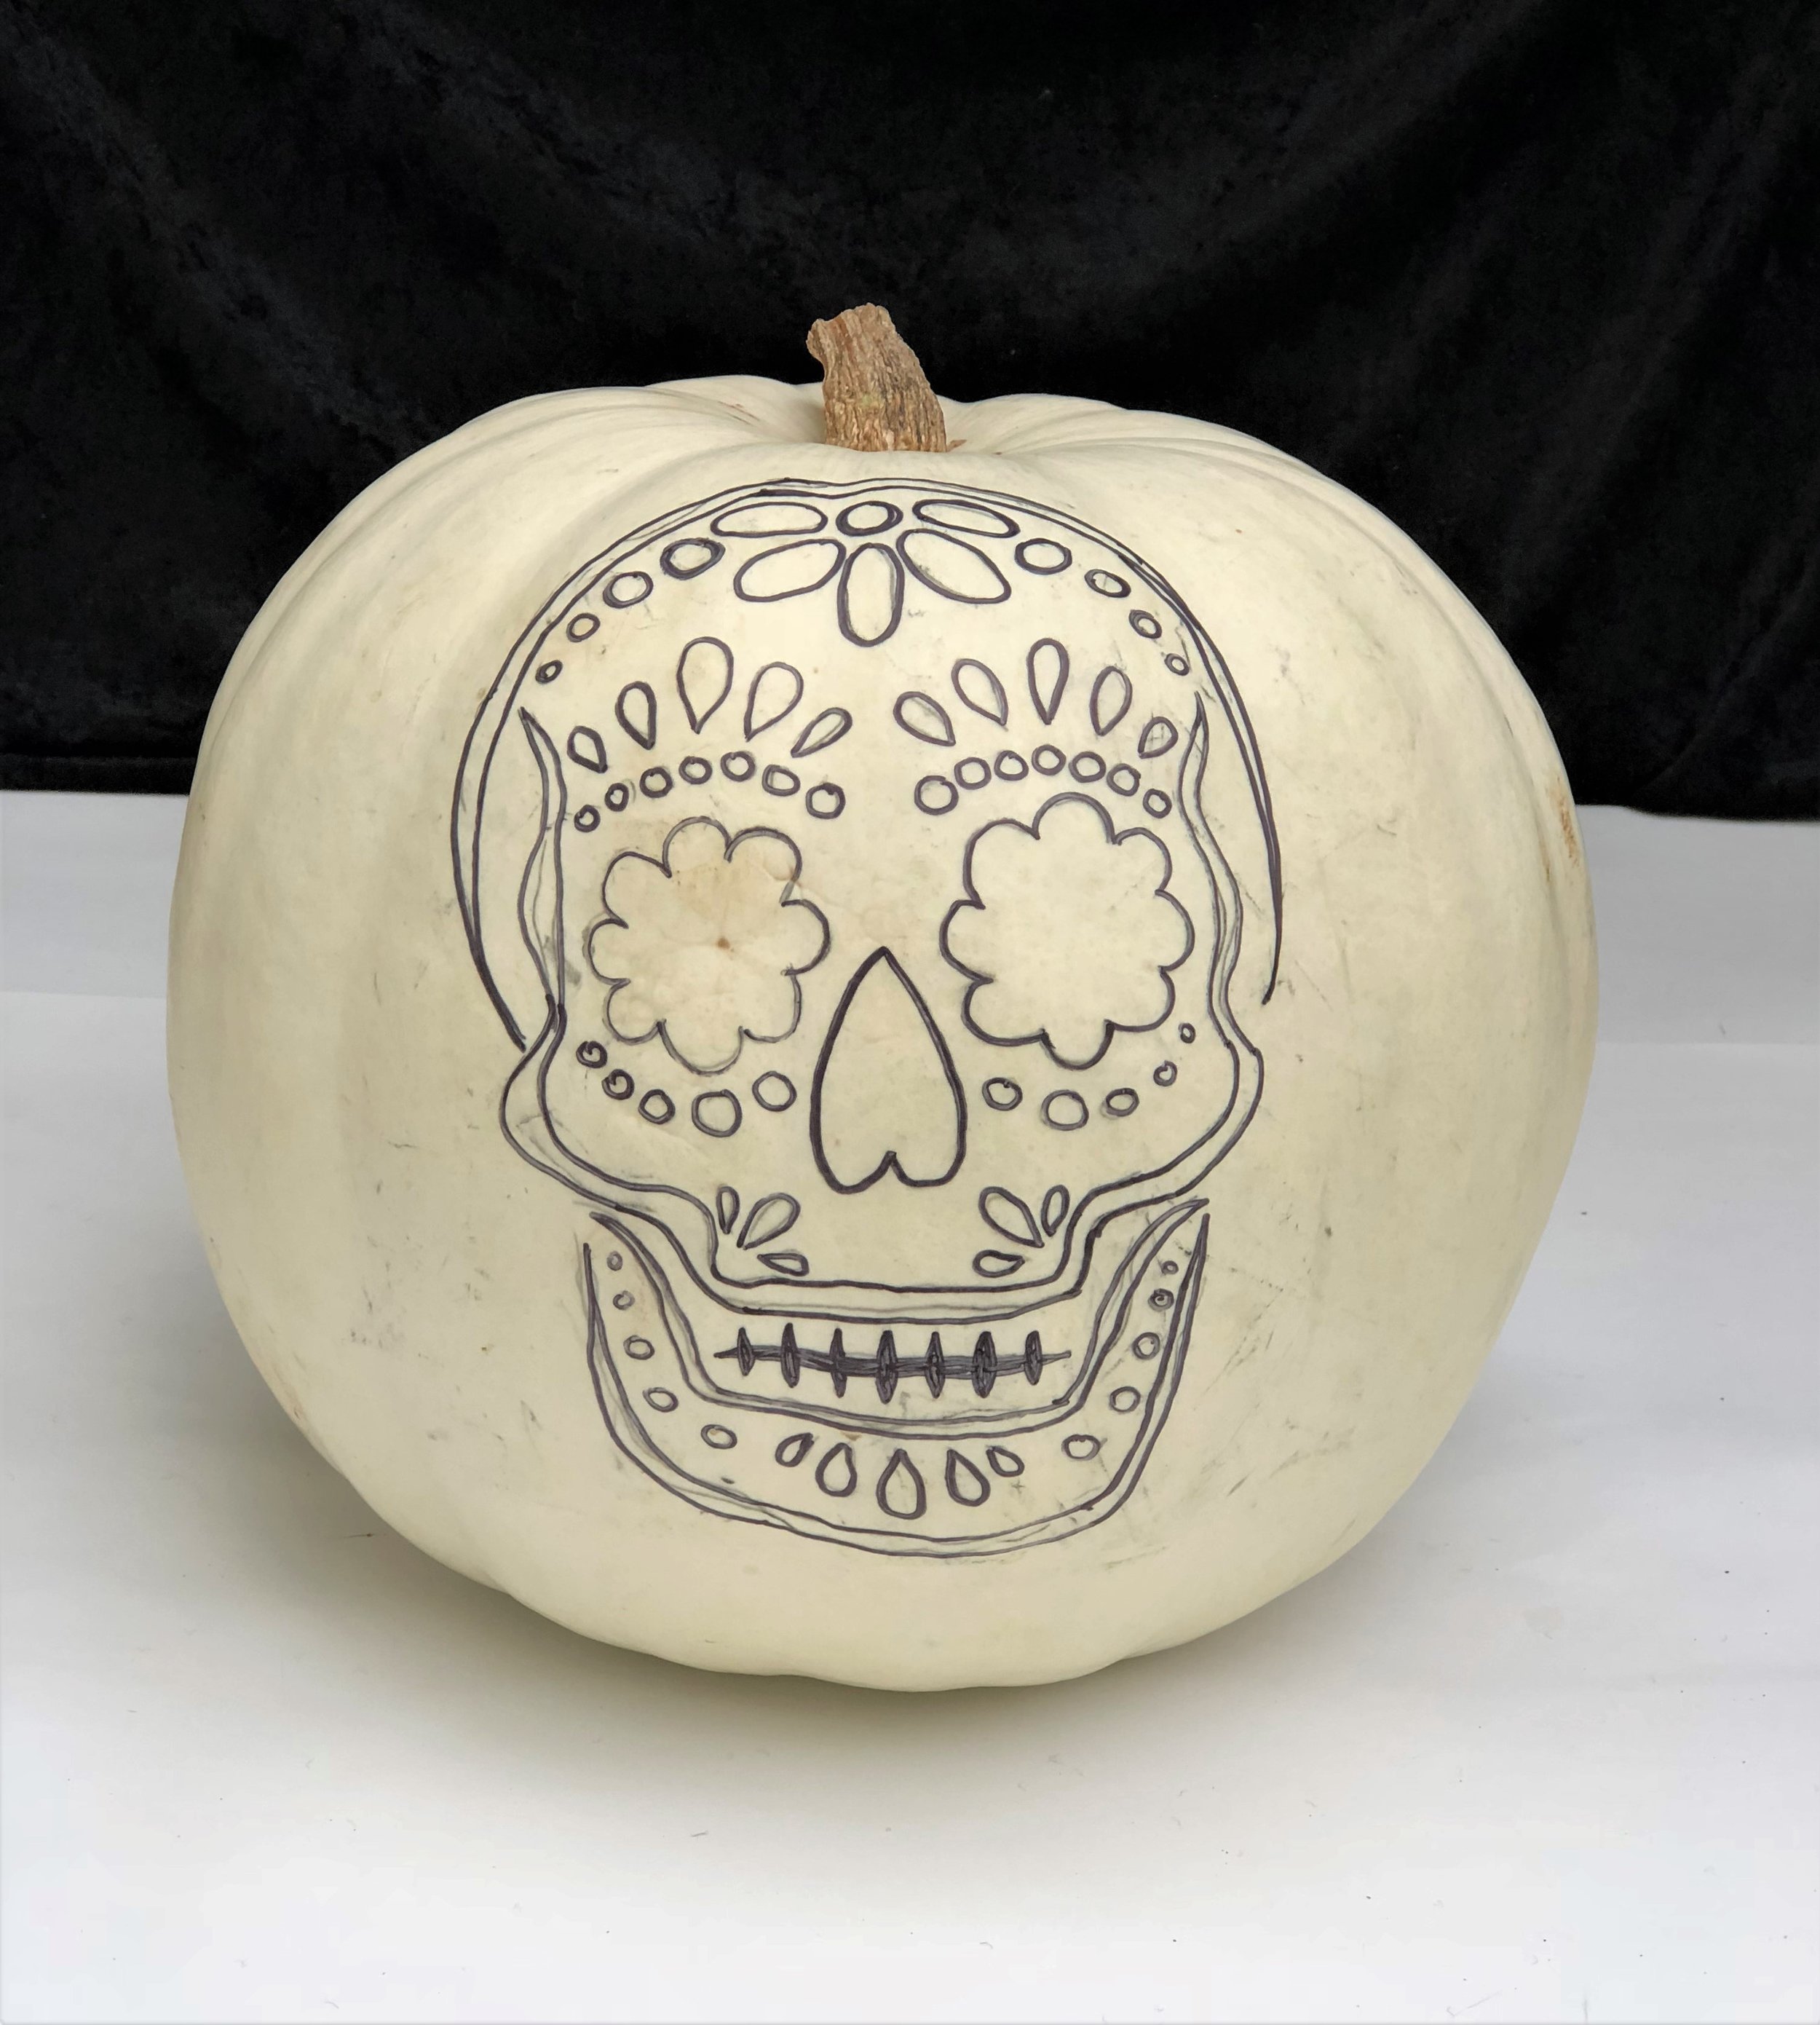
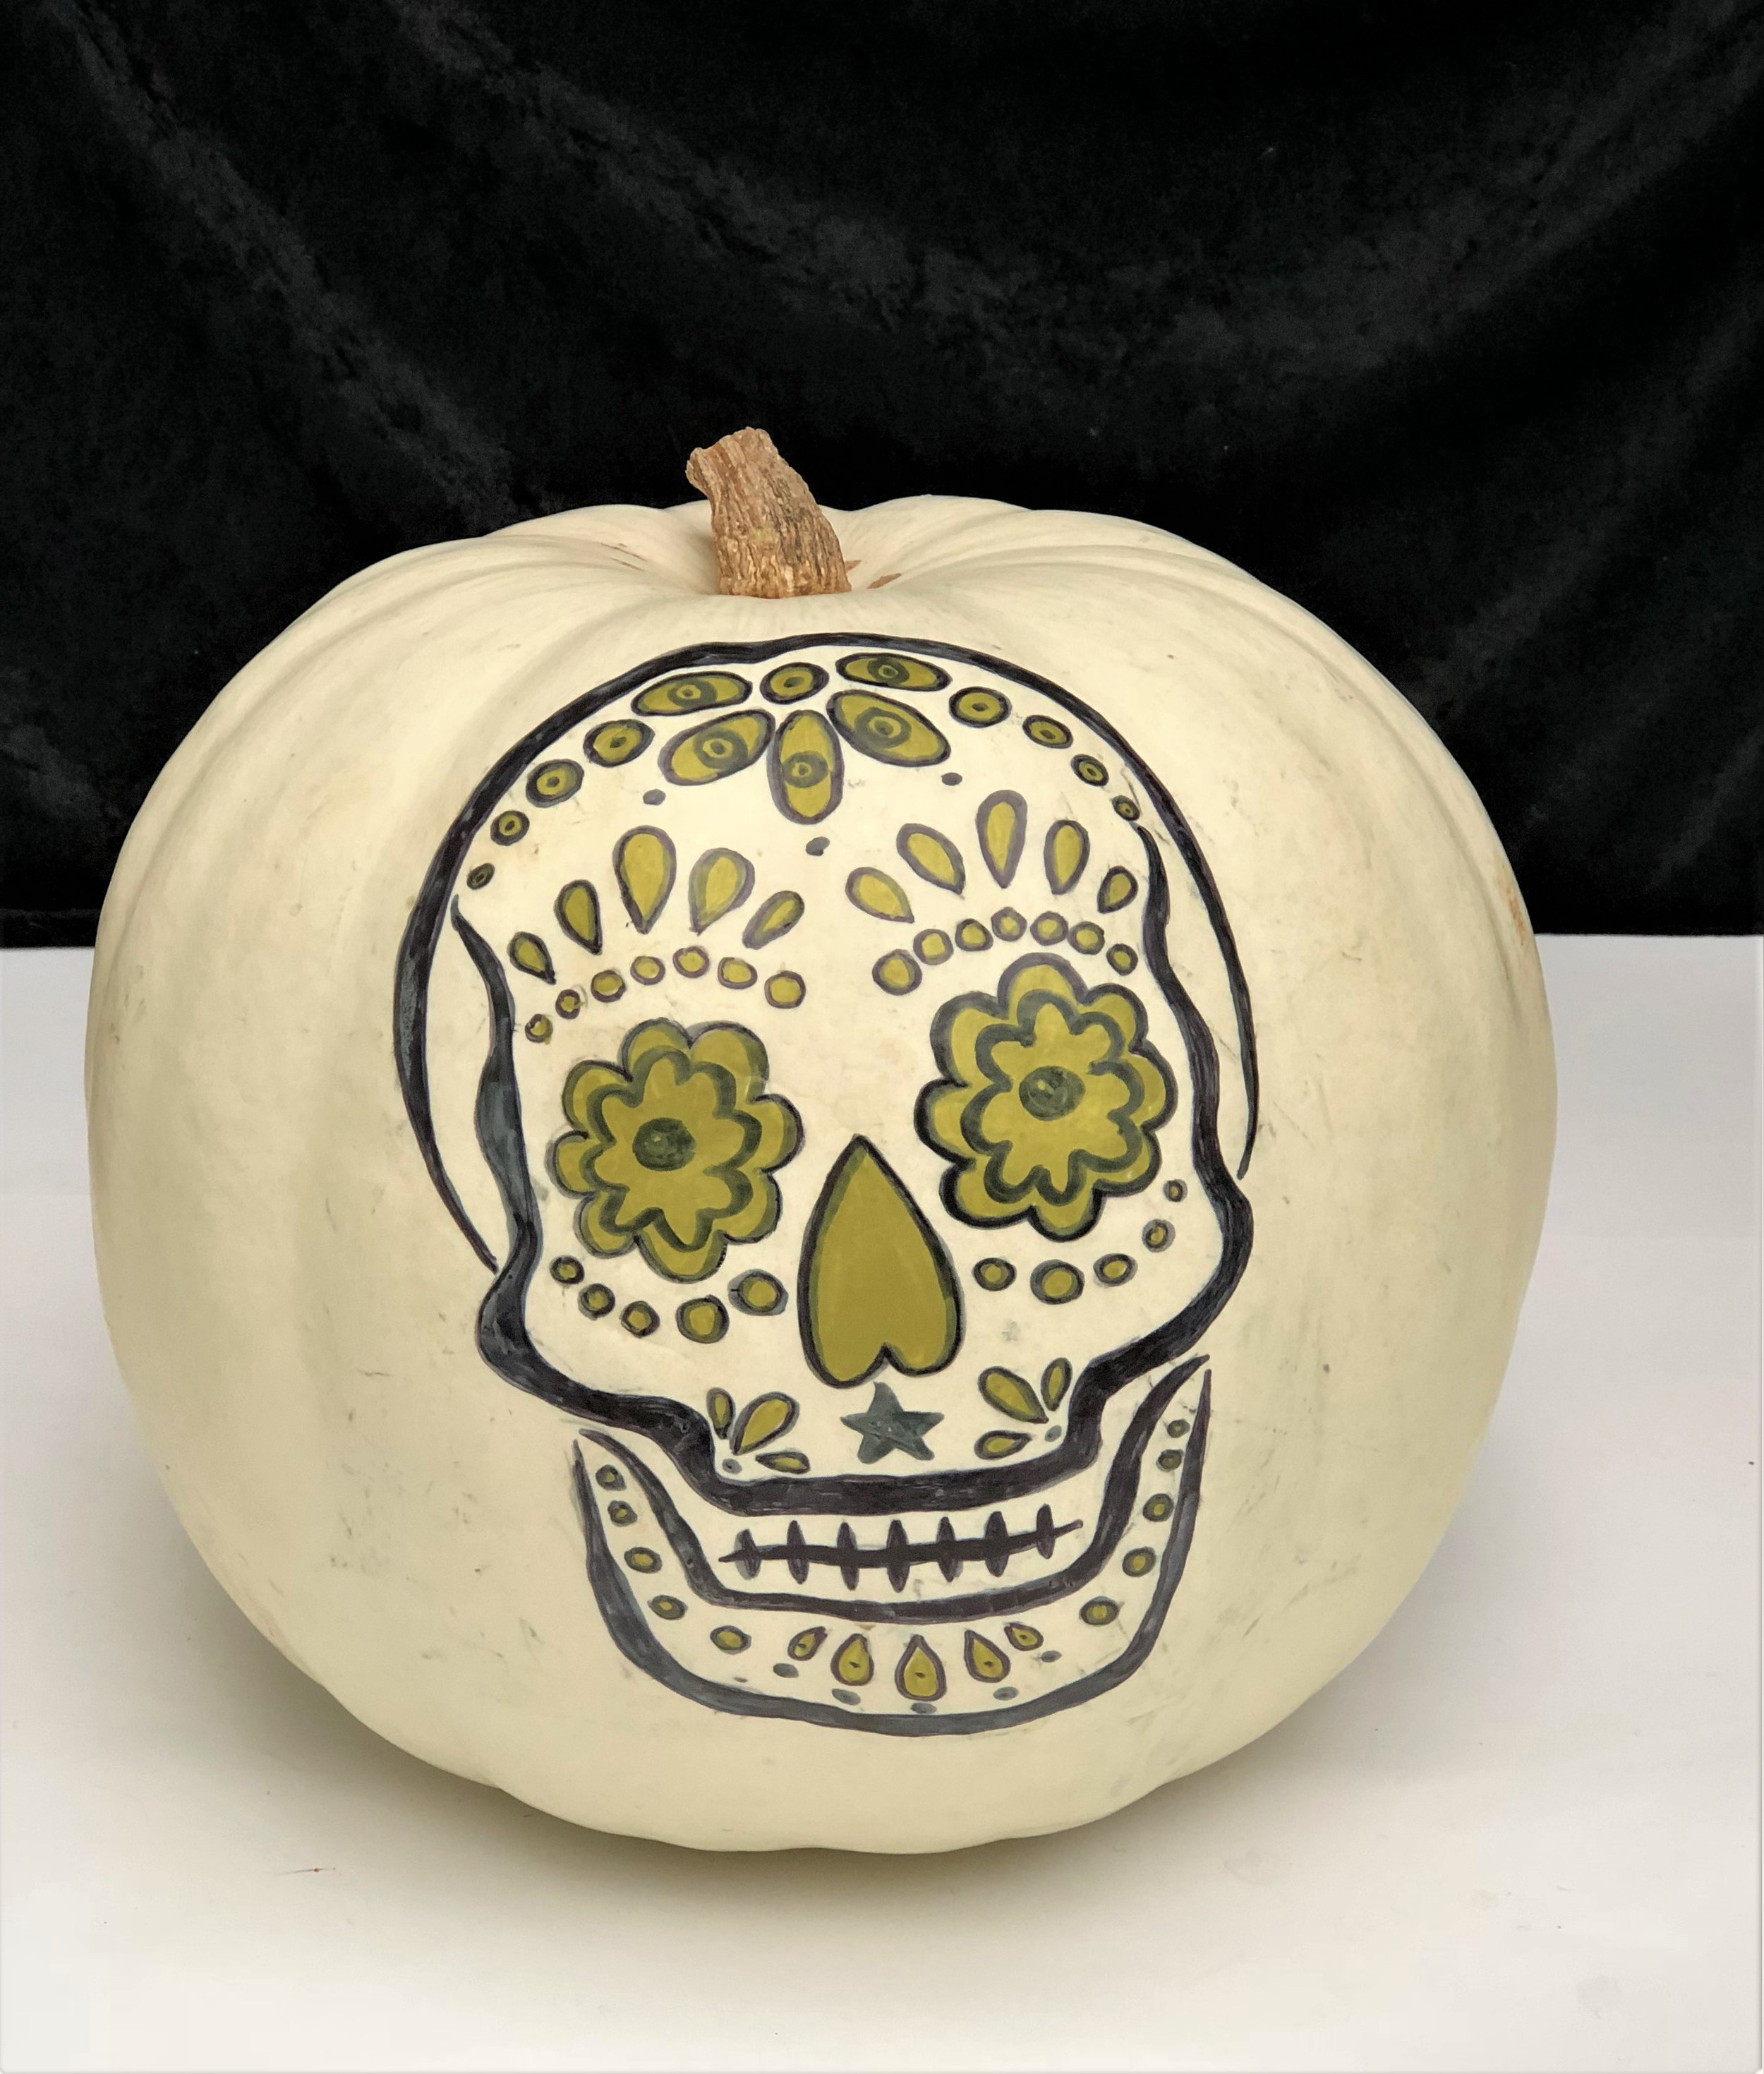
Use a pen or pencil to trace the shapes of the sugar skull stencil. Then remove the stencil and carbon paper and go over the carbon lines with a permanent marker and fill in the design with any colors you like!

Please send us photos if you create a sugar skull pumpkin, or comment below with any feedback or questions. We love hearing from you.
Happy Stenciling!
~Melissa