
How to Transfer Designs & Create Stencils
Hi Everyone! This week I created an overview of some simple ways to transfer designs onto a variety of mediums. I used the symbols from the free Letter Stencil Maker on Rapid Resizer to print out a star shape for the examples. I also demonstrated some ways to make reusable stencils, so watch my quick video tutorial below to see how you can use these methods in your arts and crafts.
Window Transfer Method
What you’ll need:
printout of your design
pencil
tape
window
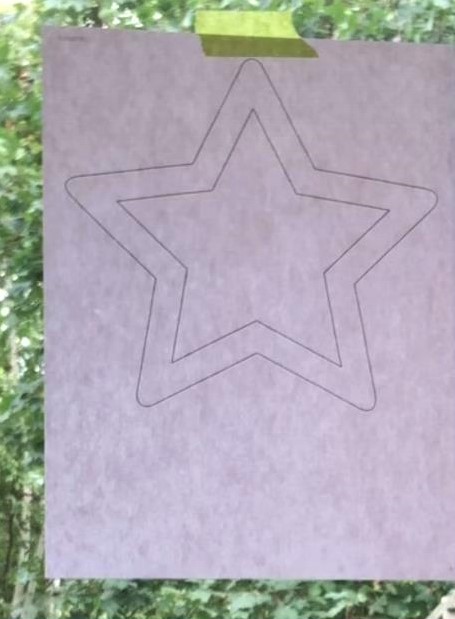
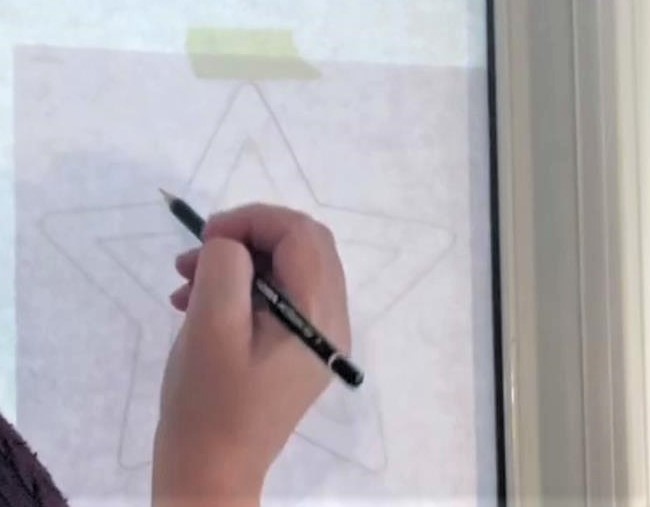
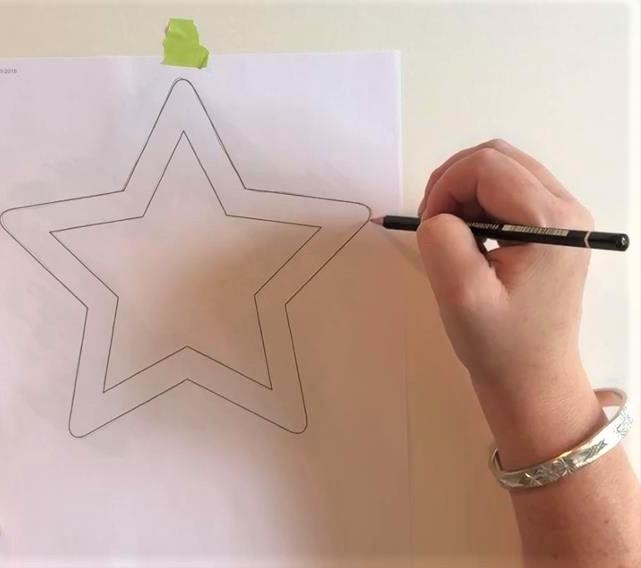
This is a great alternative to using a lightbox! Tape your design to the window and then tape your art paper over it. I have found that all thicknesses of paper work with this technique. Be sure to use tape that is not very sticky so it doesn’t rip your paper - experiment with it first as I have found even low-tack tape can rip watercolor paper. Then simply trace your image and you are ready to make some art.
You can also tape the printout of your design to the inside of a canvas frame and lean it against the window to trace the image, and it would probably work for some types of fabric too.
Carbon Paper Method
What you'll need:
printout of your design
carbon paper
tape
pencil
Place the carbon paper with the black side facedown on the art medium you are going to transfer your image to. This technique works on paper, wood, canvas, and some types of fabric. Then tape your printout over it and trace it with a pencil.

Pencil Shading Method
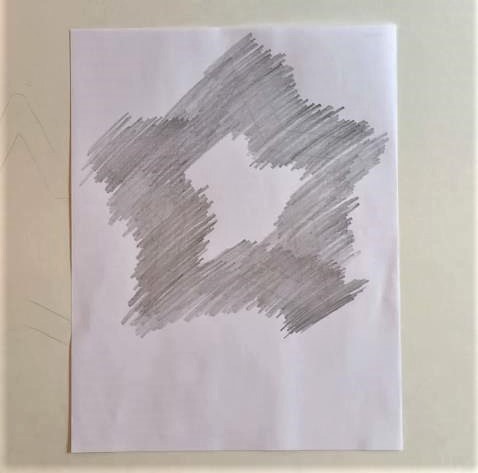
If you don’t have any carbon paper handy just shade the back of your printout and then tape it onto the surface you want the transfer the image to with the pencil shaded side facing down. Then trace it with a pencil and you’re ready to make some art with it! This works on art paper, wood, and canvas. You can transfer a design to wood for pyrography this way.
Chalk Shading Method
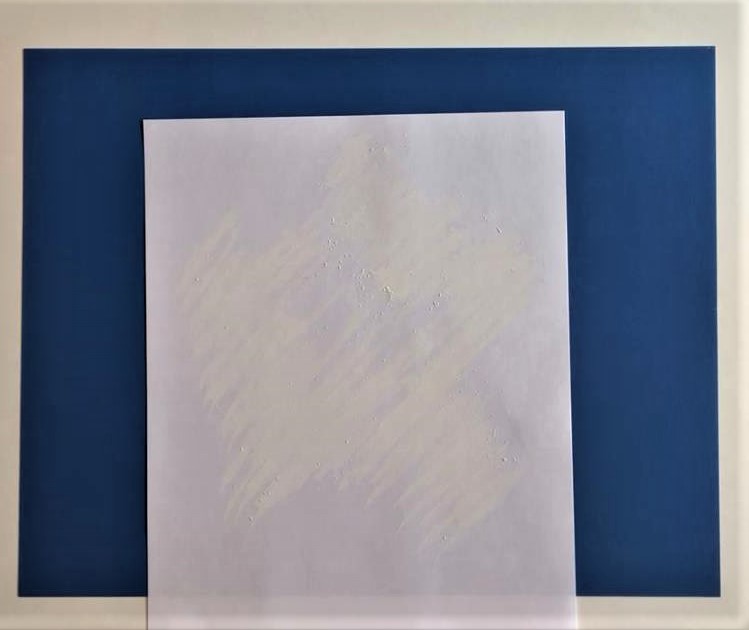
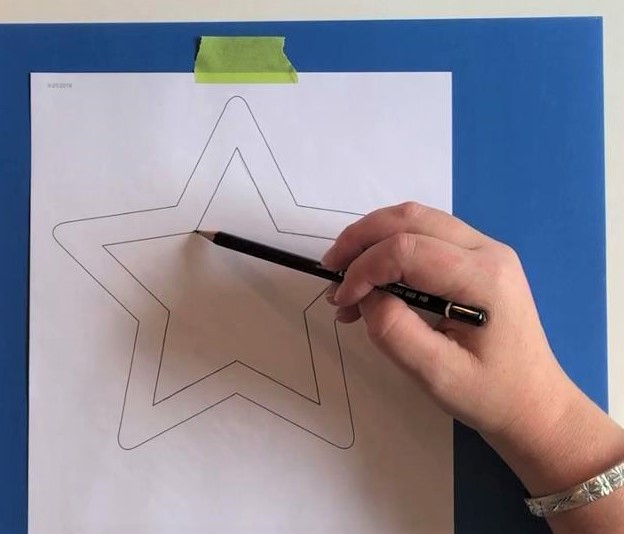
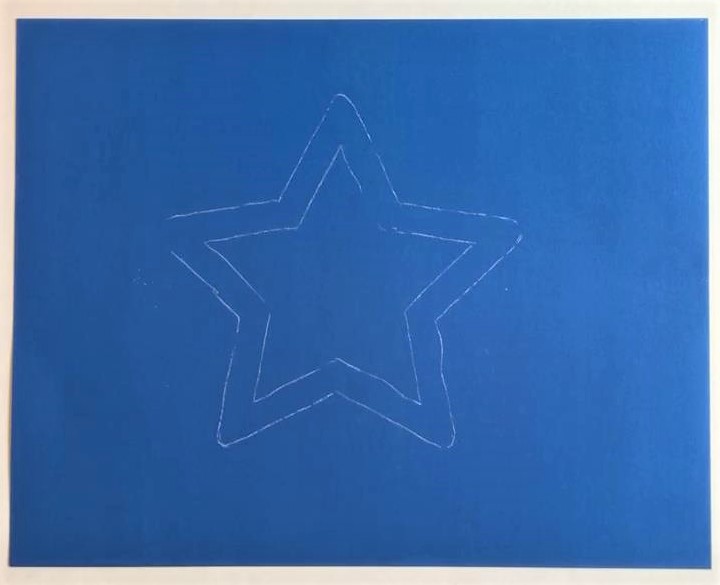
You can also shade the back with chalk, and this is a good way to transfer images onto dark colors of art paper as well as wood and chalkboards. Tape it chalk side down onto your medium and trace your design with a pencil to transfer the image.
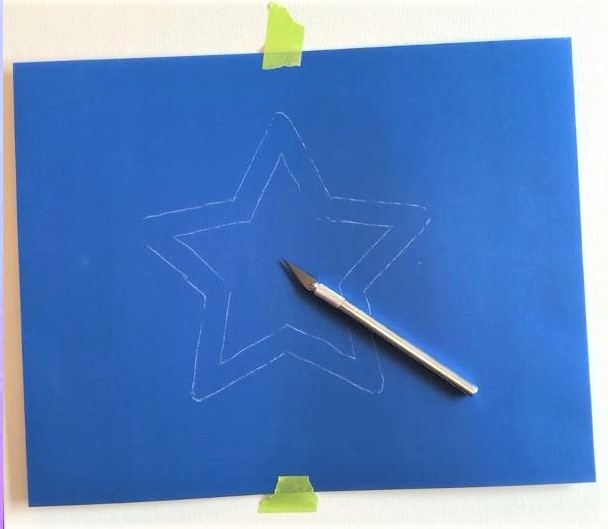
Create a Stencil with a Craft Knife
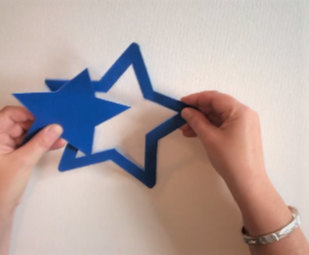
With the chalk star I made a stencil using an X-acto knife and this blue bristol board. If you want a stronger stencil then you can use cardboard or a plastic sheet. Place a cutting mat beneath the stencil material and then trace the outline with the craft knife. In this case you get two stencils, the inner star and the outer star.
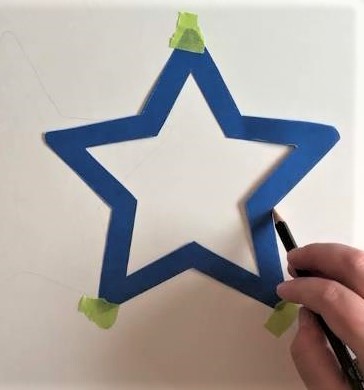
Then tape it down to your art medium and trace the shape of the stencil to transfer your design. You can also apply paint with stencil brushes or a sponge, or just use spray paint.
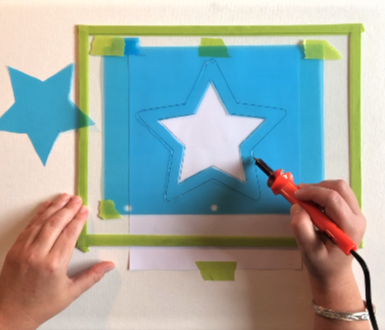
Create a Stencil with a Plastic Sheet and a Heating Tool
If you are making a large stencil that would be tiring to do with a craft knife then a heating tool is a quicker option. You can use Rapid Resizer to print designs to any size to create large stencils.
What you’ll need:
heating tool like a wood burning tool or a stencil cutting tool
a sheet of plastic like a plastic divider from a binder or Mylar
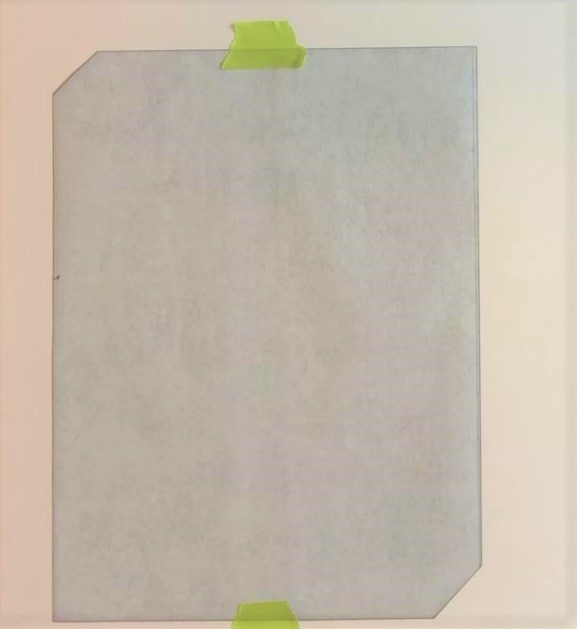
a piece of glass with the edges taped (get one from an old picture frame like the kind you can pick up at a thrift shop)
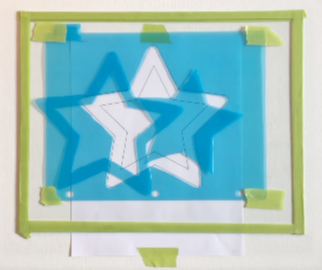
Place your printout on your work surface and tape it down. Then place the glass over top of it (if you want to etch the glass with a dremel for your project instead then you already have your stencil in place so you’re ready to go).
Now tape the sheet of plastic onto the glass and use your heat tool to trace the lines of the design. Remove each piece as you finish it so that it doesn’t melt and reattach to the plastic sheet. Work outside or somewhere with good ventilation as melting plastic gives off fumes. Also tape the stand for the heat tool to your work surface so that it is more stable.
Now you have a reusable stencil and if you make a number of these then you can even keep them in a binder and label each tab with a permanent marker to keep them organized.
I hope you enjoyed learning about these different methods for transferring designs and making stencils. If you have some other techniques please comment below to share them with us.
And if you make some arts and crafts we would love to see them too!
Happy Stenciling!
~Melissa