
How to Create a Stencil for Pumpkin Painting

Just a few days until Halloween and one way to decorate is to use a stencil to spray paint a pumpkin! For this project I wanted to use a stencil material with an adhesive background but I have tried a few brands and found they would get tangled up too easily.
This time I used adhesive window film (the kind you use to make a window opaque)and it worked so well that I will only use this material for stencils from now on.

Materials you will need:
Pumpkin
Window film
Spray paint (or acrylic paint with a stencil brush)
Cutting surface (I use glass from an old picture frame)
Craft knife
Scissors
Tape
Halloween stencil designs
Cardstock to print on (optional)
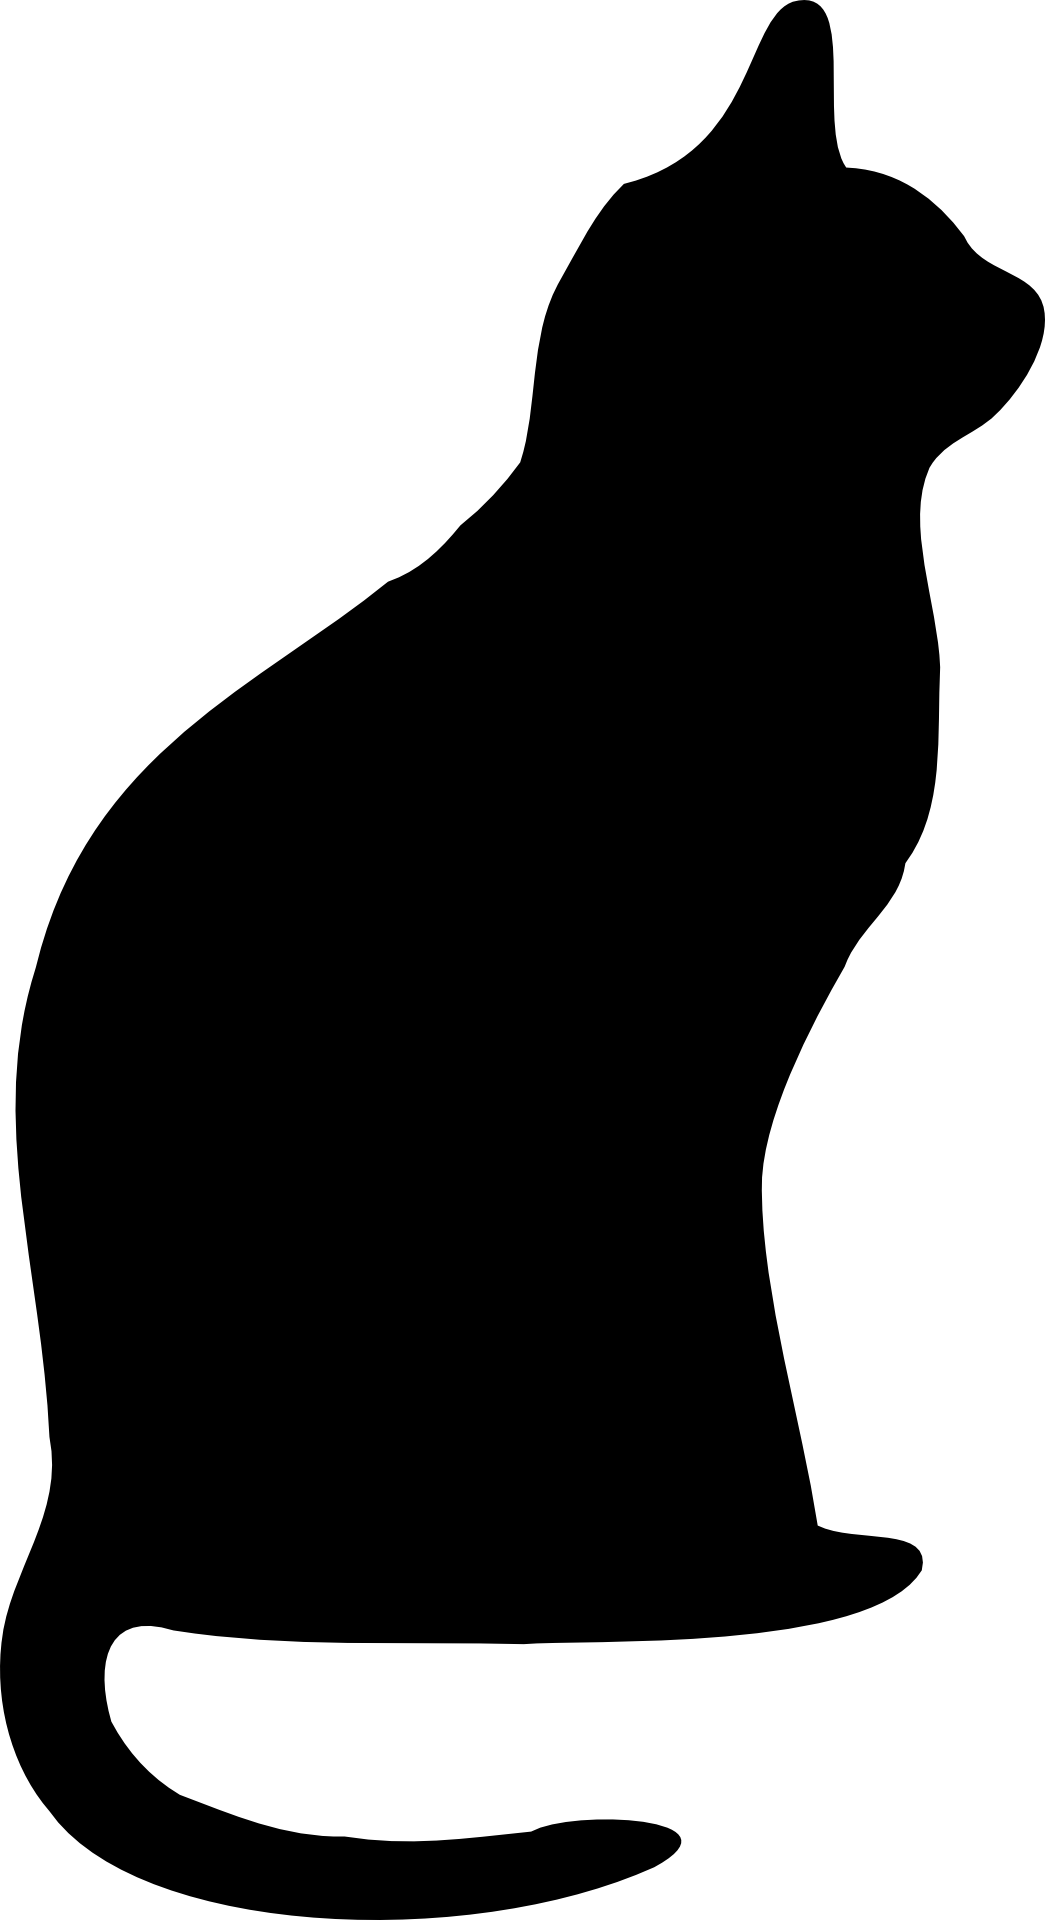
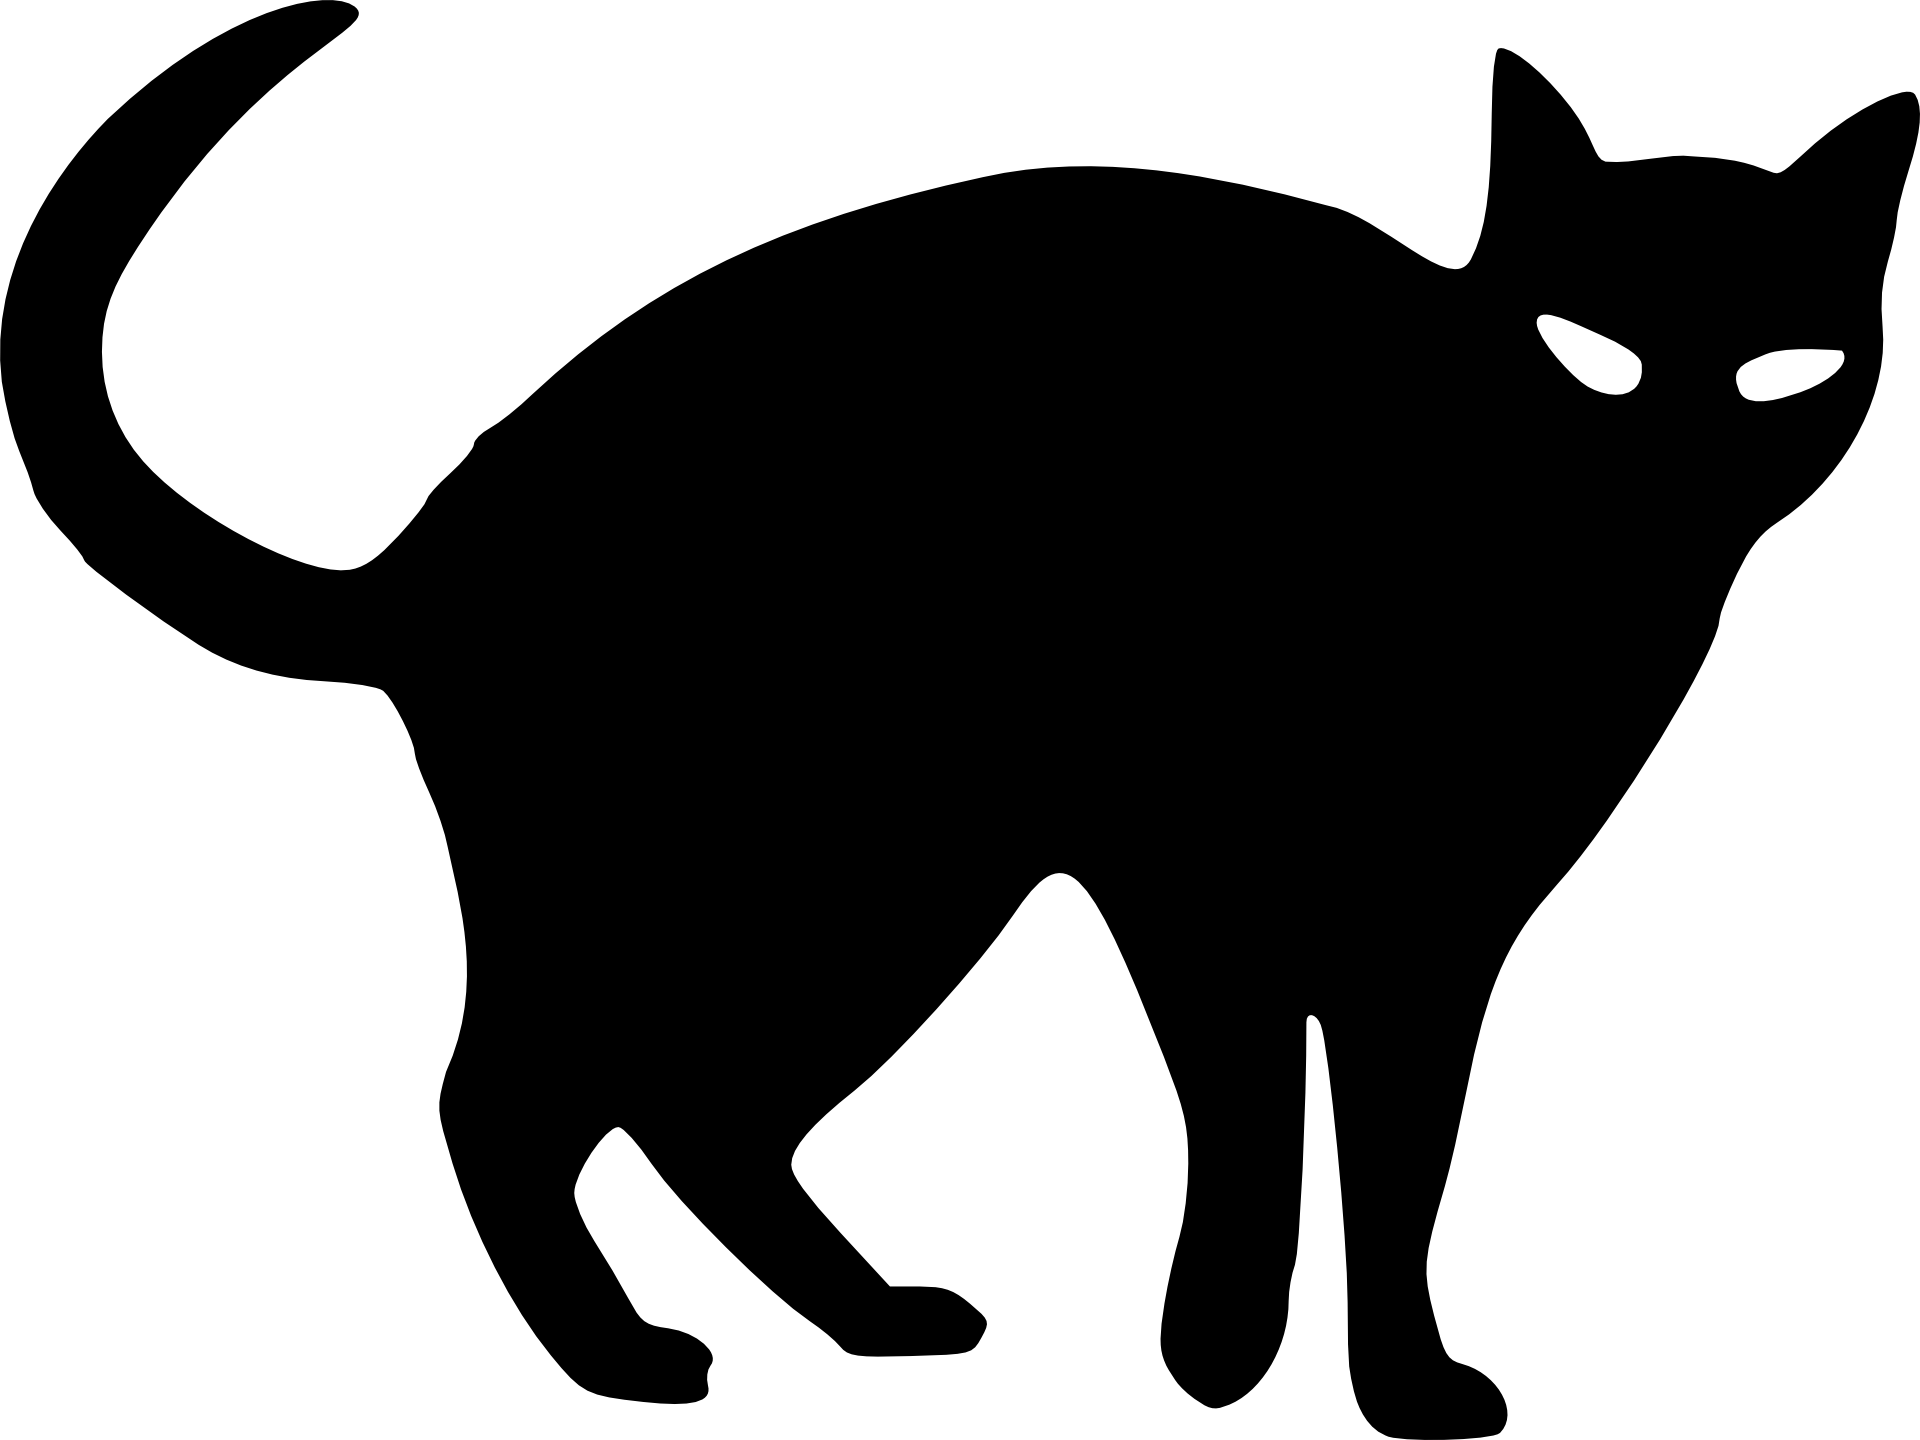
I got these black cat images from Pixabay which are free for personal or commercial use, and you can download them at their source here and here. You can also right click on the images above to save them.
Then I opened the Designer tool in Rapid Resizer and clicked Import Design to add these cats. Next I clicked Add Text to add a Halloween phrase.

I used the Save Ink tool to transform the design into an outline as that is all I need to print when creating a stencil. I usually resize the design to print it across a few pages, but for this project I printed the design on a single page.

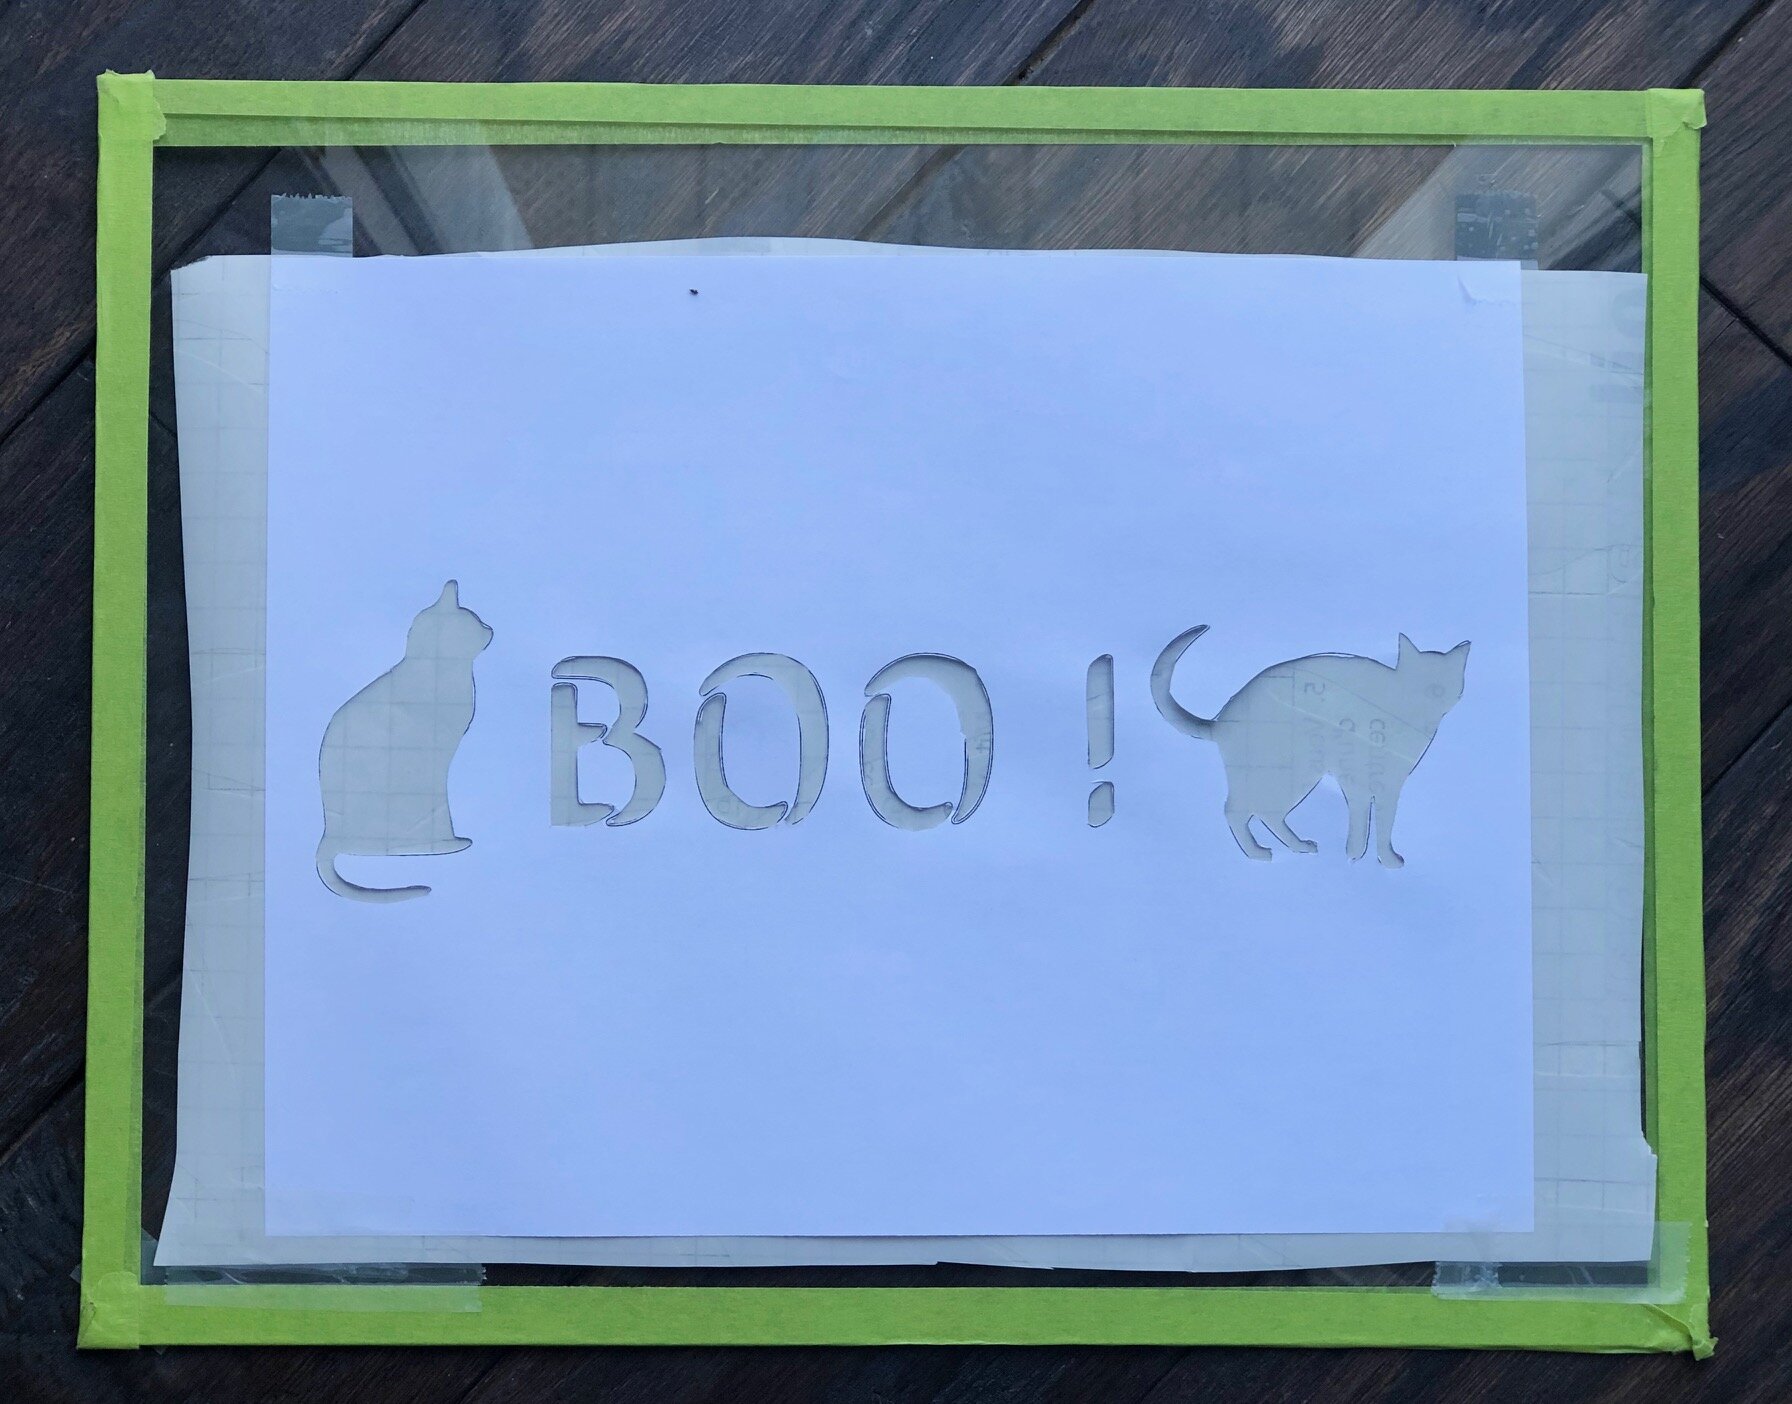
It is better to print the design onto thick paper such as cardstock so that you can cut out the pieces of the stencil without it ripping easily. I cut out the shapes on the paper by taping it to my glass cutting surface. It is possible to put the window film below it and cut both materials at once, but I found that the lines weren’t as clean so I did this in two steps.

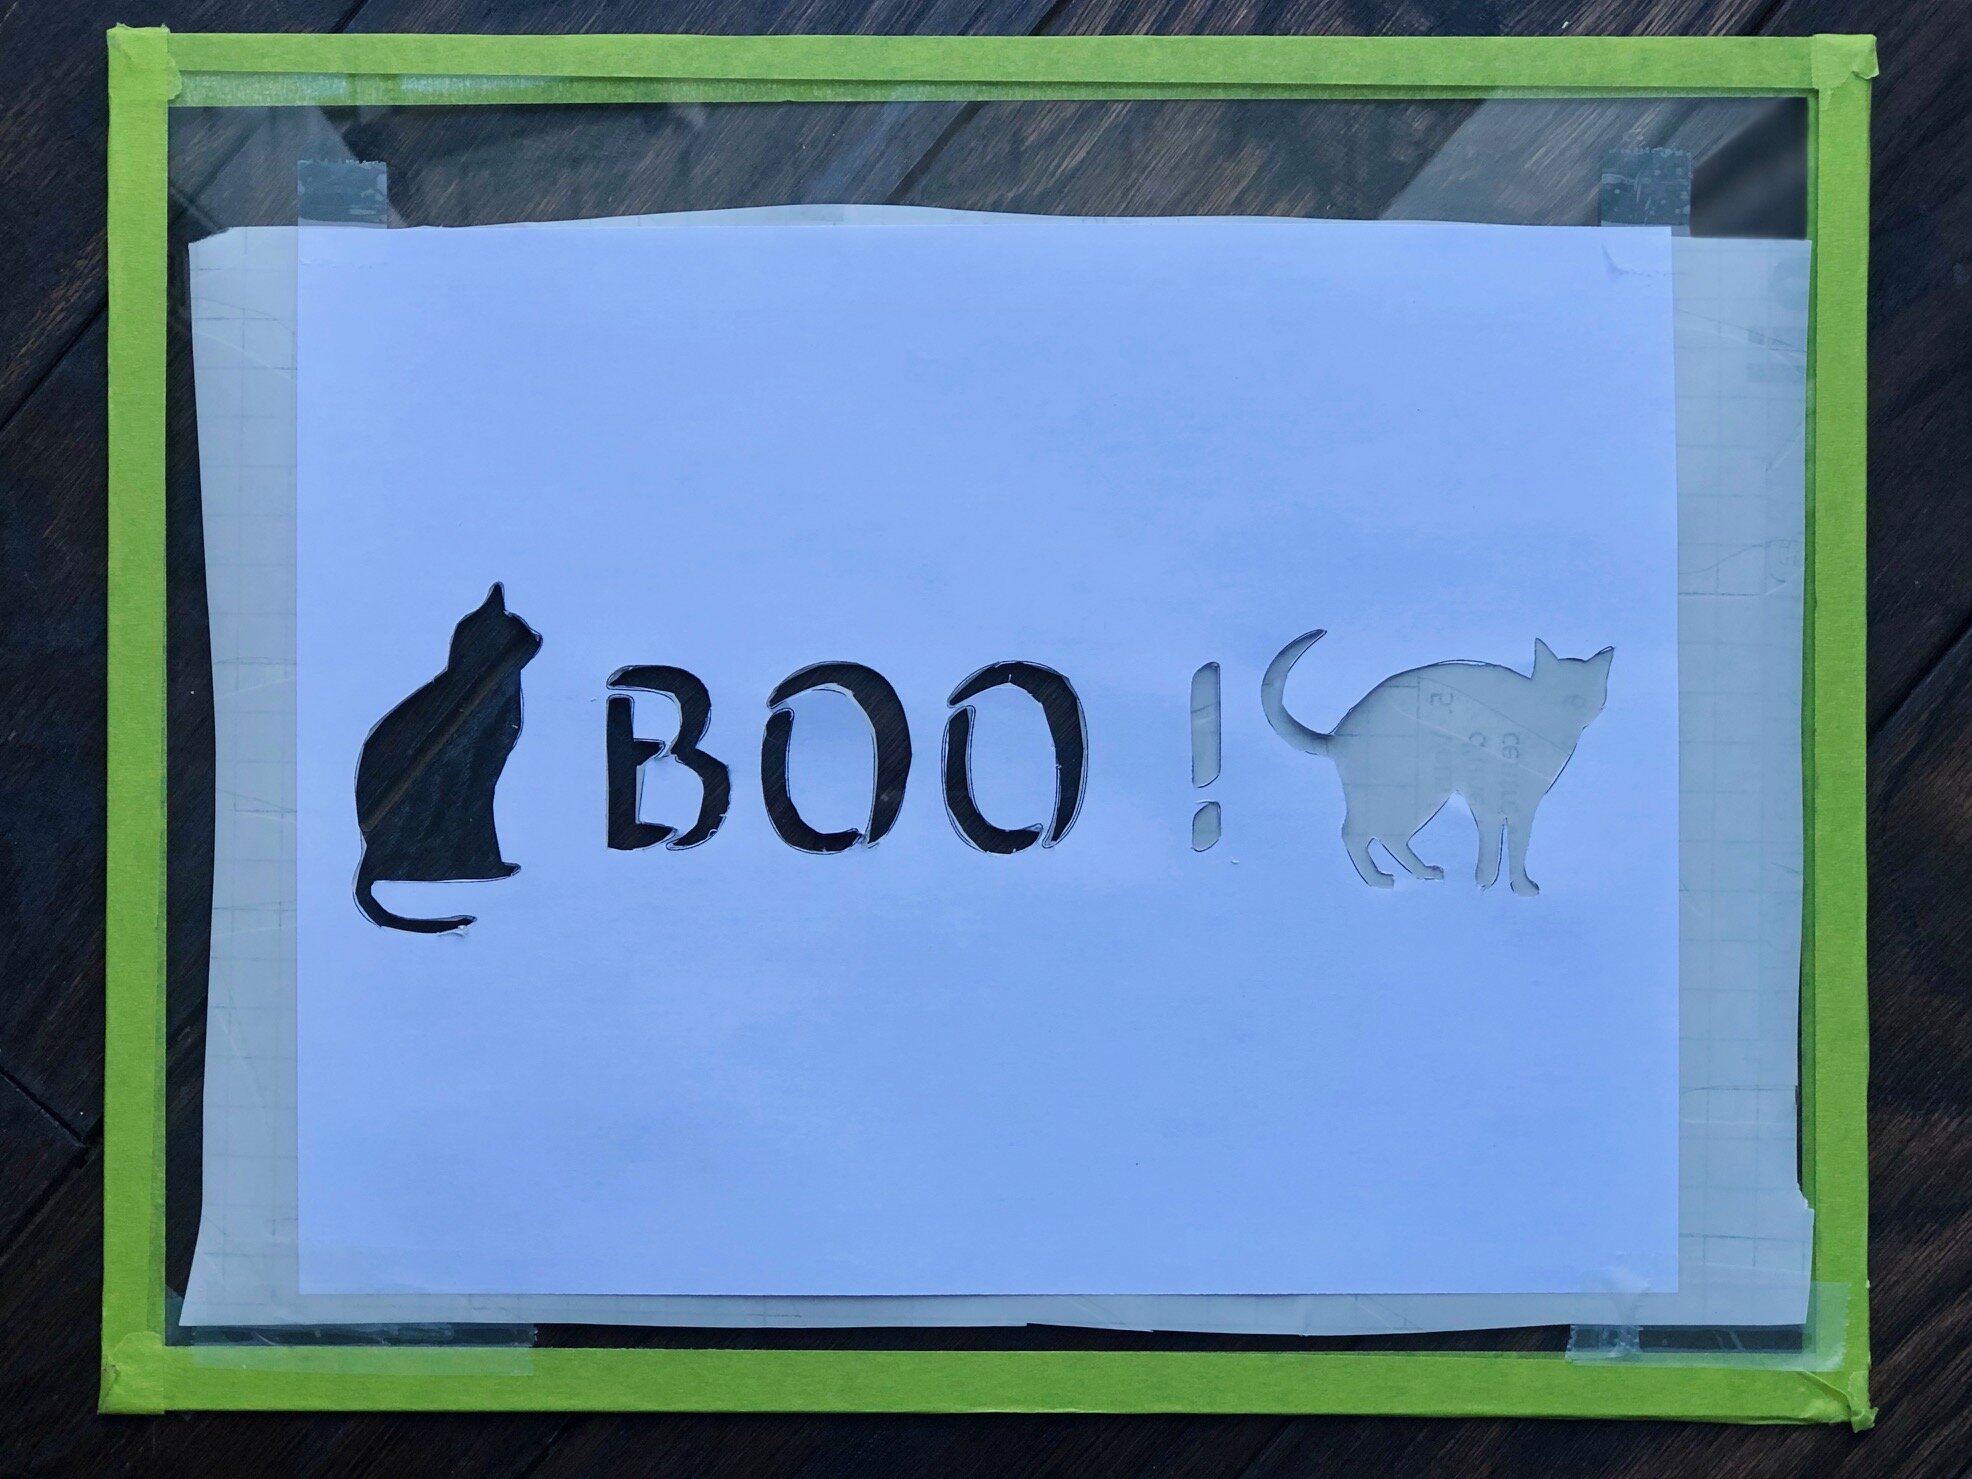
Then I cut a piece of window film with scissors and taped it in place beneath the paper stencil, and cut out the shapes again.
Another method is to put carbon paper between the print out and the window film backing and trace the design so that it transfers onto the backing, so you only have to cut the shapes out once.
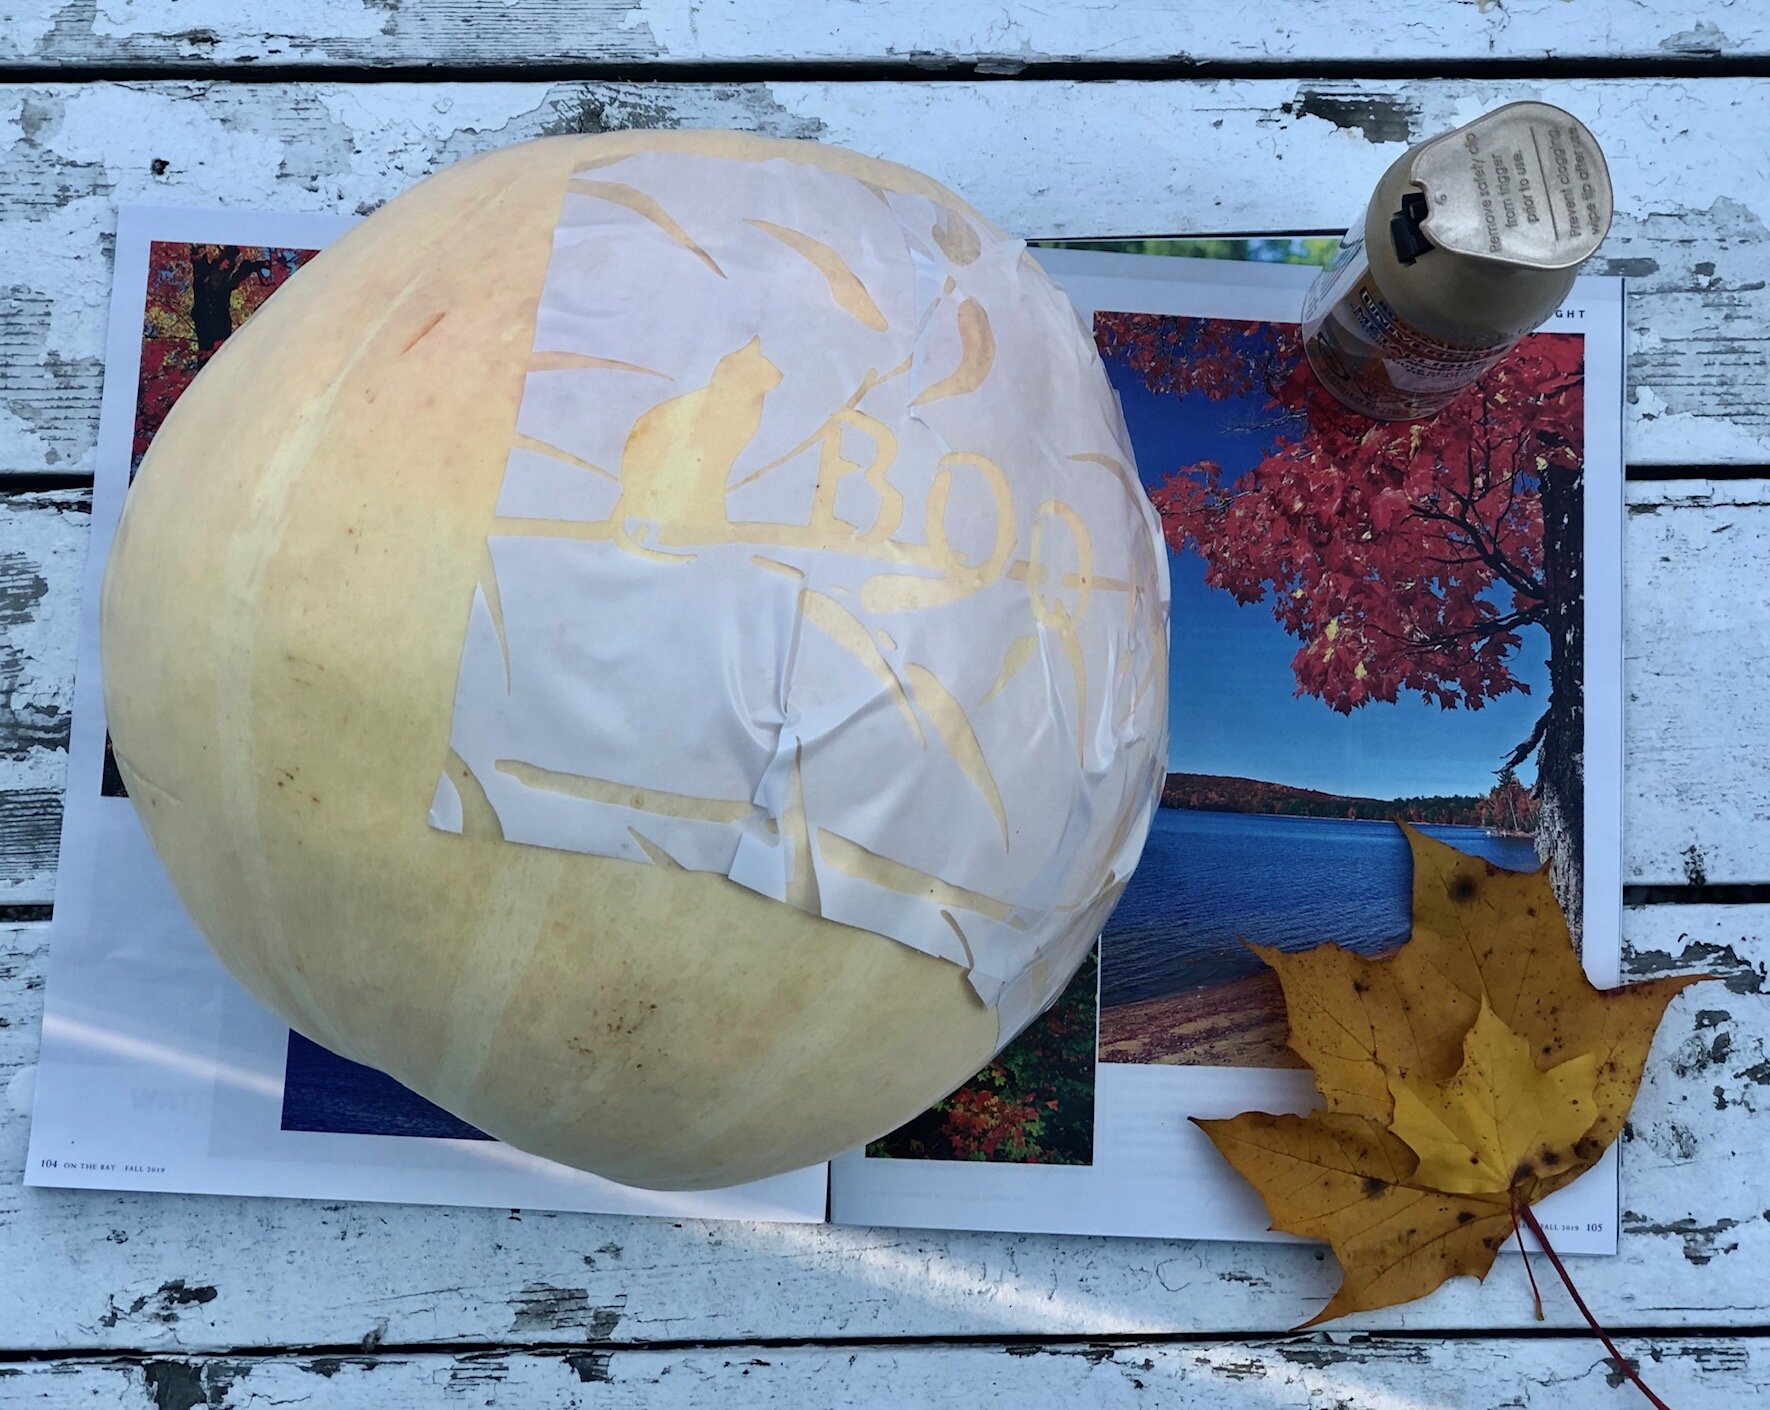
Next, I peeled the adhesive backing off carefully. I meant to get plain window film but was surprised to find a bamboo forest instead, so just pretend that it’s haunted for this particular project (the leaves are not cut out like the stencil shapes are, it just looks that way!)

To stick the stencil to a round surface, it helps to make cuts wherever needed so that the stencil design can lay flat against the surface. Make cuts and then fold some sections of the edge of the stencil under other sections so that it fits around the pumpkin. If you don’t cut the stencil material it may bunch up and make it difficult to attach smoothly.
Rub your finger along all of the shapes in your stencil to seal it so paint won’t run under the window film.

Place the pumpkin so it is laying with the design facing up (to prevent the paint from dripping). Then spray paint the stencil, or use a brush to apply regular paint. I used gold spray paint.
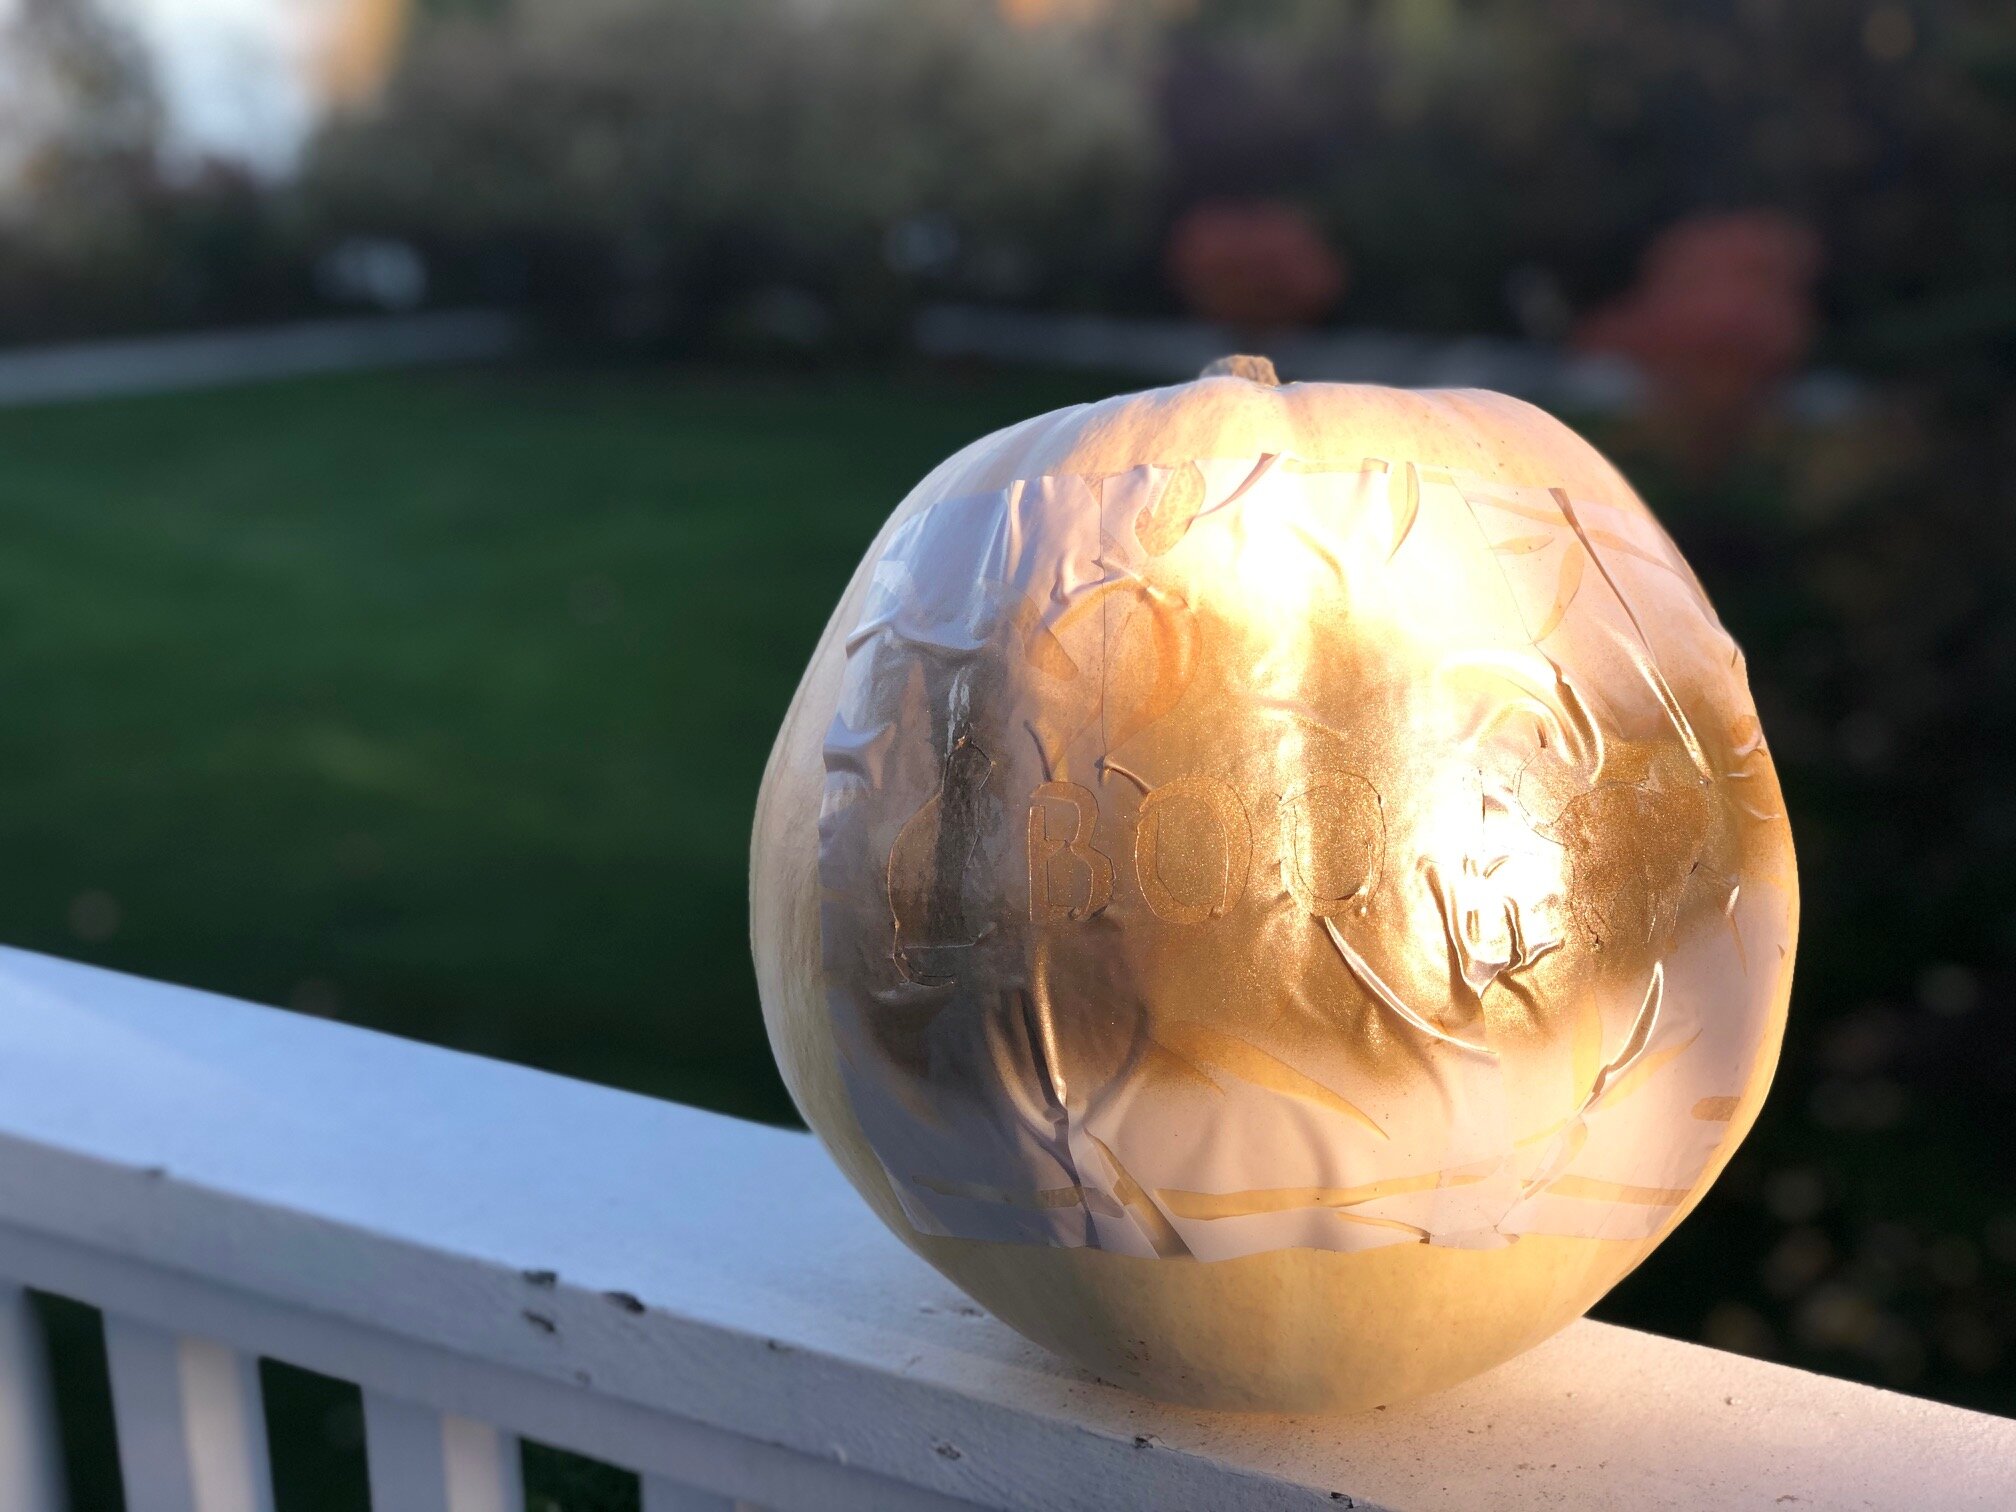
When the paint is dry then carefully remove the stencil.

I hope you find window film as easy (and inexpensive!) to use as I did for making a stencil. Please comment below with any ideas or questions, and click the blue button to create a stencil design with Rapid Resizer.
Happy Halloween crafting!
~Melissa