
Color Fabric with Homemade Dye and a Custom Stencil

Beautiful colors can be found everywhere in nature. This week I wanted to add a little bit of color to these dark winter months, so I decided to try dyeing fabrics! I used Rapid Resizer to create a large pattern stencil for my project. I wanted to incorporate a pattern into this craft to play around with texture and experiment with different shades.
It is pretty amazing how so many vibrant colours can be extracted naturally from the earth. Making dye from scratch is a fun way to add a unique touch to your fabrics. If you don't feel like experimenting, store bought fabric paint or dye works too. This craft was quite messy, so be prepared to get dirty. I advise you to wear gloves when working with your dyes - my hands are now pink.

What you'll need:
- a pillow case (or any cotton or linen fabric)
- an Xacto knife
- freezer paper
- flour (for resist paste)
- an iron
- vegetables for dye (I used blackberries, red onion and beets)
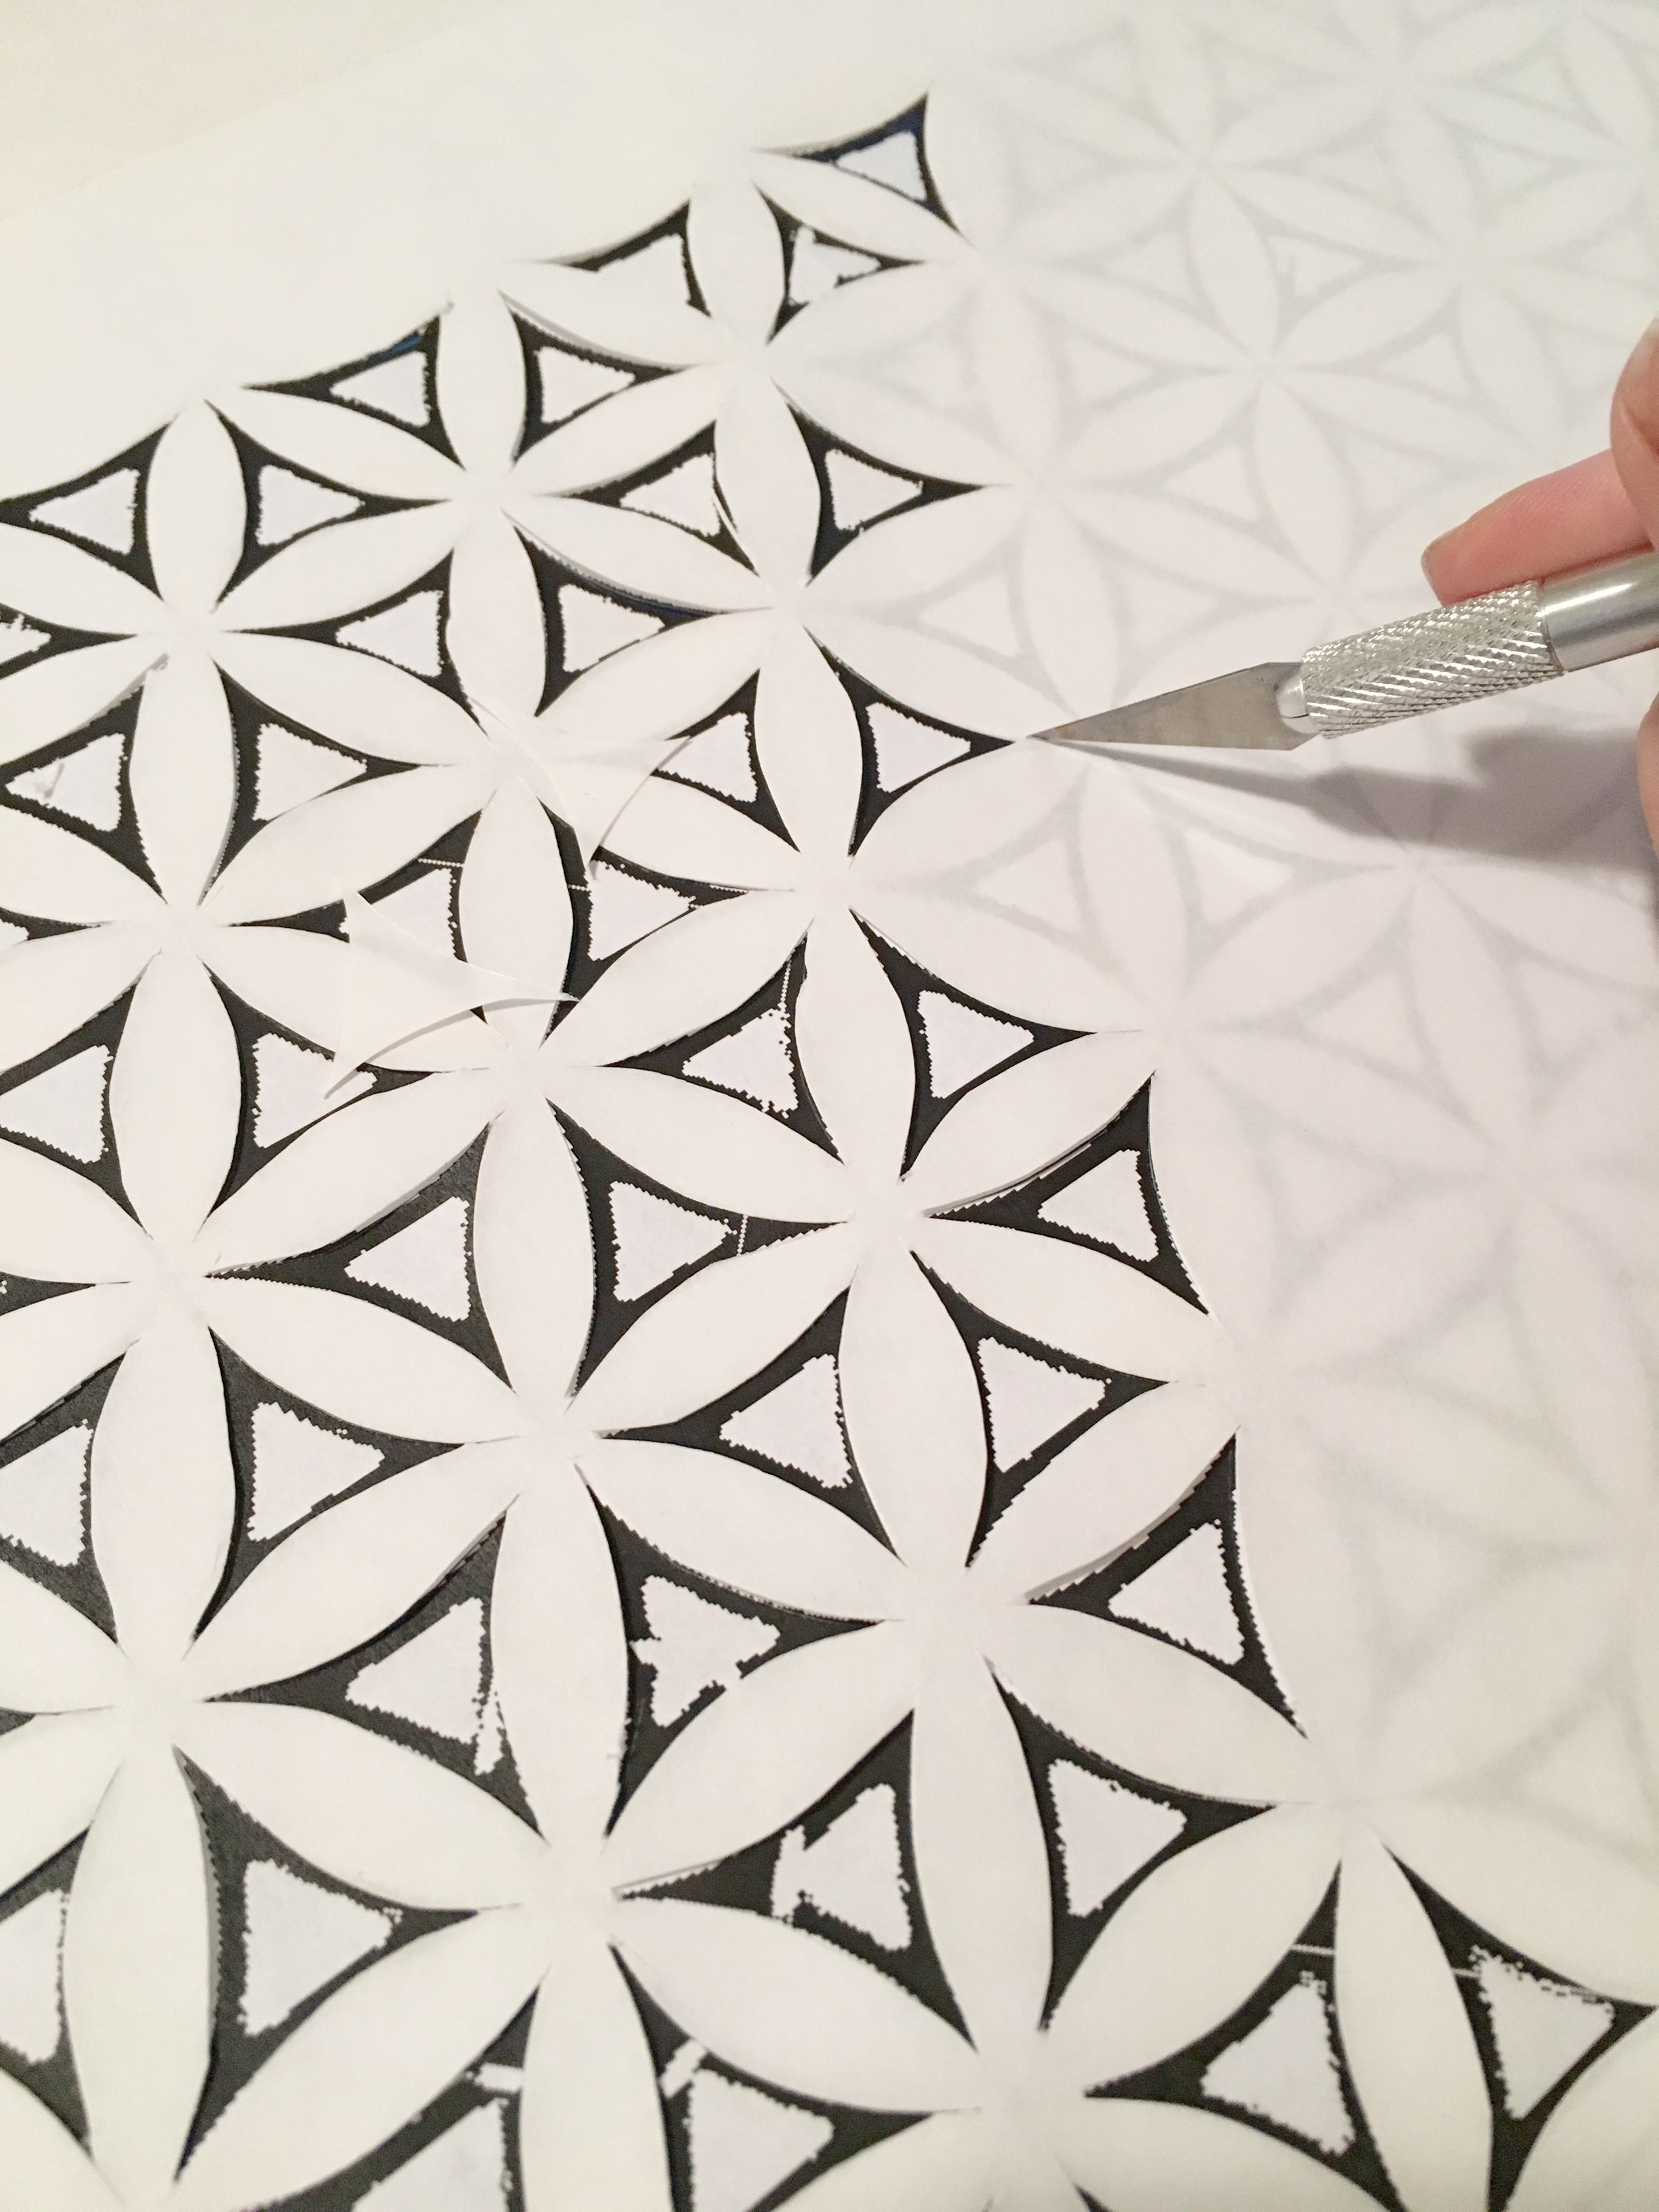
Step 1: Place a piece of freezer paper over your design. Use tape or tacks to secure the paper in place.

Step 2: Cut out your design with a sharp knife. Depending on the design or pattern you have chosen, this can be time consuming. I found it relaxing :)
Step 3: Take your freezer paper stencil and place it over your pillow case or piece of fabric. Carefully iron the stencil on to the fabric with the shiny plastic side of the freezer paper face down.

Step 4: Make a flour resister paste by mixing one part water with one part flour. The consistency should be that of pancake mix. This paste will go over the design and slow down the dye from penetrating the fabric so the design will come through. Cover your design completely and allow it to dry overnight.

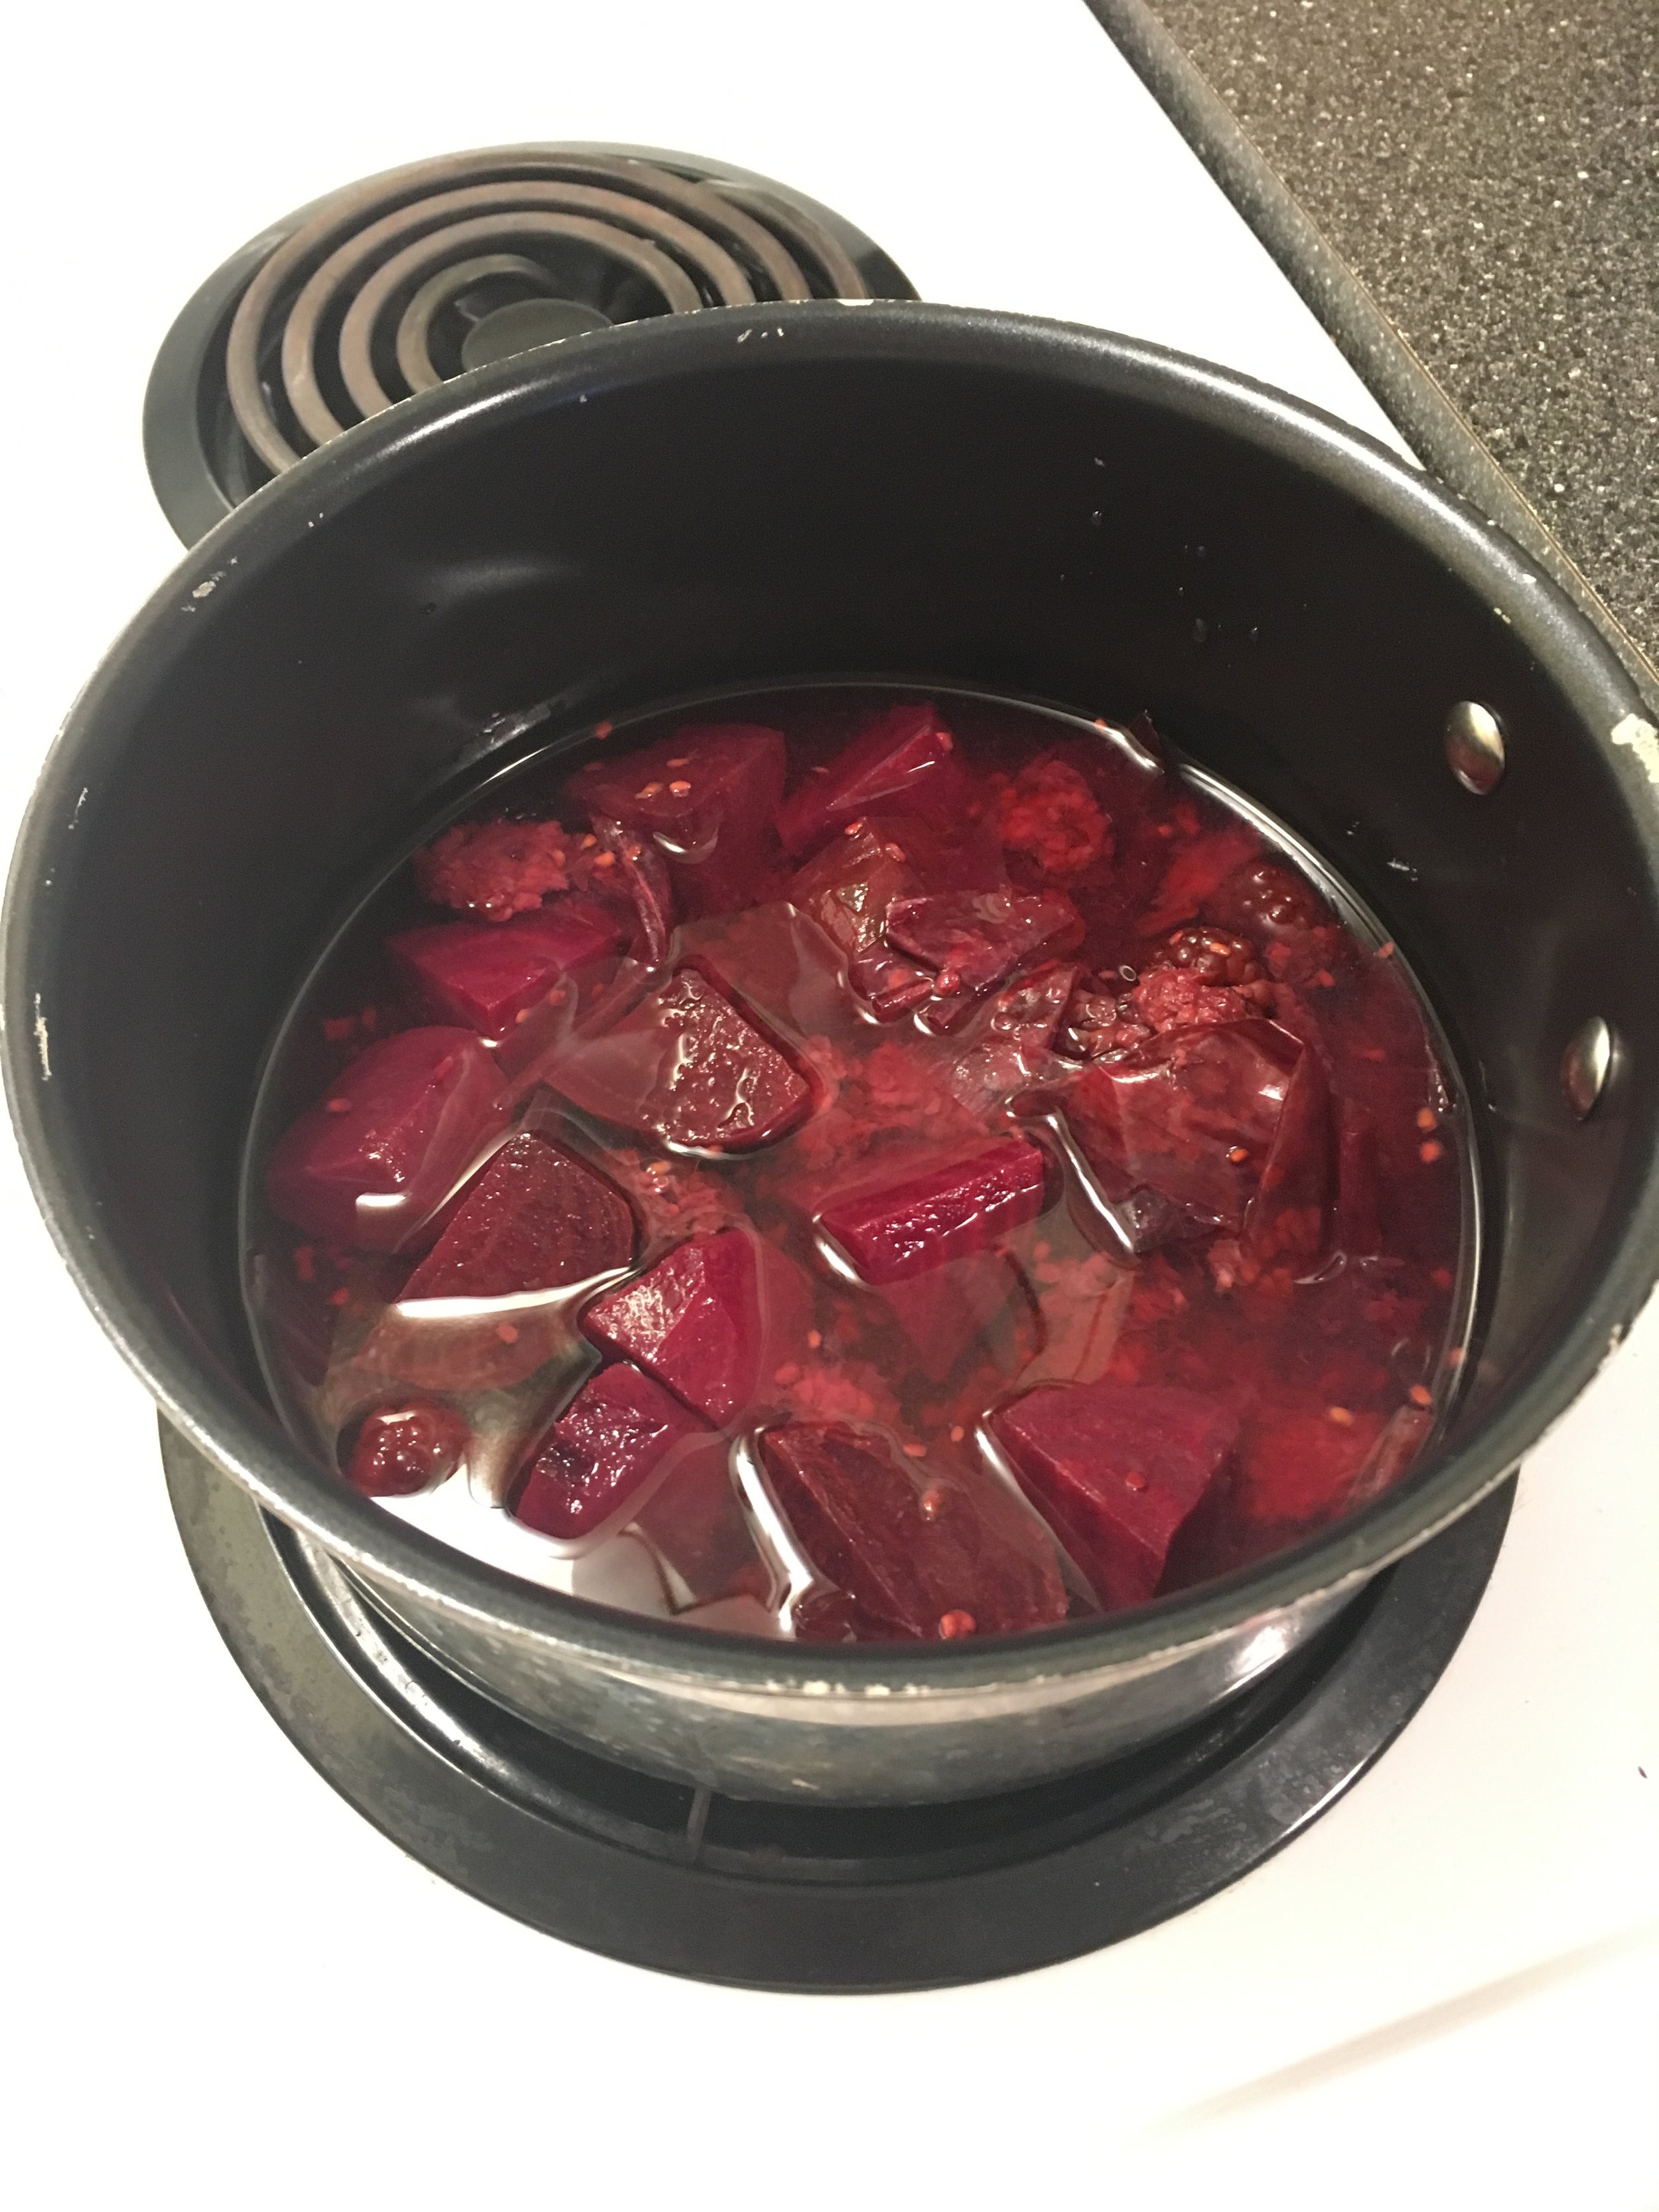
Step 5: Make your dye! I put the skin of a red onion, blackberries and beets into a pot. Cover your vegetables or fruit with water and simmer on a stovetop for an hour. Strain the pot and voila! You have made natural dye.
If you are looking for ideas for what to use as dye, here is a link to a helpful site.
Step 6: With a sponge or a paintbrush, brush a thin layer of your dye over your hardened flour coat.

Step 7: Allow your the dye and flour coat to completely dry. Once dry, peel the fabric away from the freezer paper and flour. Scrape off stuck-on flour with a butter knife.

The dye on my fabric dried and turned out to be a little lighter than I envisioned, but natural dyes take some experimentation. Omitting the freezer paper step would work as well if you are working with a less geometric design.
Click here to start making your design on Rapid Resizer
Happy crafting!
Steph @ Rapid Resizer