
How to Make Hand Lettered Christmas Ornaments
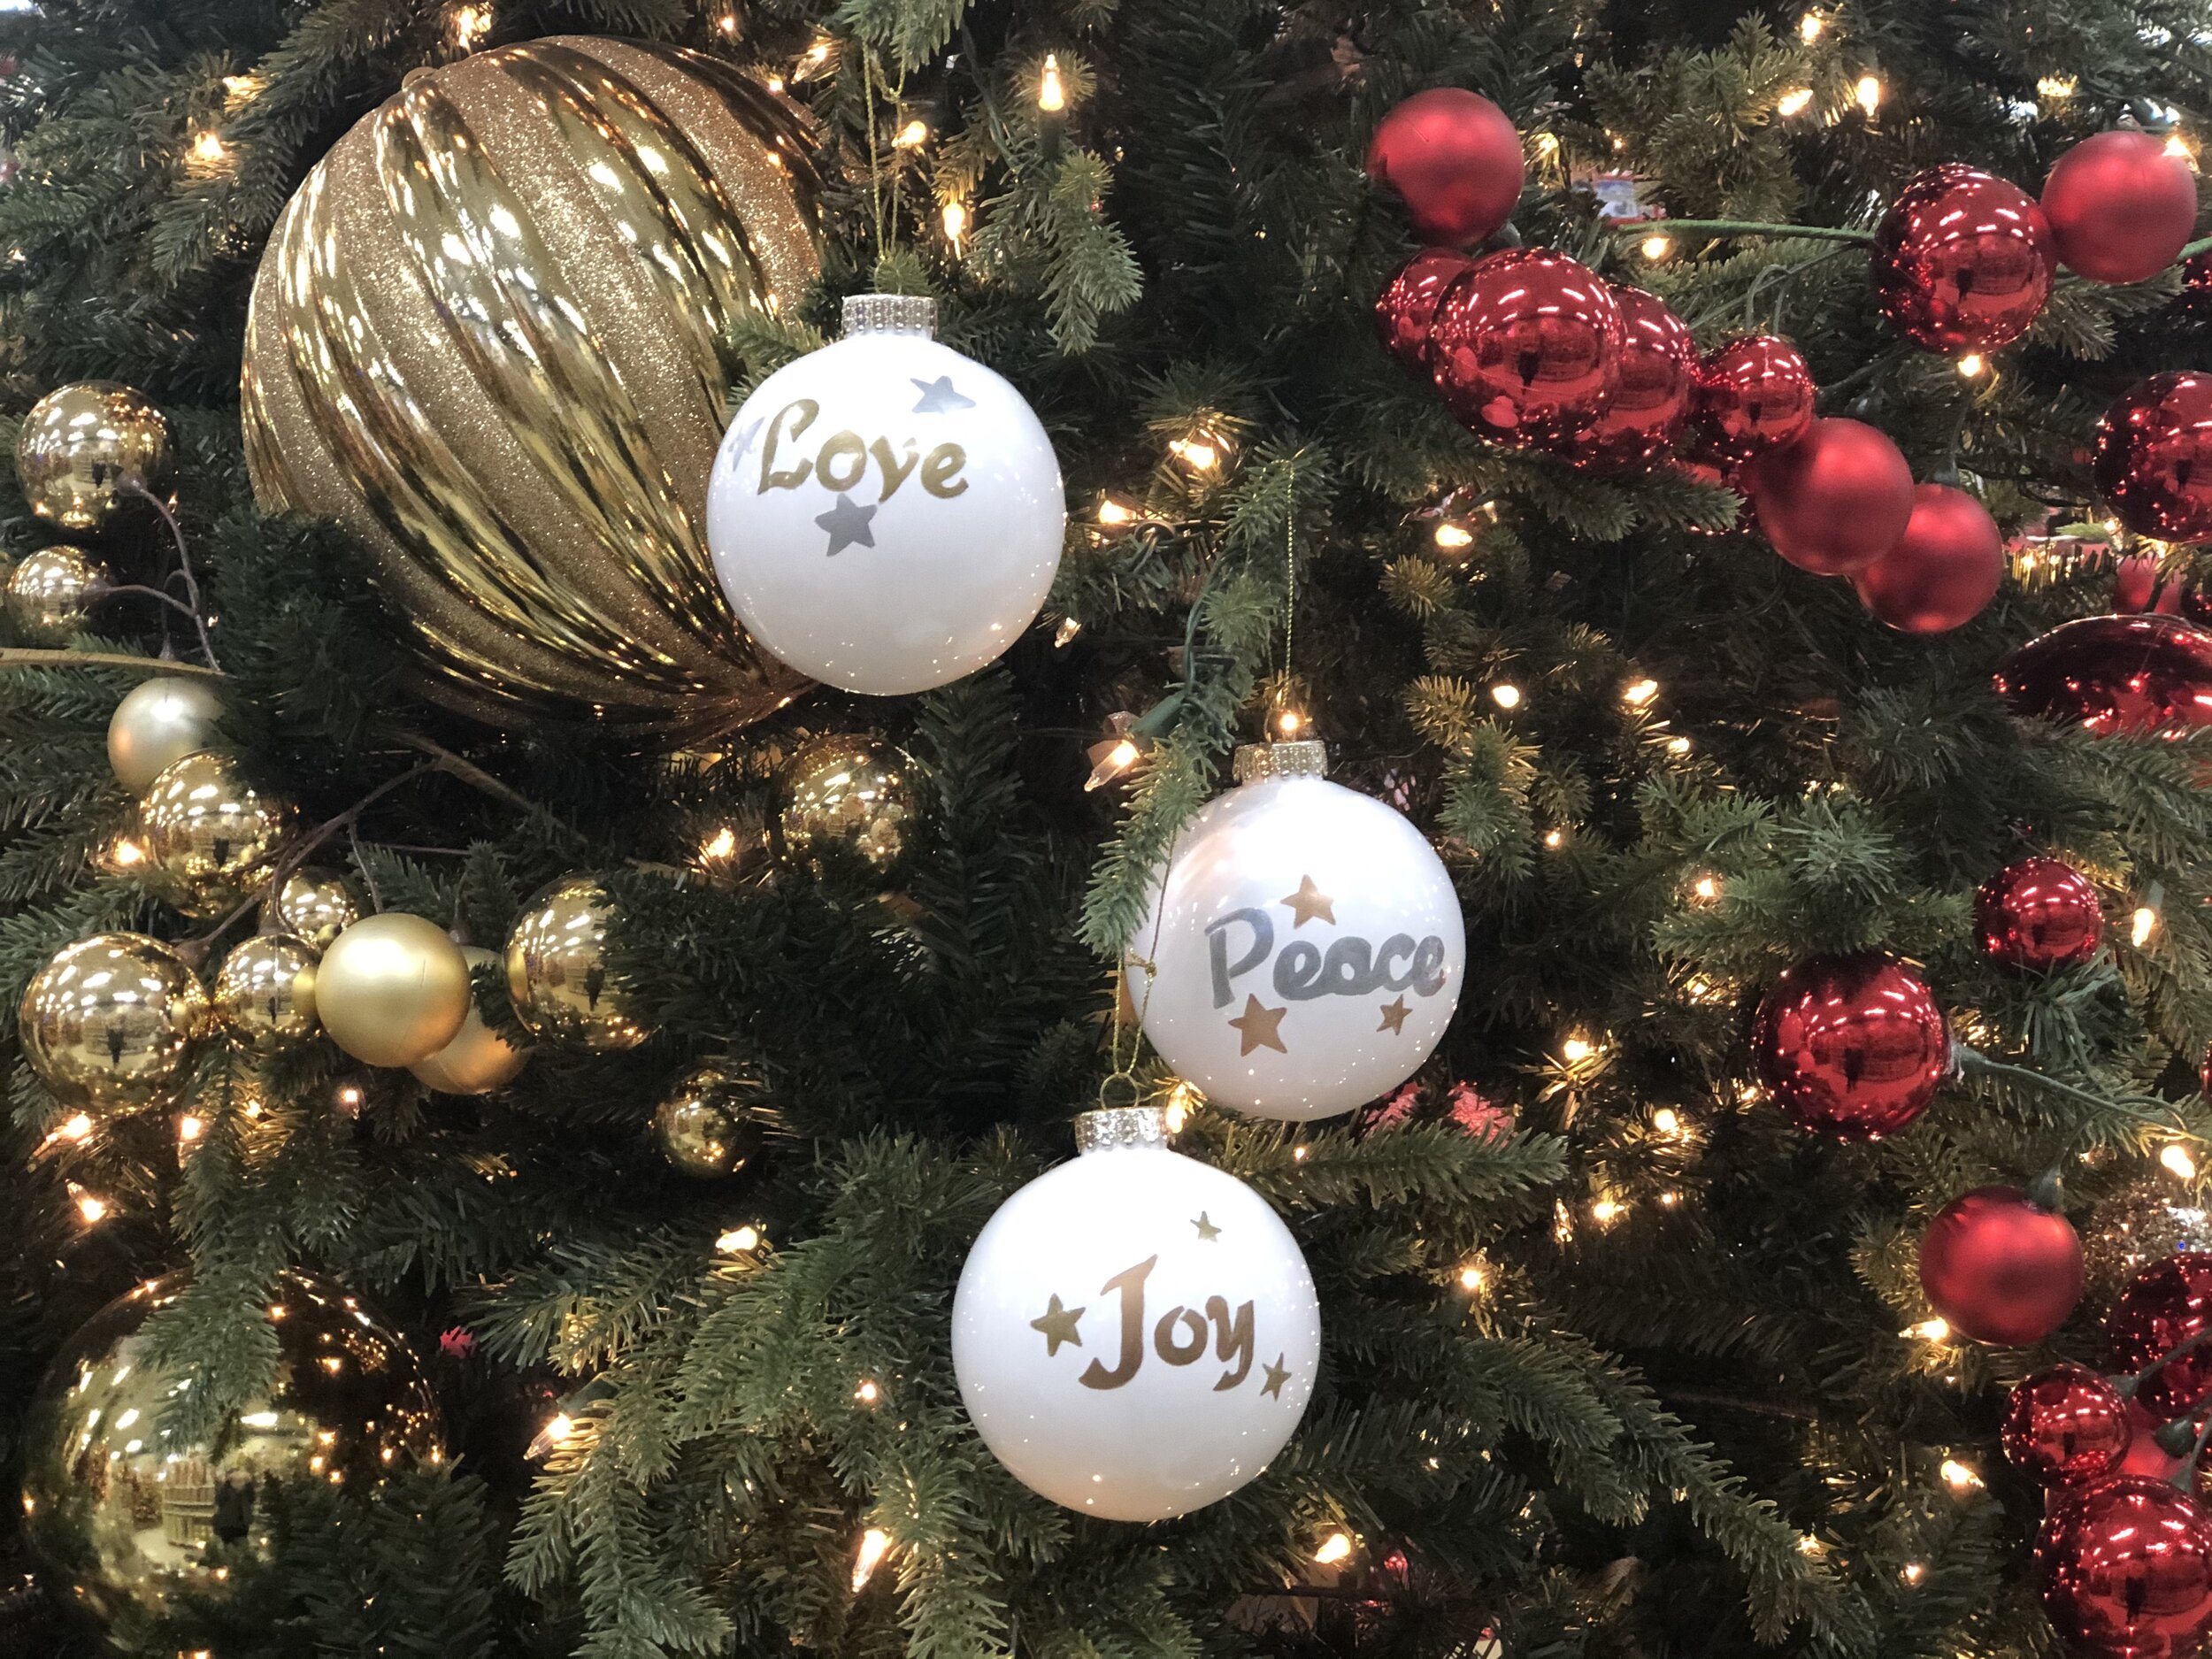
Hi Everyone! It’s Christmas crafting time and this week I created some ornaments with hand lettered designs. Here is how you can create a template with the font library in our free Letter Stencil Maker tool.
What you’ll need:
Plain plastic ornaments
Metallic markers or paint
Carbon paper
Scissors
Masking tape
Pen

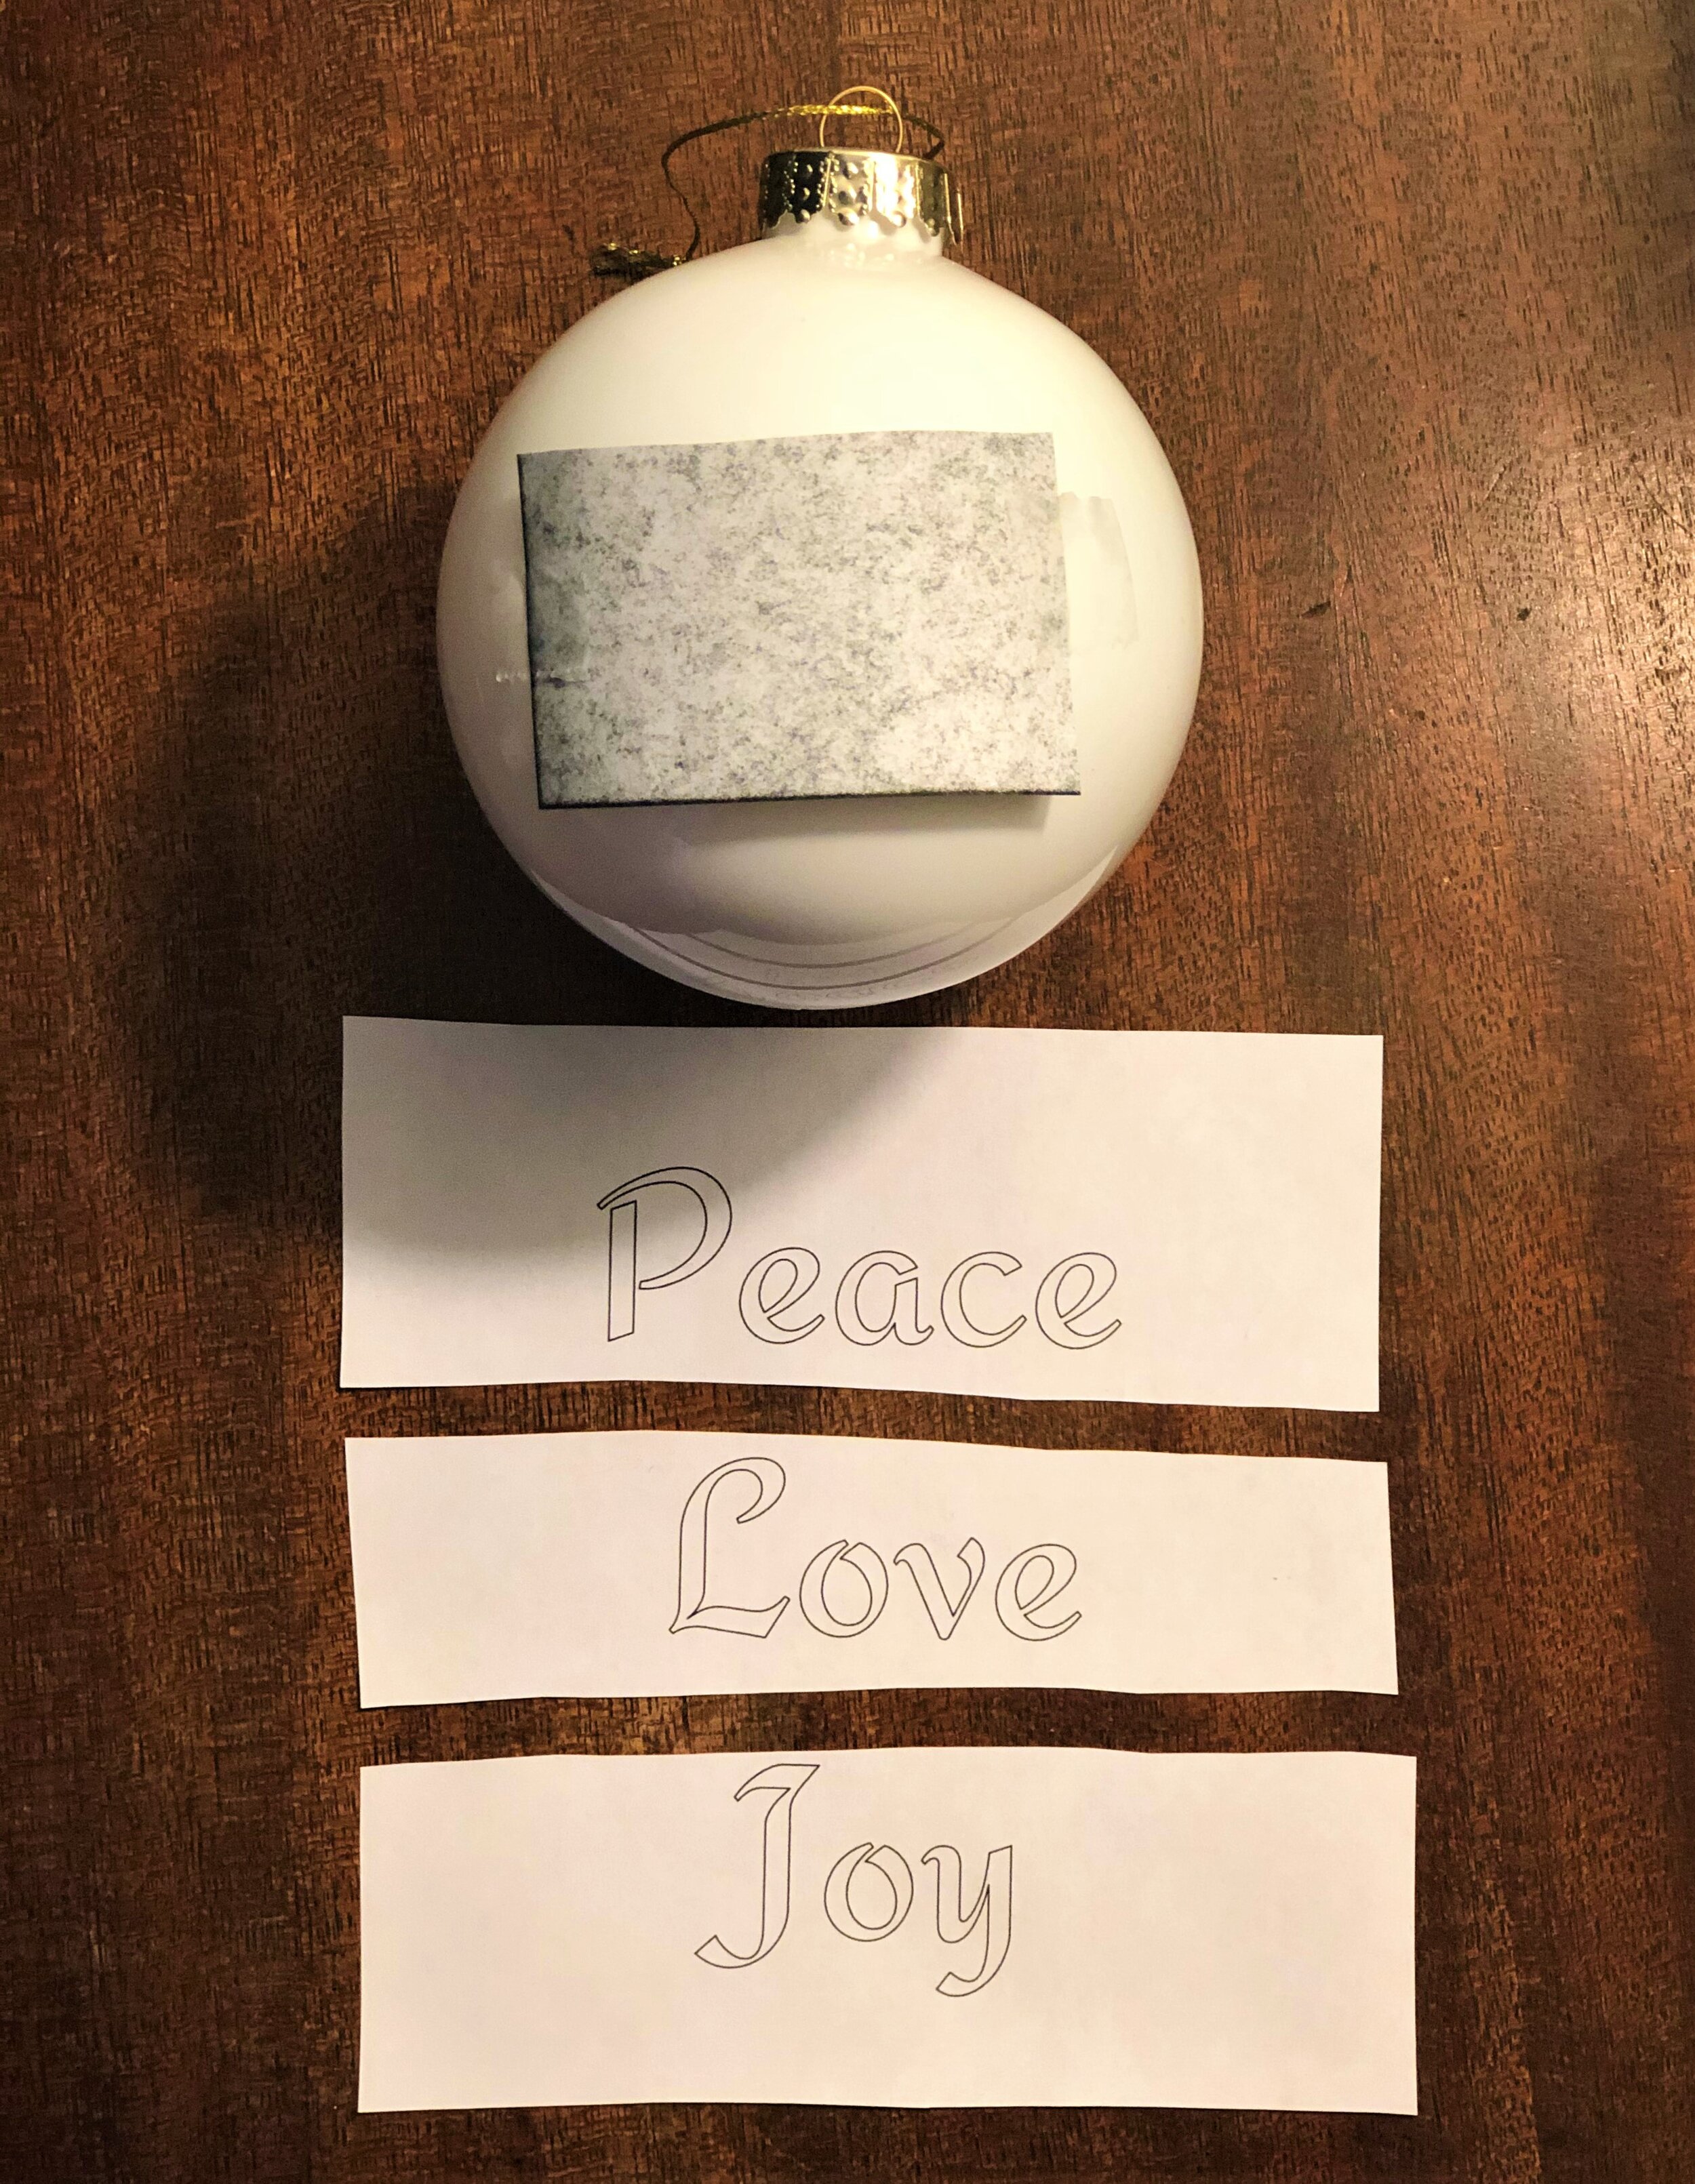
To begin, go to the Letter Stencil Maker in Rapid Resizer to type the words and choose a font for your design. Because I was making three ornaments, I clicked the Enter button after each word so that it would be on a separate line.
I used the Redressed font from the Calligraphy tab for this design. You can also click on the symbol tab and choose an icon such as snowflake for your pattern if you prefer.

Usually our projects use enlarged patterns, but for this project I made the design smaller at 3 x 4 inches so that each word would fit on the ornament.

When I printed it on one page it looked like this:

I cut out the words and taped carbon paper to the ornament with the black side down, and then taped the word over it. Next I used a pen to trace the letters - using a red pen is helpful so you can see what you have traced. Press as hard as you can without damaging the ornament so that the design transfers onto it.
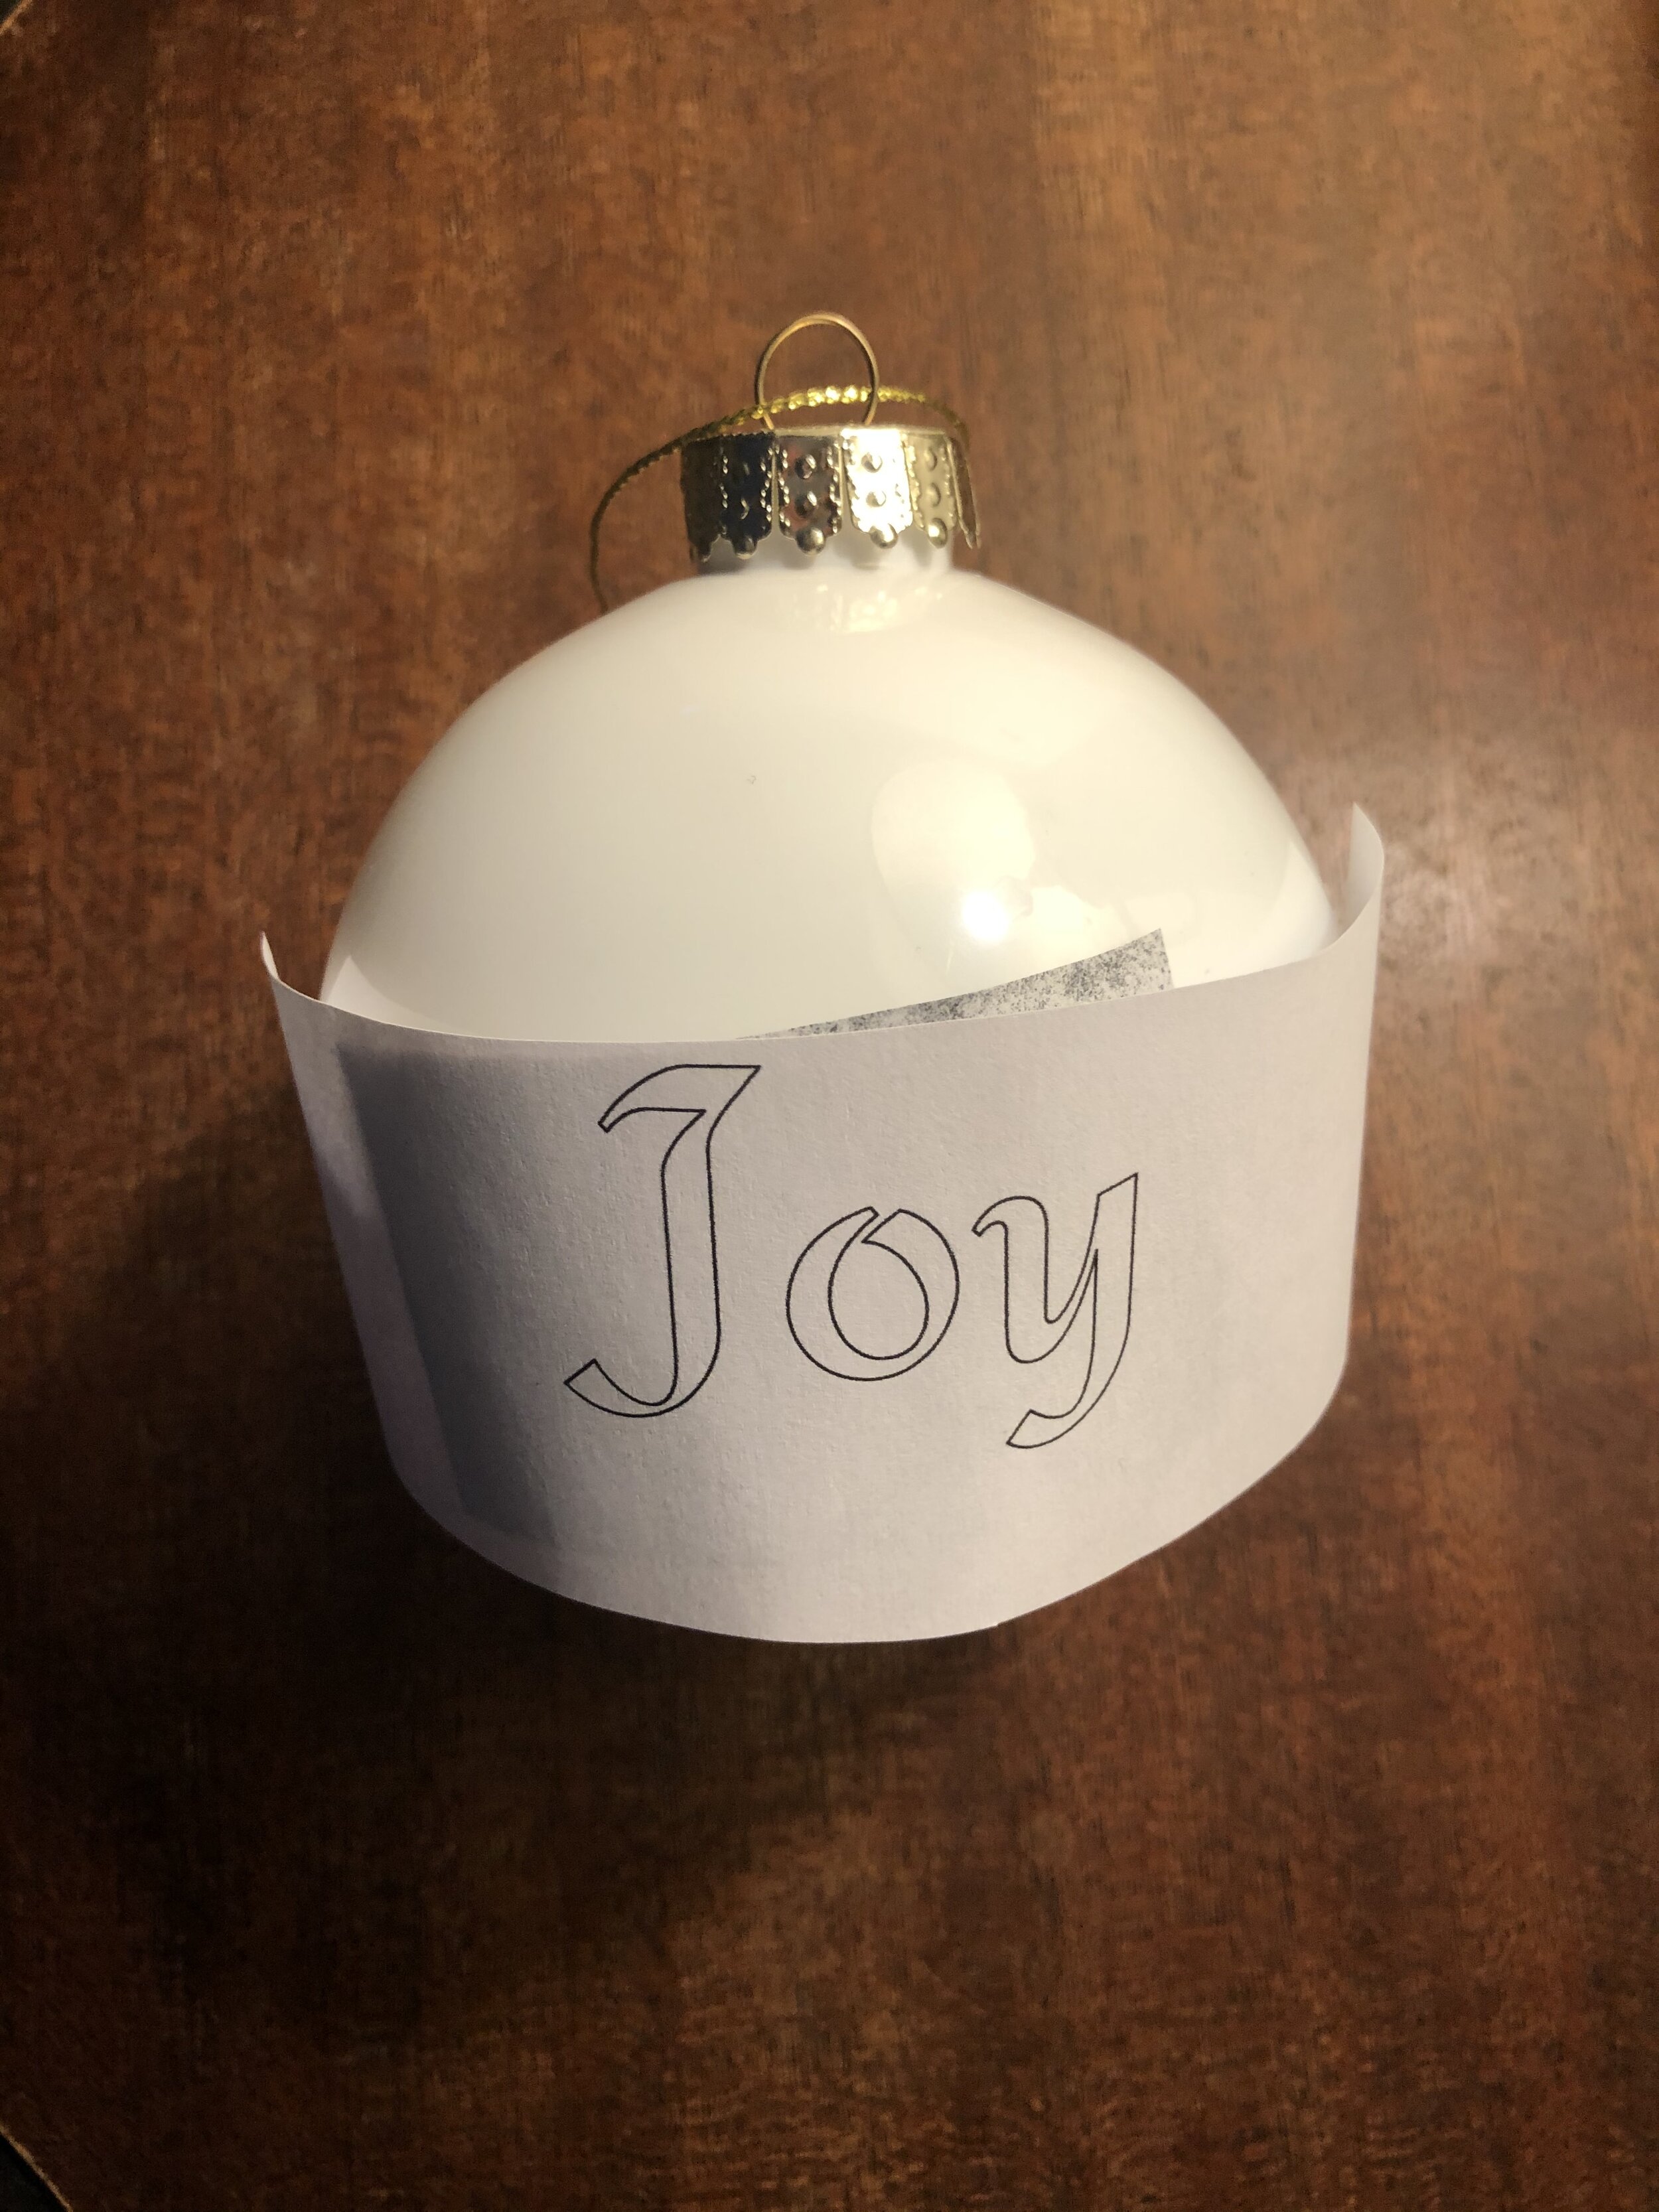
If there are any carbon smudges you can use a q-tip to wipe them off if it is a plastic ornament like the one I am using.

Next, I used metallic markers to color in the design for two of the ornaments, and then I used sparkly paint for the silver Peace lettering which was less precise. You can use either of these or whatever medium you like best! Last, I added some stars and hung them on the tree.

If you have any questions or comments please let us know below, or share photos of any ornaments you create with Rapid Resizer this holiday season.
Happy Christmas crafting!
~Melissa