
Design Transfer Methods
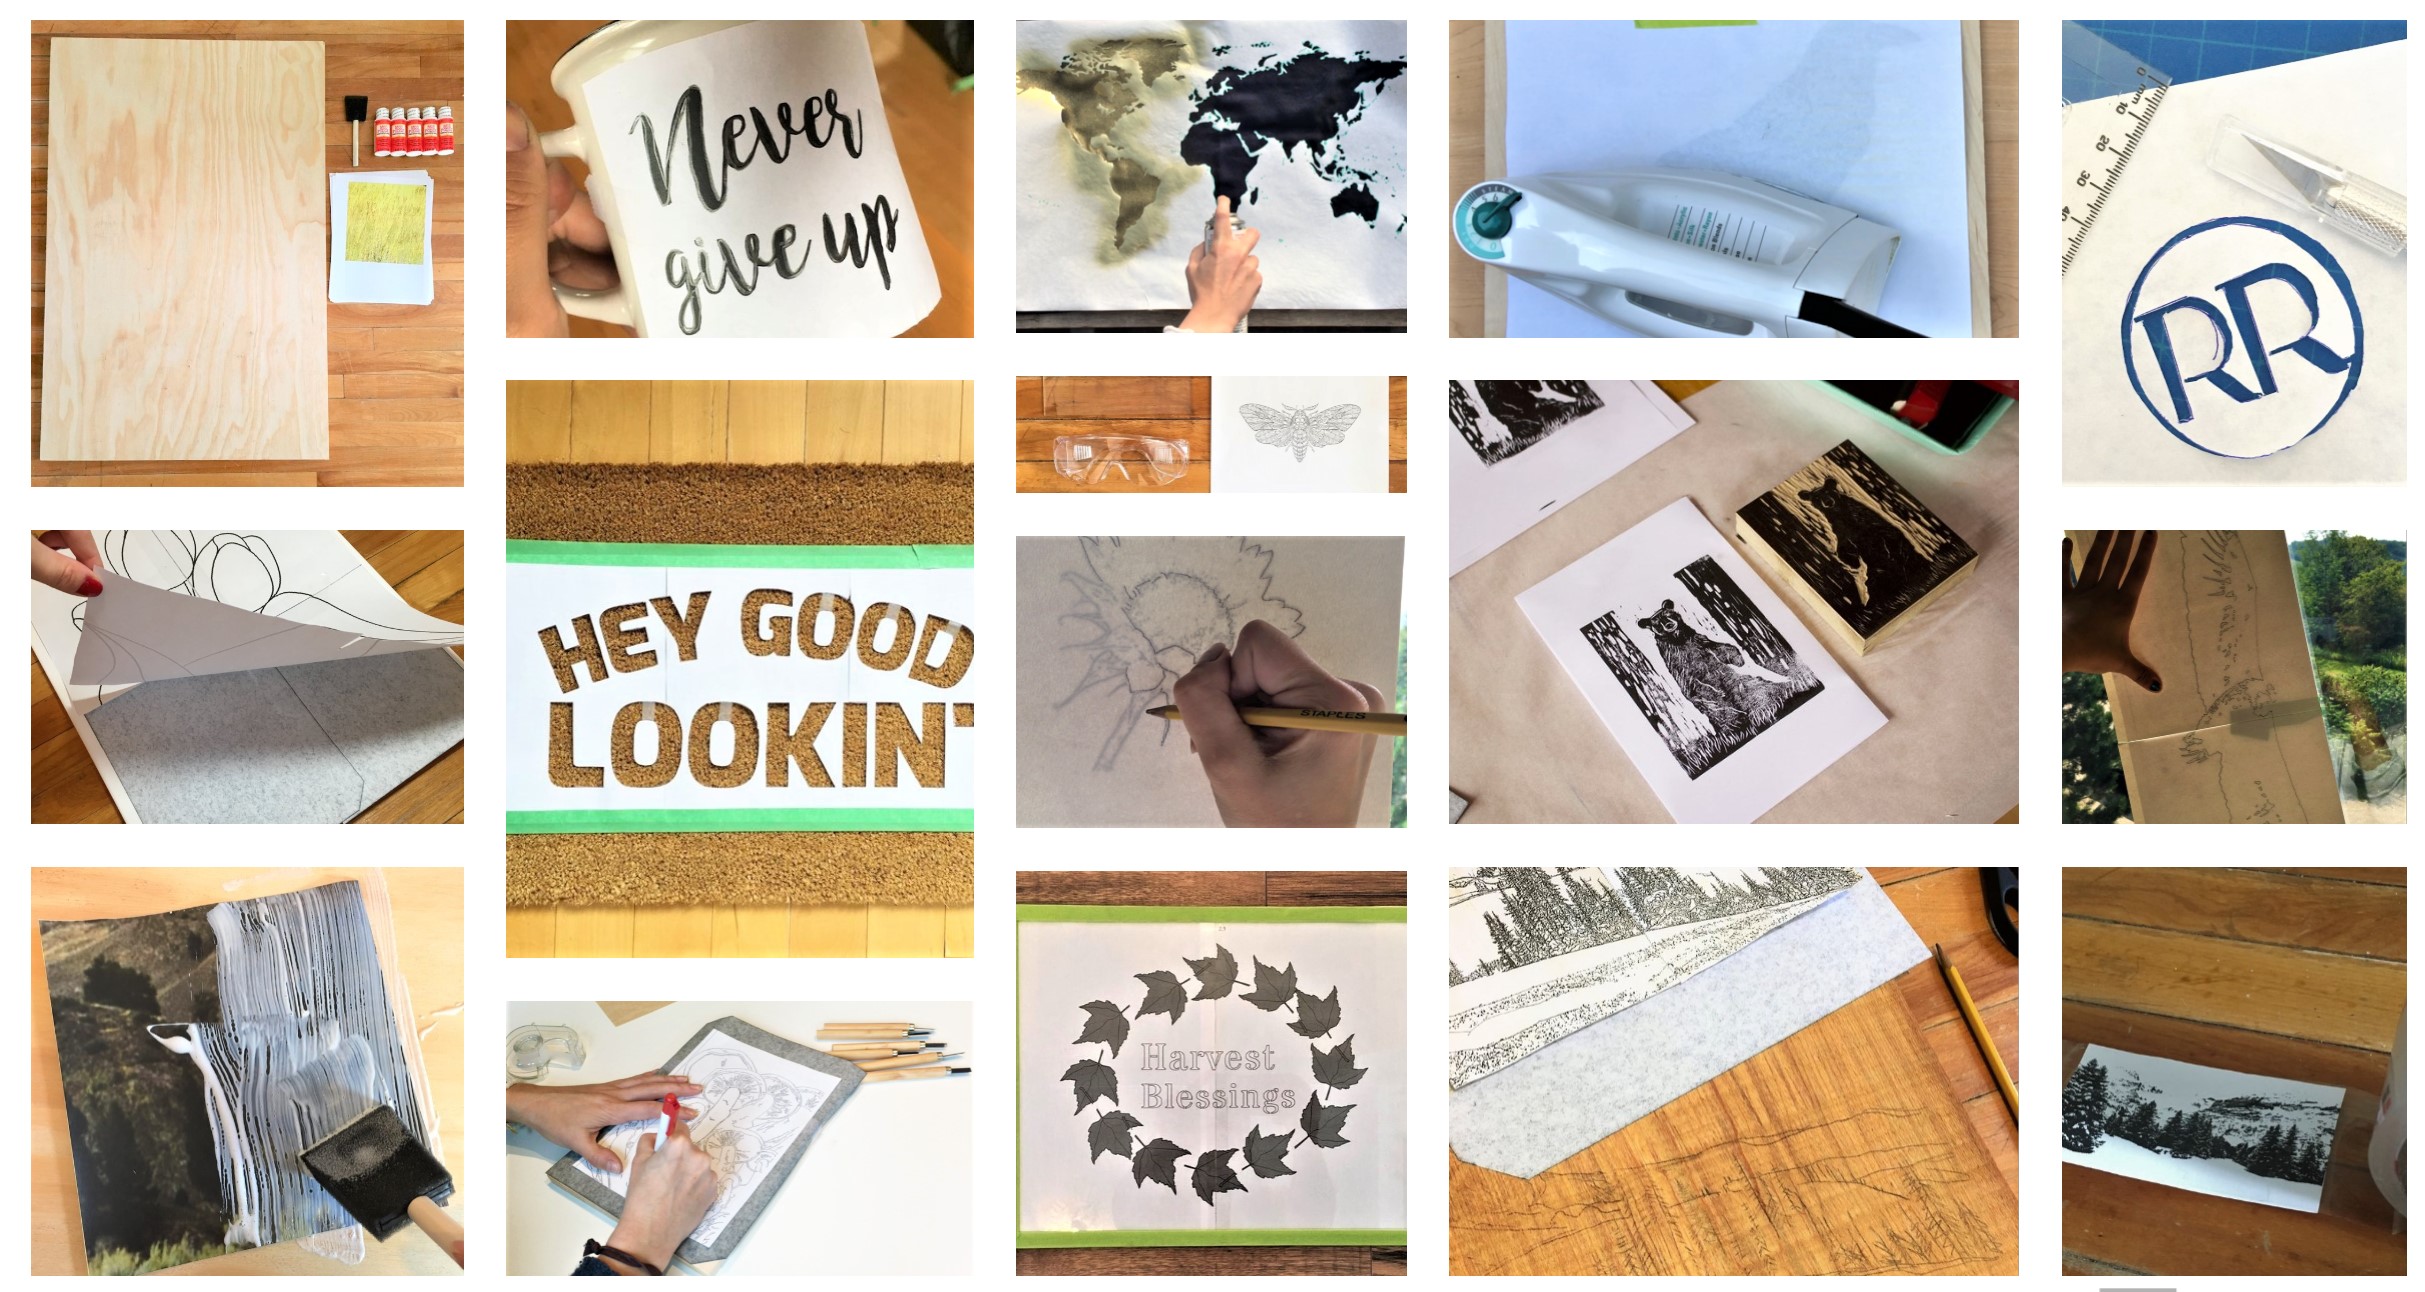
After you print your design to any size with Rapid Resizer you can use this list of techniques to transfer your image onto your project material. These transfer techniques can be used with painting, drawing, stained glass, quilting, woodworking, sign making, wood burning to name a few. We are not affiliated with any product links below.
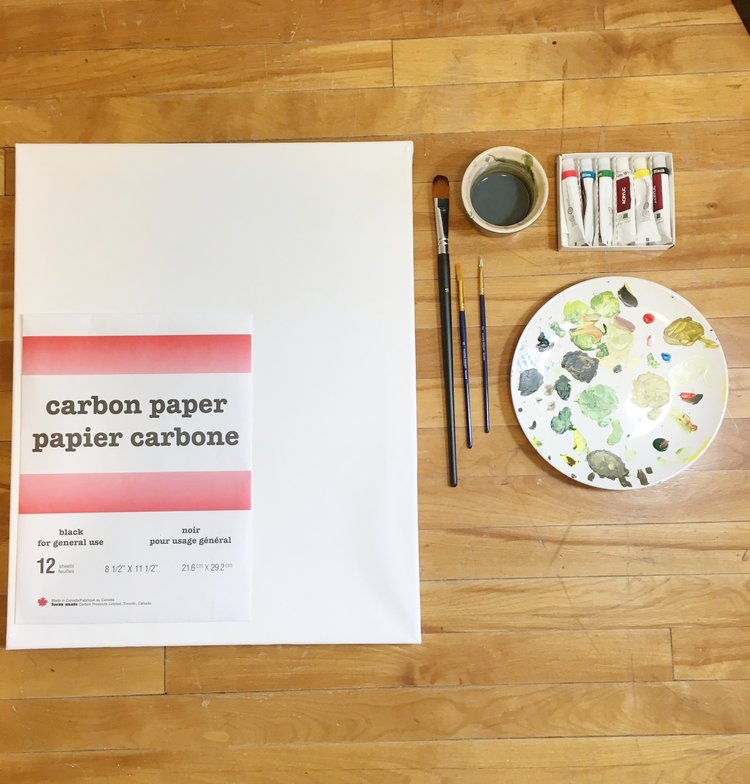
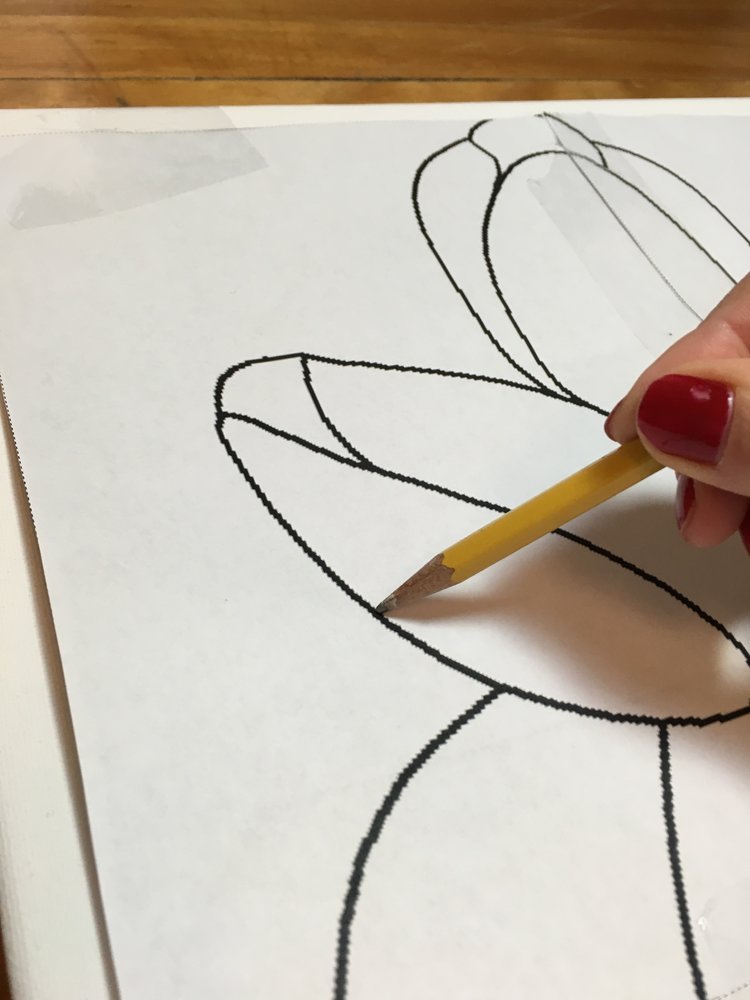
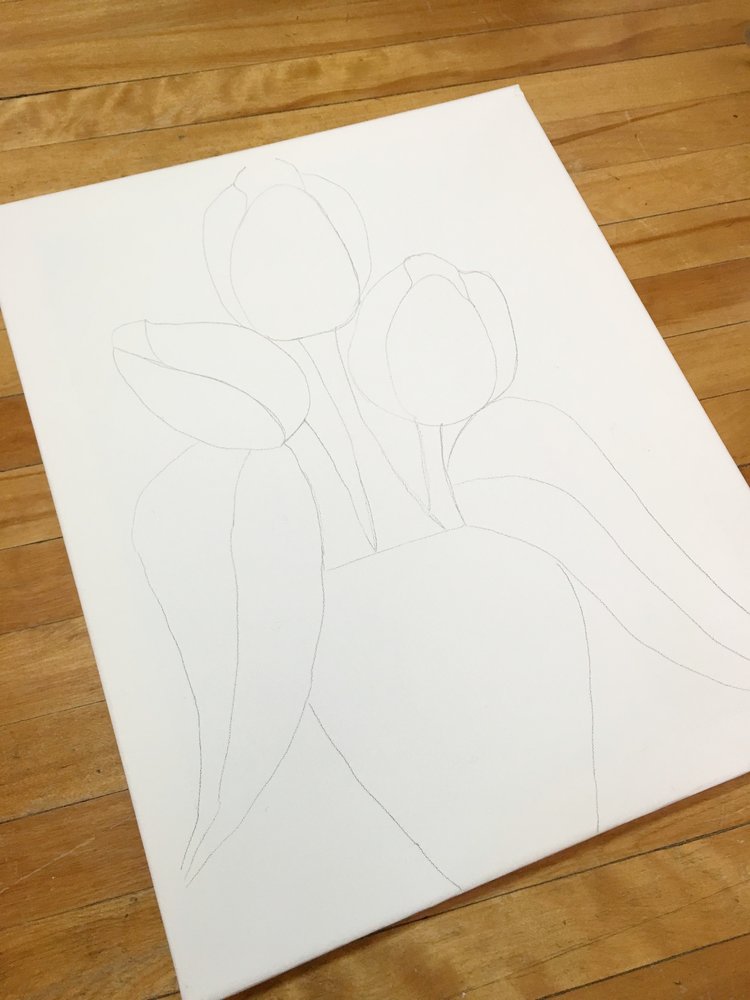
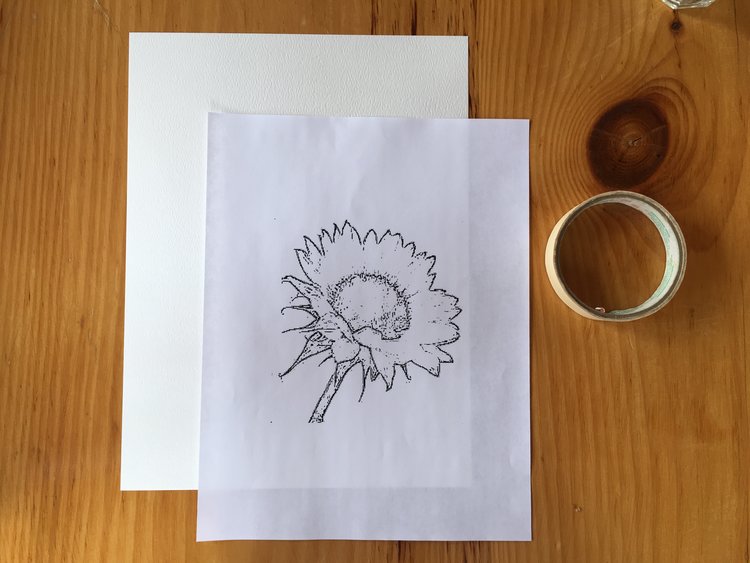
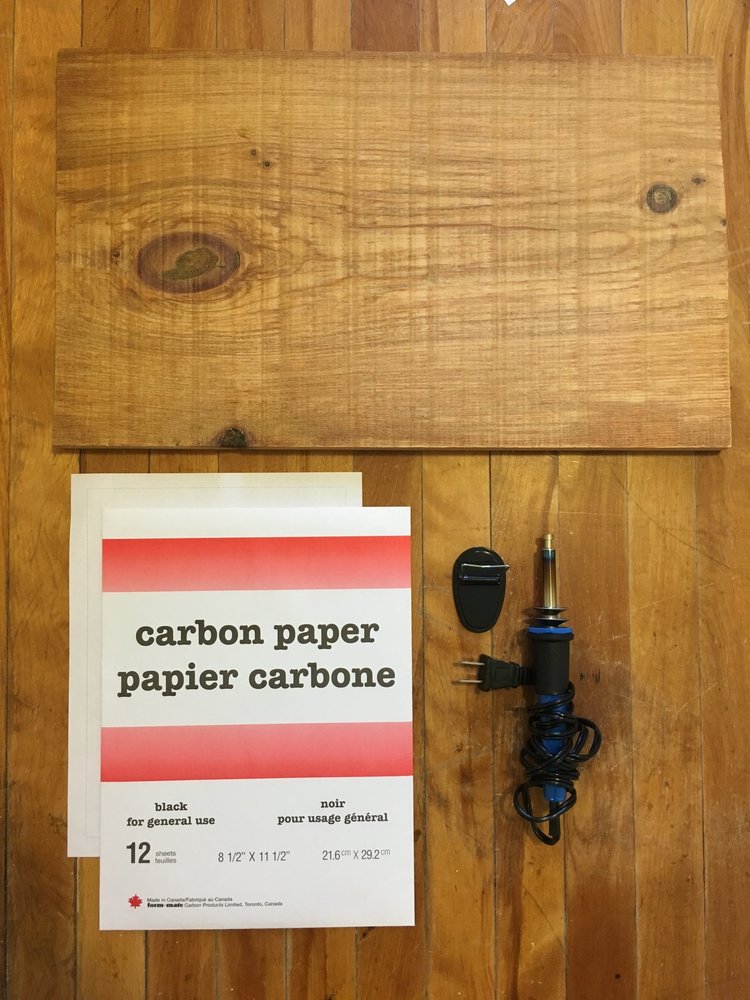
Carbon or Graphite Transfer Paper
Place the carbon paper between your design and the medium you are transferring your image to with the black side facing down. Then trace the lines of your design with a pen, stylus, or pencil. This works on wood, fabric, paper, canvas, clay and more. See our tutorial about how to make this tulip painting here.


To use carbon paper for a larger scale project, tape the carbon sheets together and then to your art material to trace your pattern. Check out the tutorial about making an abstract painting here.
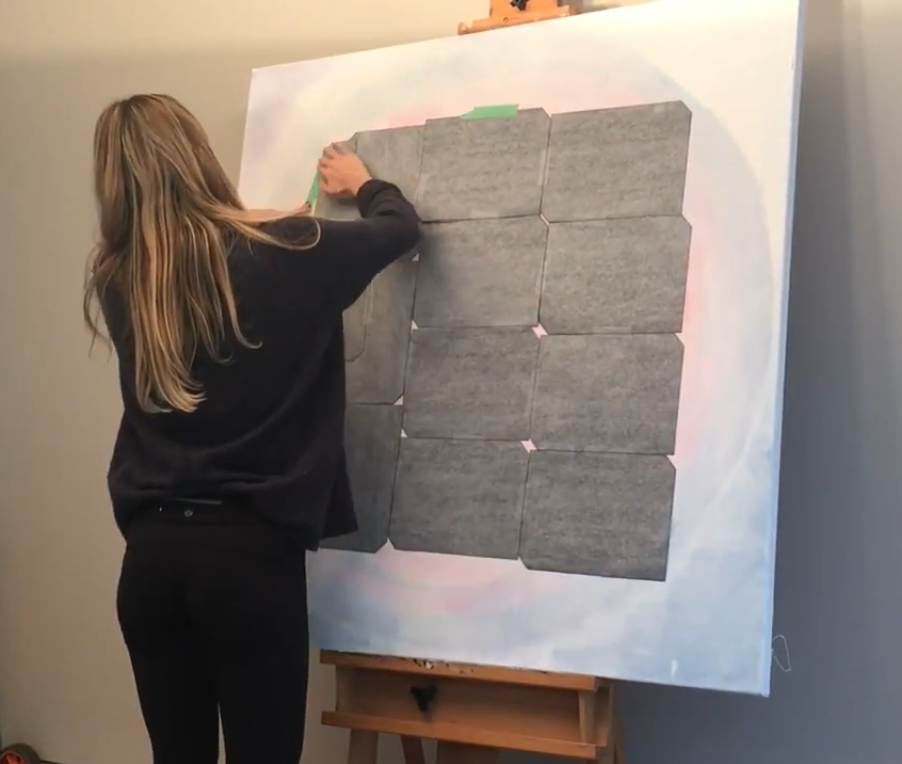
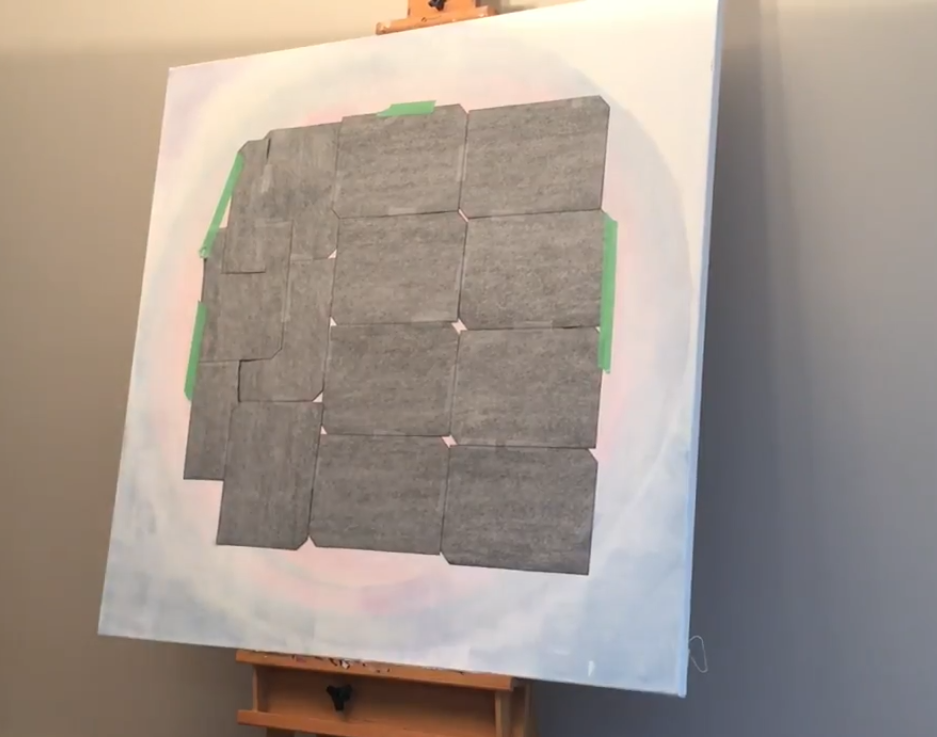
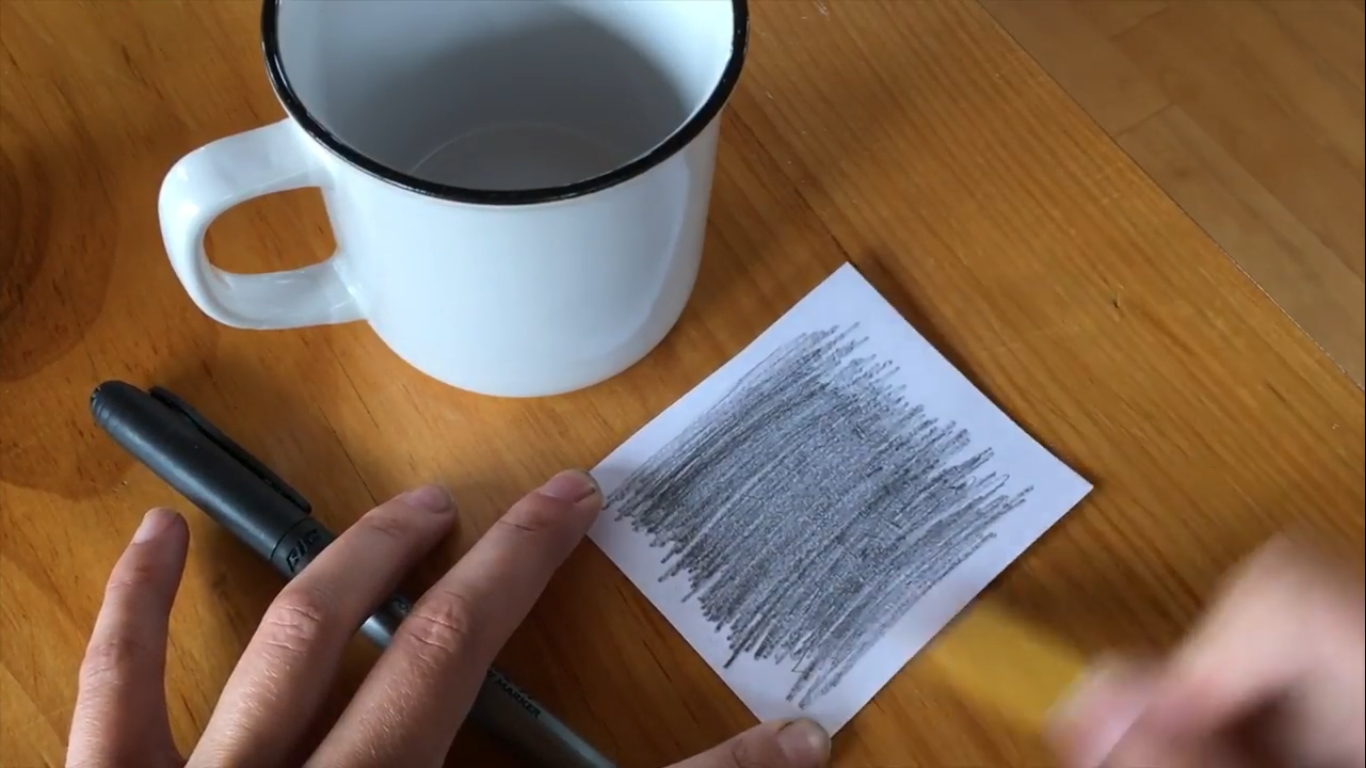
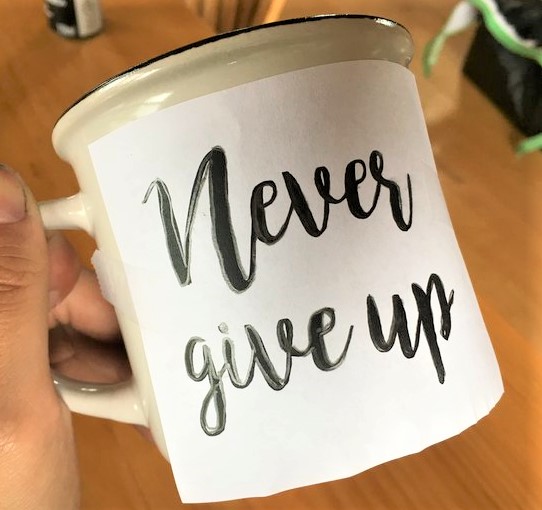
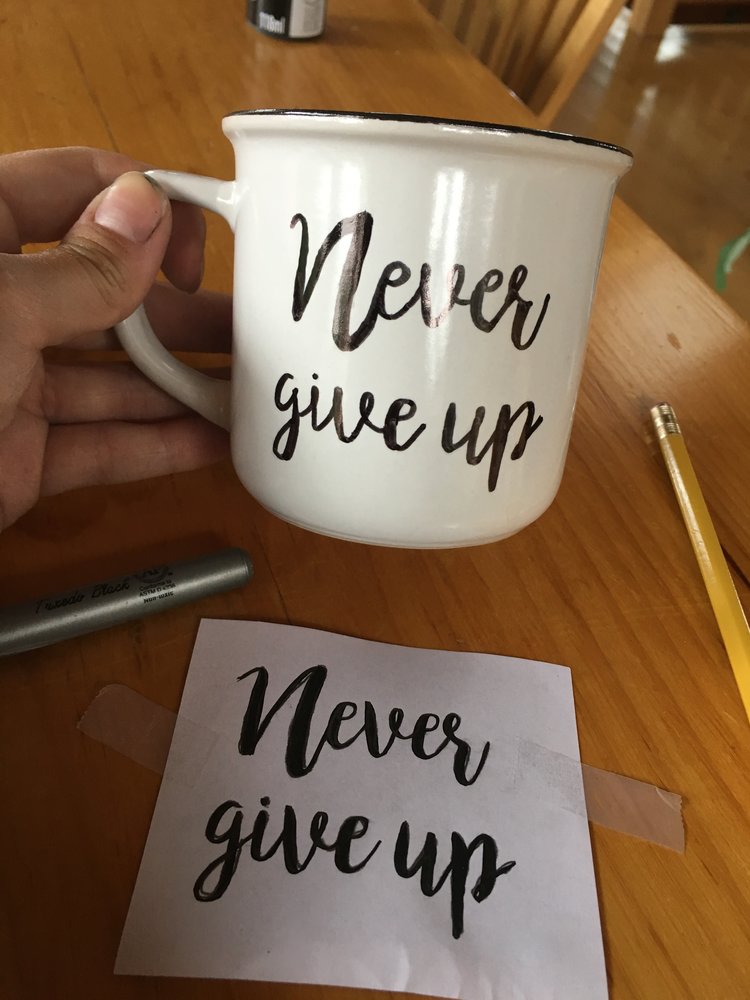
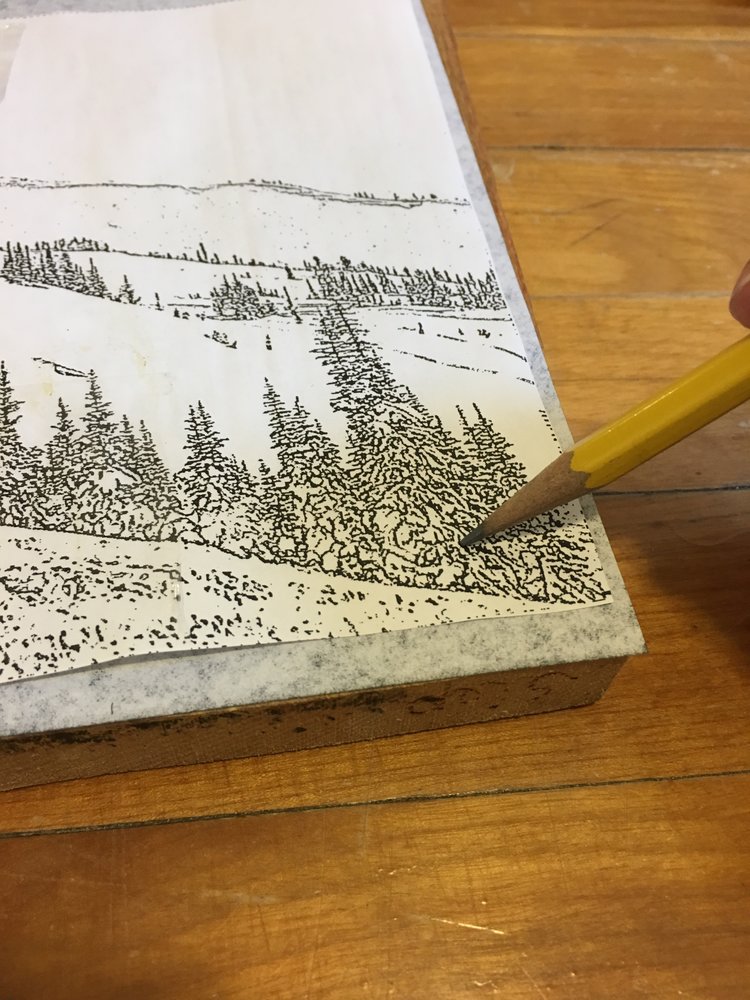
Pencil Shading
Shade the back of your paper printout with a pencil if the art material you are transferring to is light colored. Tape your printout to the project material with low tack tape and trace the design with a pencil so that the shading on the back of the page transfers to your art material. This technique works on wood, paper, some fabrics, chalkboards, clay, and canvas. Watch the video about transferring designs to a mug here.
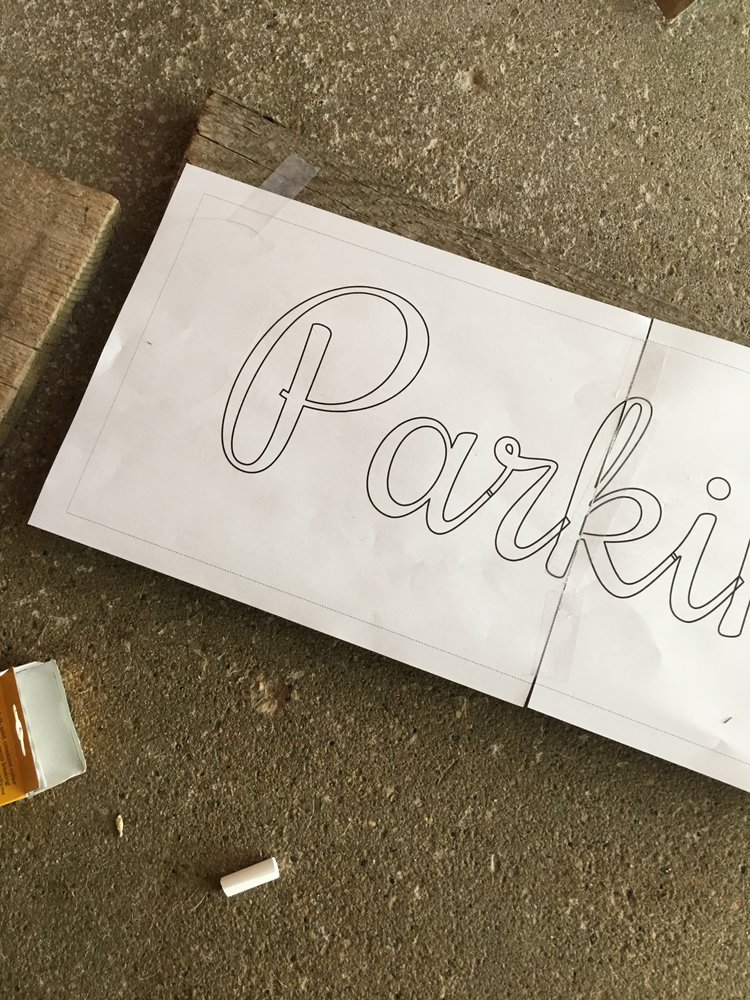
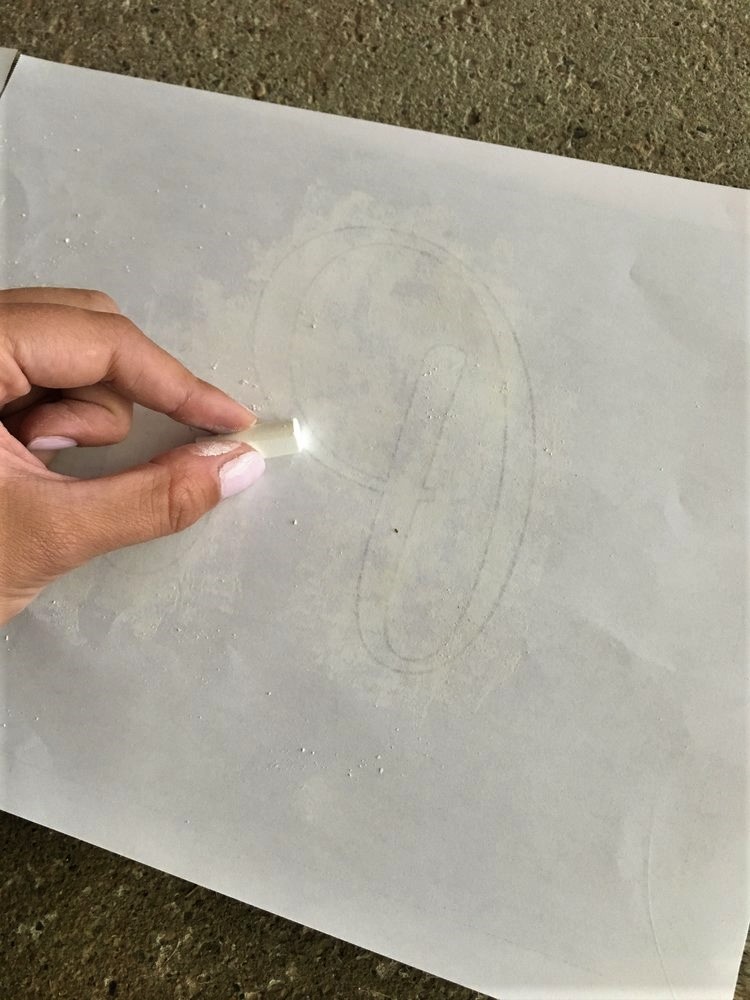
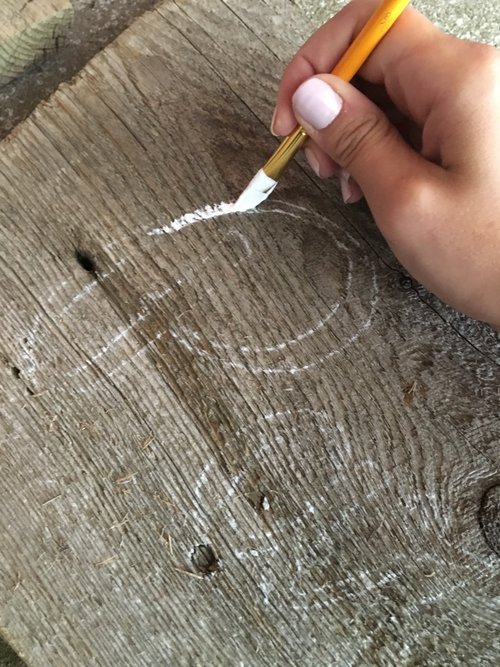
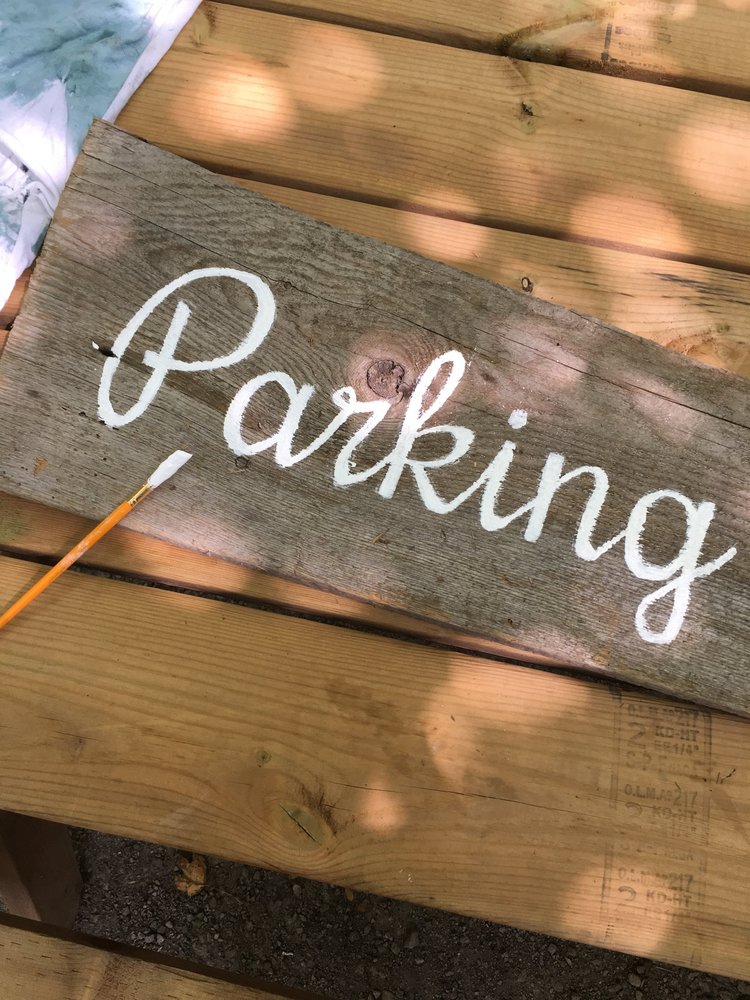
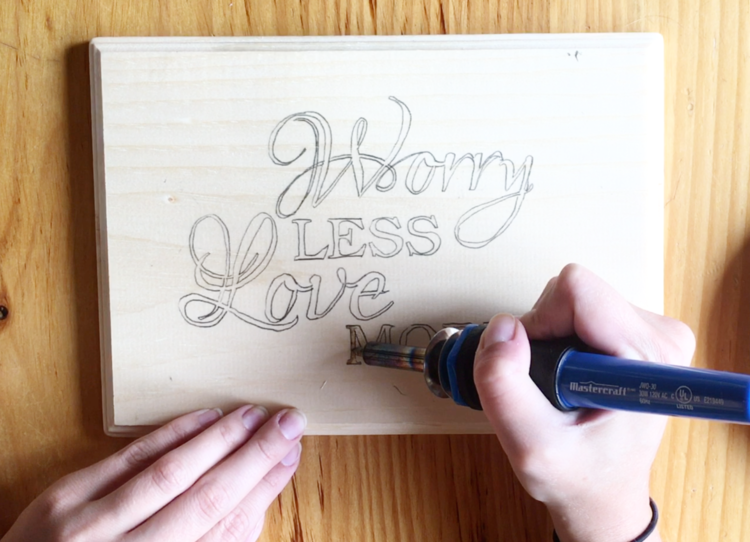
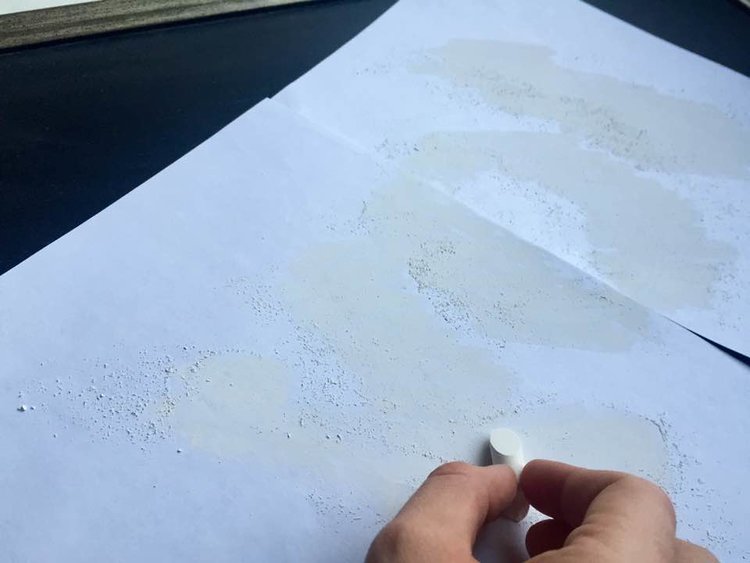
Chalk Shading
Shade the back of your paper printout with chalk if the material is dark colored. Tape the printout to your project material with low tack tape and trace the design with a pencil or stylus so that the shading transfers your design. This technique works on wood, paper, some fabrics, chalkboards, and canvas. Watch the tutorial on transferring lettering for wood signs here.
Light Box
Place your printout on the light box with your art medium on top of it and then trace it. If you are using canvas that has been stretched onto a frame then tape the printout to the back of your canvas inside the frame. Also works with art papers and some fabrics.
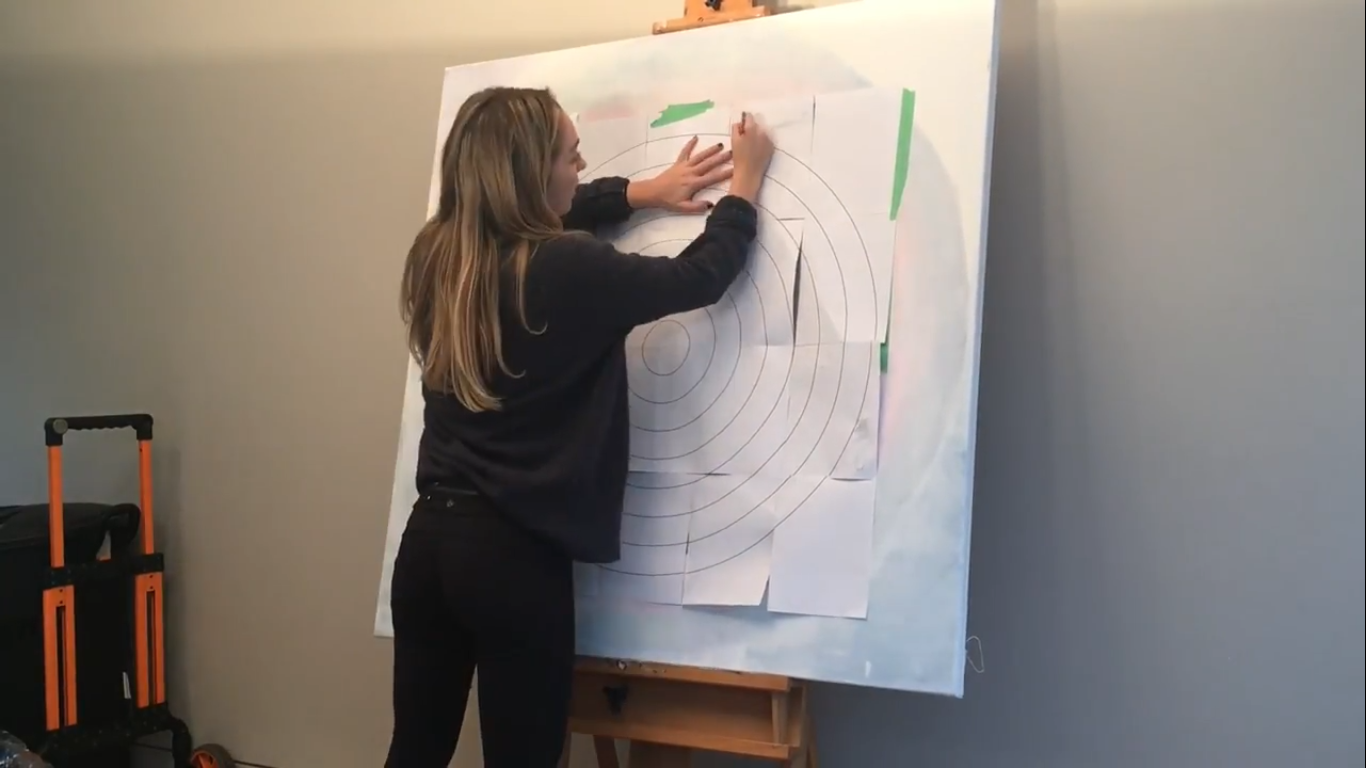
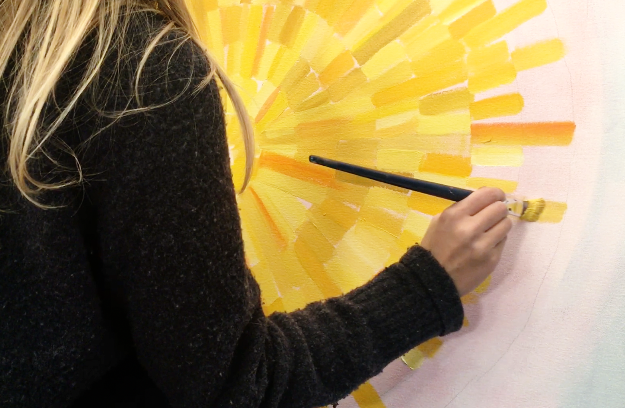
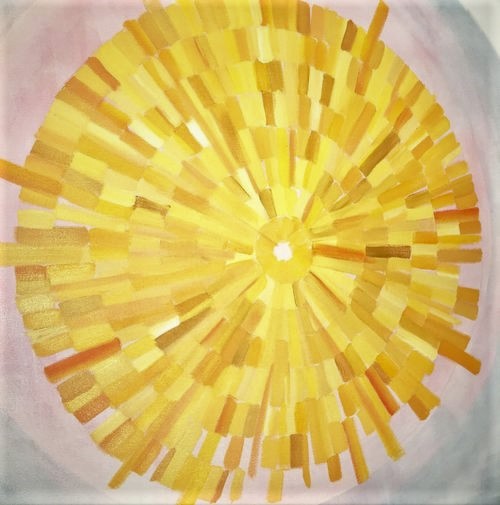
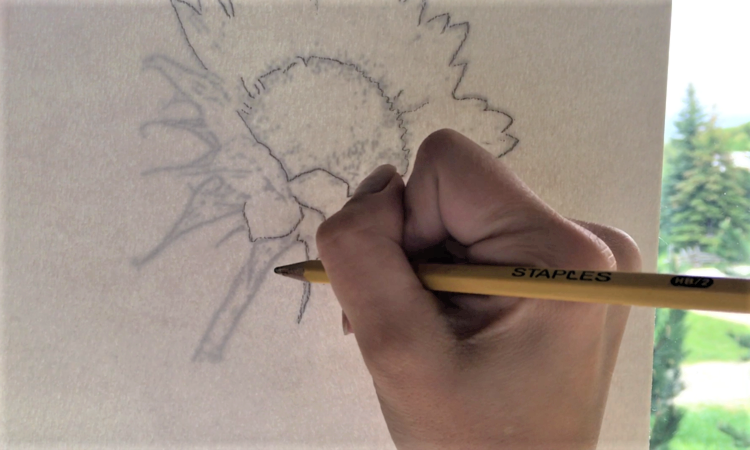
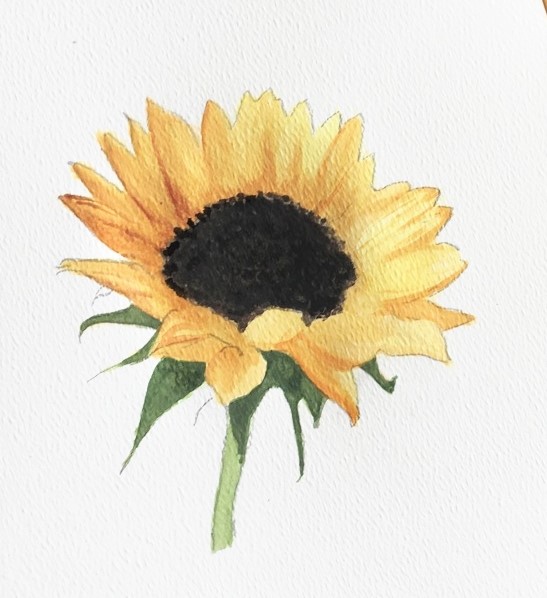
Window Light Box
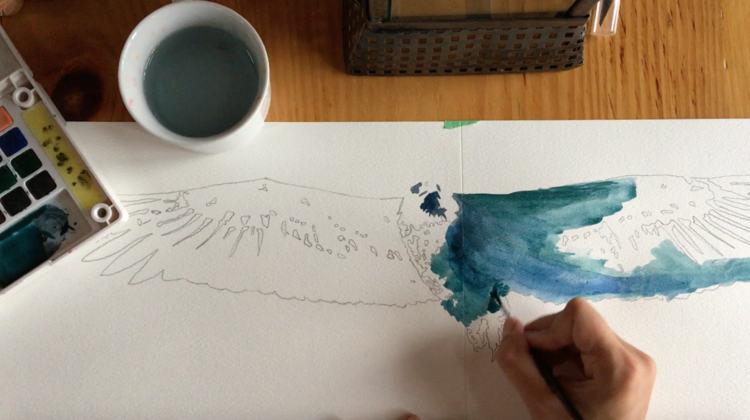
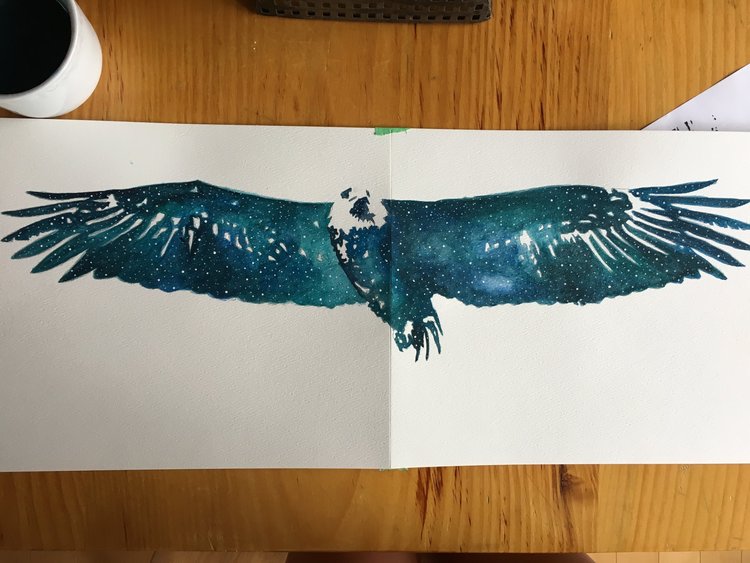
Tape your printout to the window and then tape your art medium over top of it. Use low tack tape so that it won’t rip your art paper. If you would like the pencil lines to be faint, use a pencil with harder lead such as a 6H pencil. Works with canvas, art paper, watercolor paper, and some fabrics. Watch the sunflower painting tutorial here.
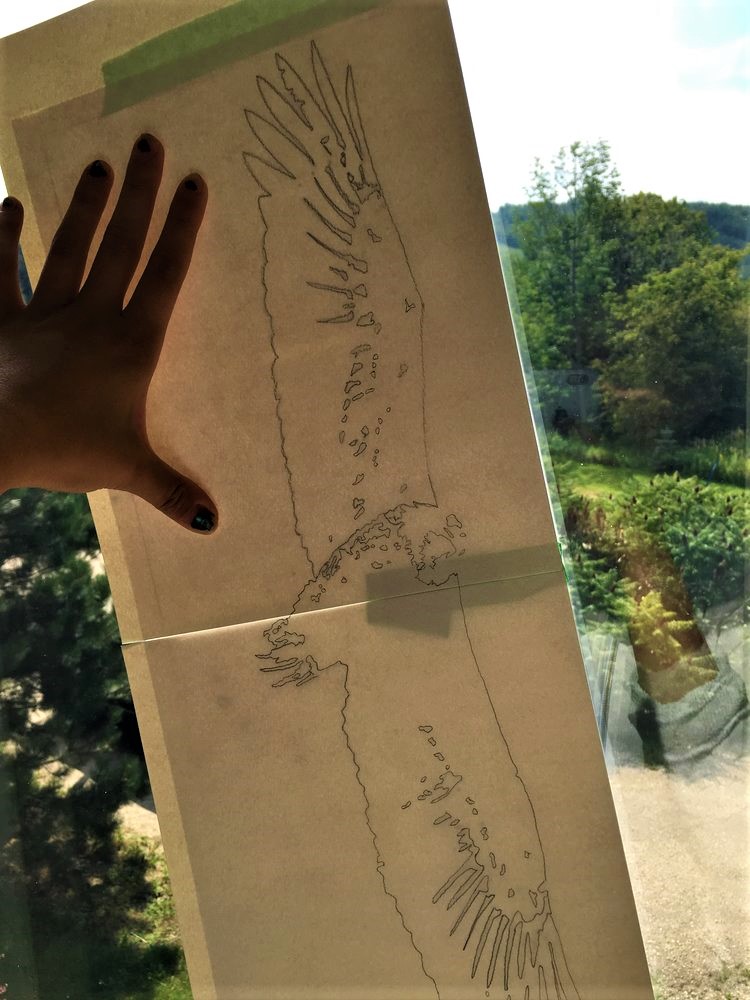
You can also see the window light box method being used in the spirit animal tutorial here.
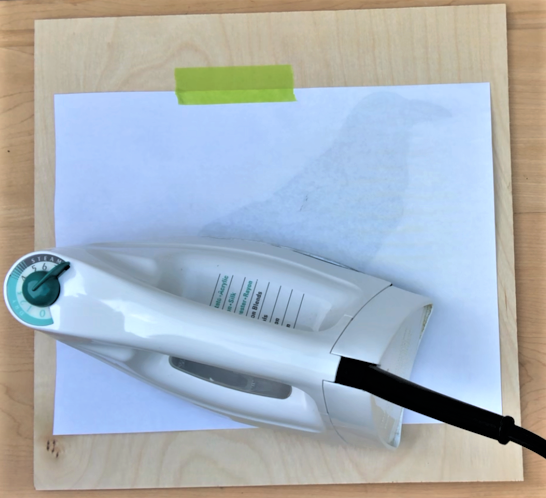
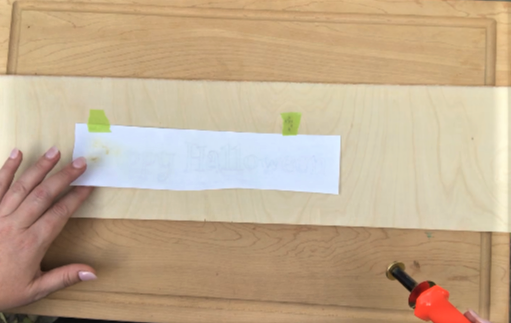
Laser Jet Iron onto Wood
Print out the reversed mirror image (if there are words in the design) on a Laser Jet printer. Inkjet printouts will not work. Ensure the wood is sanded smooth and tape the paper printout along the top so that you can easily lift it to ensure that the image is being transferred properly. Use a clothing iron on its hottest setting and rub the tip along the design. If you check the wood and have missed some spots, simply go over those parts again with the iron. Remove the paper when finished.
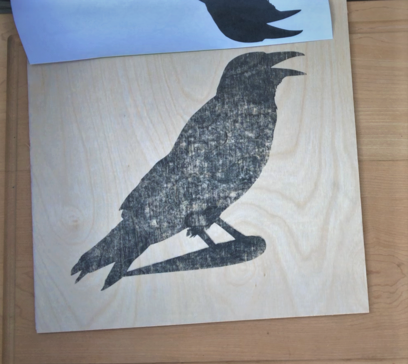
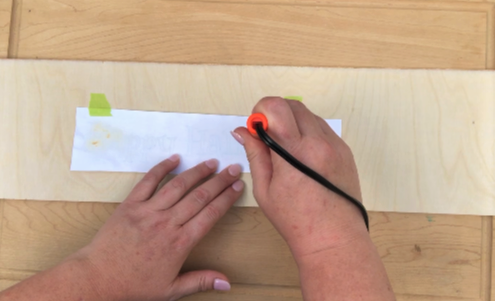
A more effective way to do this method is with a wood burning tool and a Laser Jet printout using the round flat attachment (it is about the size of a quarter). It is hotter than an iron and is a more precise tool so it transfers the image more easily.
Once the tool heats up, test it on some scrap wood a few times to remove some of the heat so it won’t burn the paper. Place the paper ink side down on the wood and tape it just along the top edge. Be sure that any words have been printed backwards so that they transfer forwards onto the wood. Then rub the back of the paper printout in a quick circular motion with the heating tool until the image has transferred. If the tool stops transferring well it needs to heat up again, so let it rest a moment. Go over any spots until the process is complete and remove the paper.
See both methods in the tutorial here.

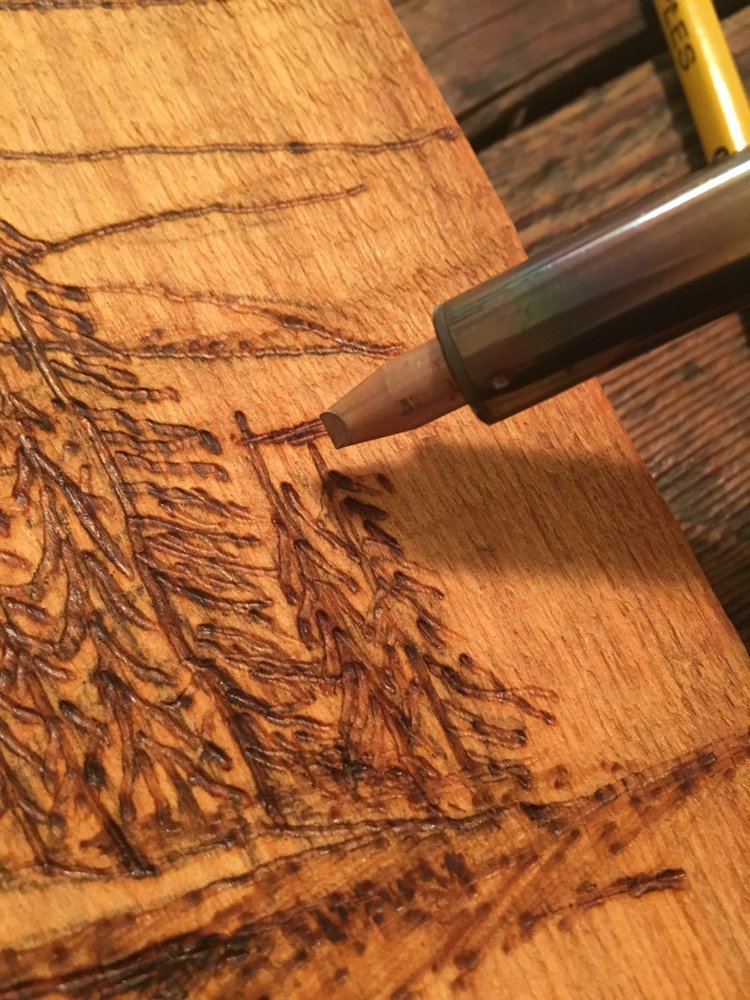
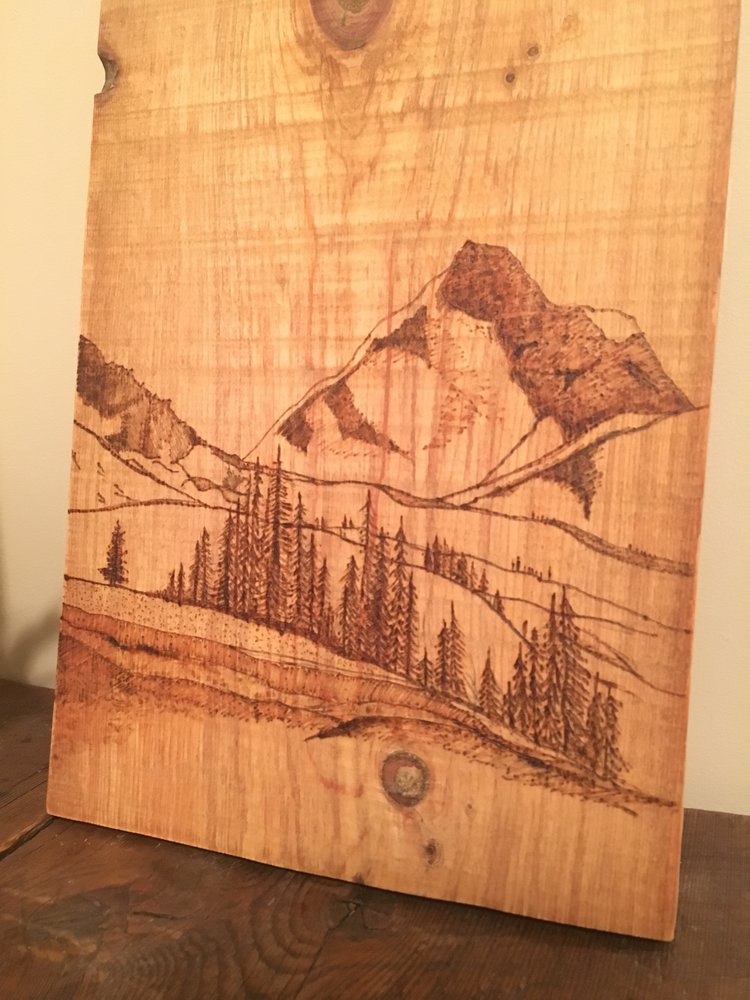
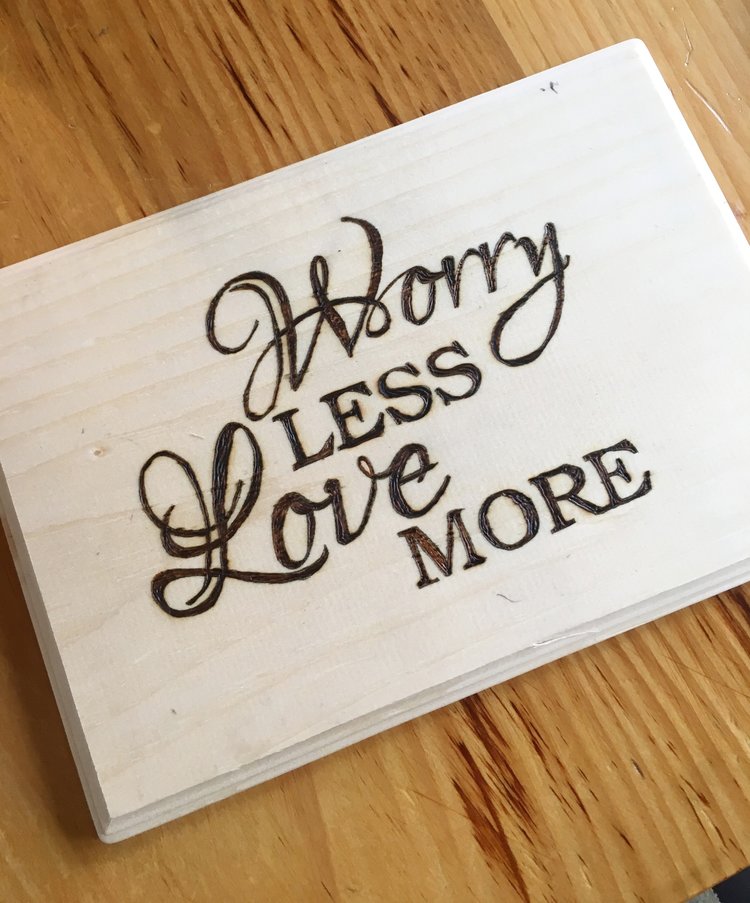
Wood Burning
Using carbon paper or covering the back of your printout with pencil shading is the best way to transfer your image for pyrography projects. Learn more from our tutorial here.
This method also works for making lettered signs with a wood burning tool. See how to make one here.

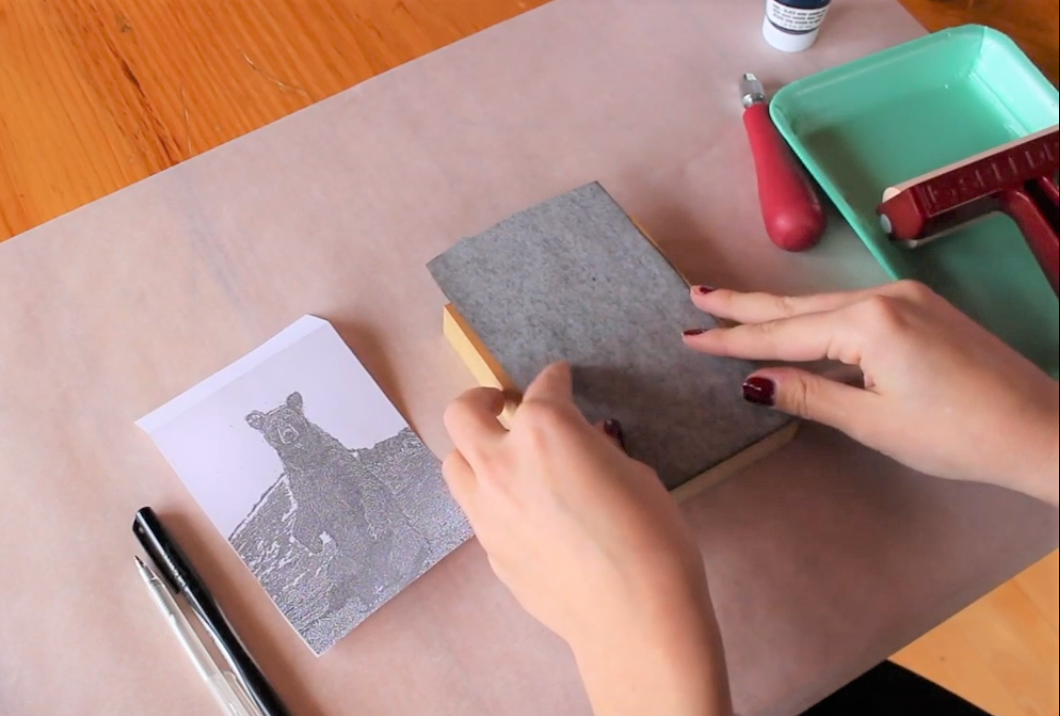
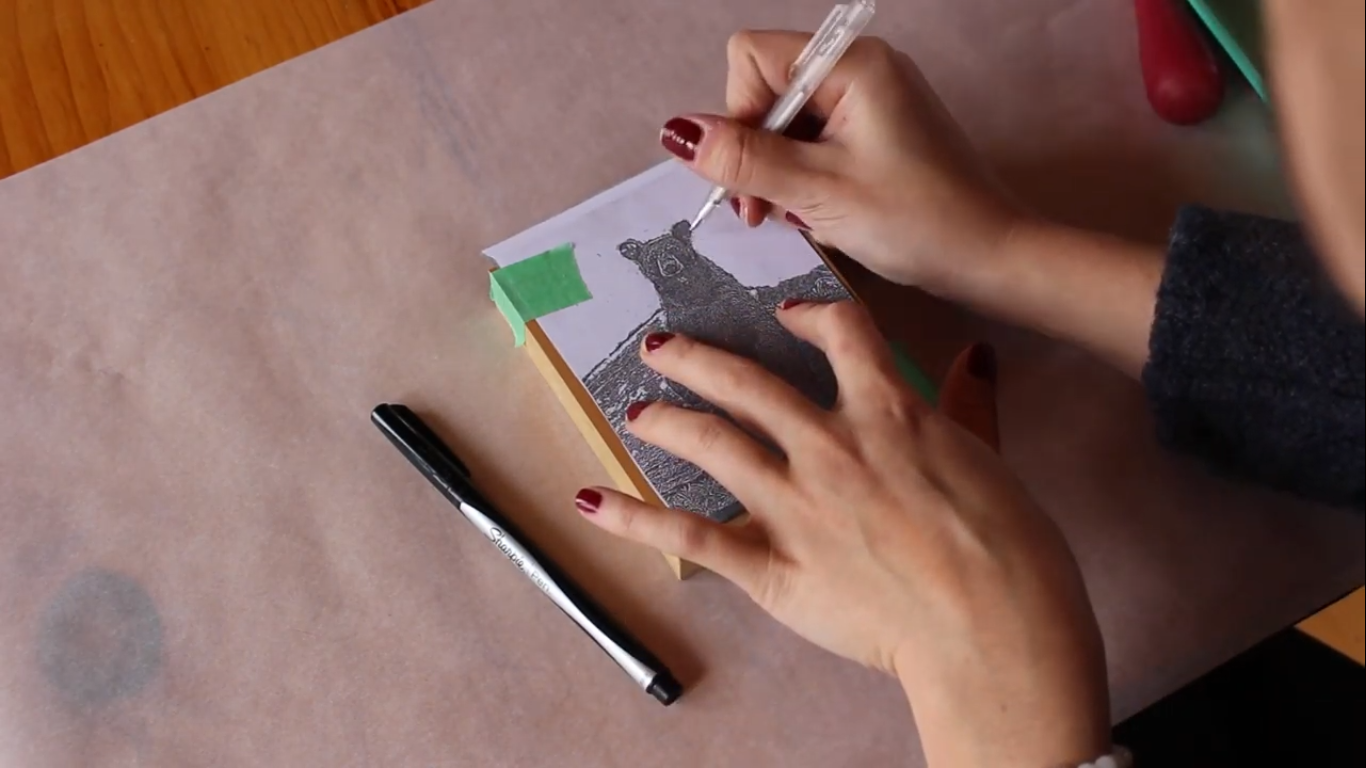
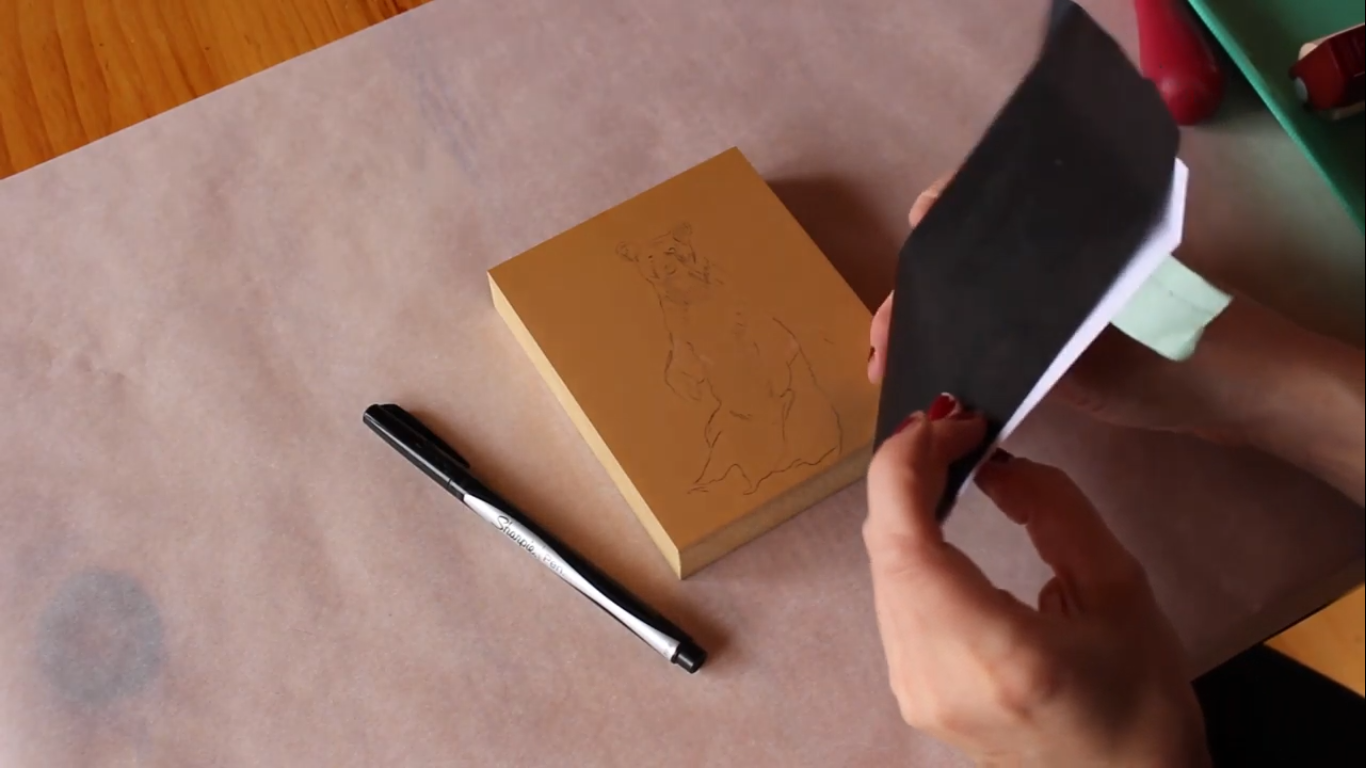
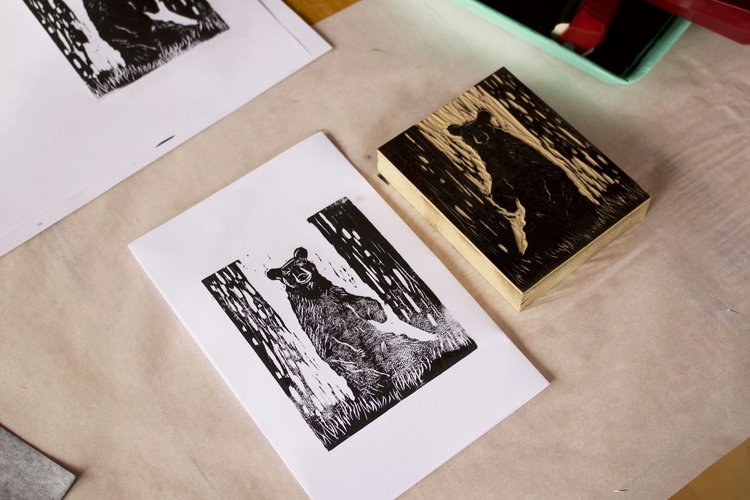
Linocut
To transfer a design for a linocut project, use carbon paper or pencil shading and then darken the carbon image with a black marker before you begin carving. Watch the video tutorial to learn more.
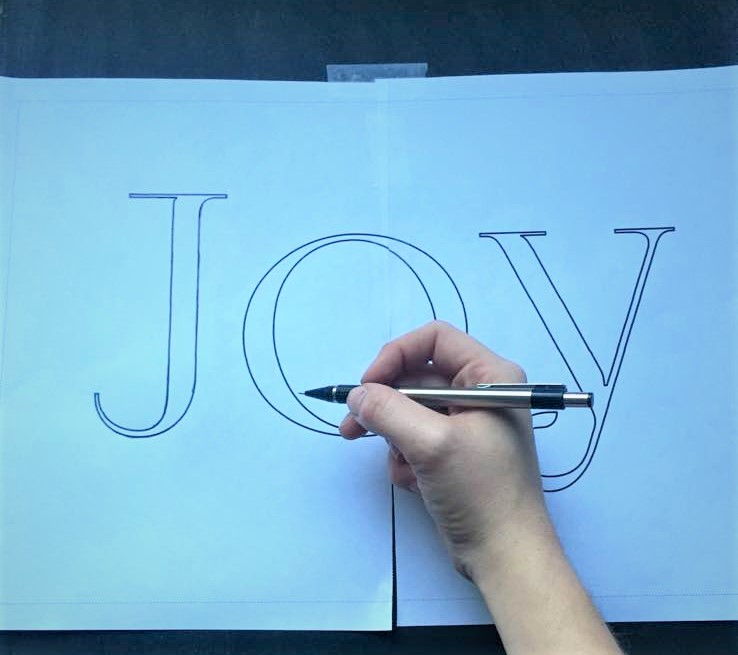
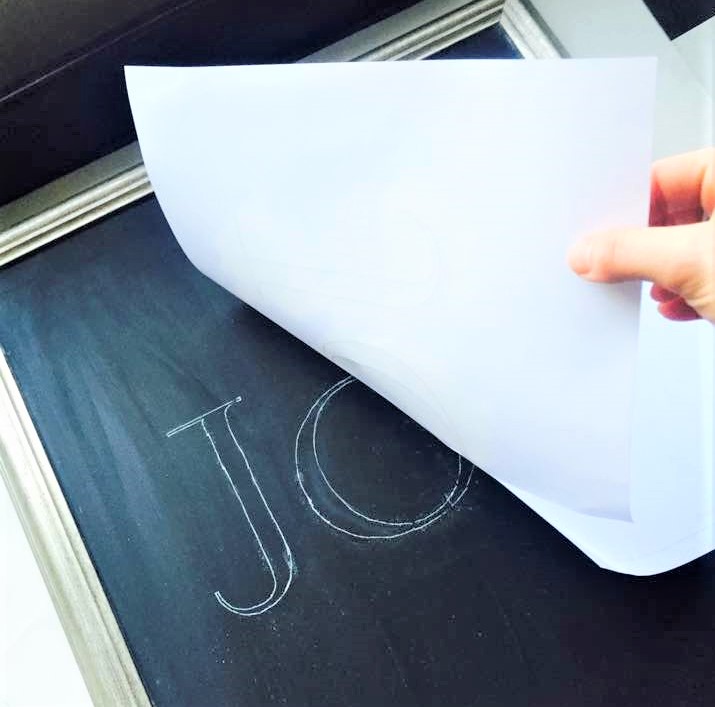
Chalkboard Art
Print out the design you want to transfer to the chalkboard and then cover the back of the page with chalk. Tape it to the chalkboard and use a pen or pencil to trace the design so that the chalk will transfer to the board. Remove the paper and fill in the design with chalk. If you make a mistake, wipe it away with a wet cloth and then completely dry it with a dry cloth to keep your design crisp. Watch the tutorial here.
Inkjet Printout with Adhesive Label Backing
Remove adhesive labels from backing and put the backing into inkjet printer. Print your image on the side that had labels on it and then tape it ink side down onto wood carefully so that the ink doesn’t smear. Smooth it down,remove the paper, and your image will have transferred. You can protect it with a spray adhesive that will also make the color more rich. Tutorial coming soon!
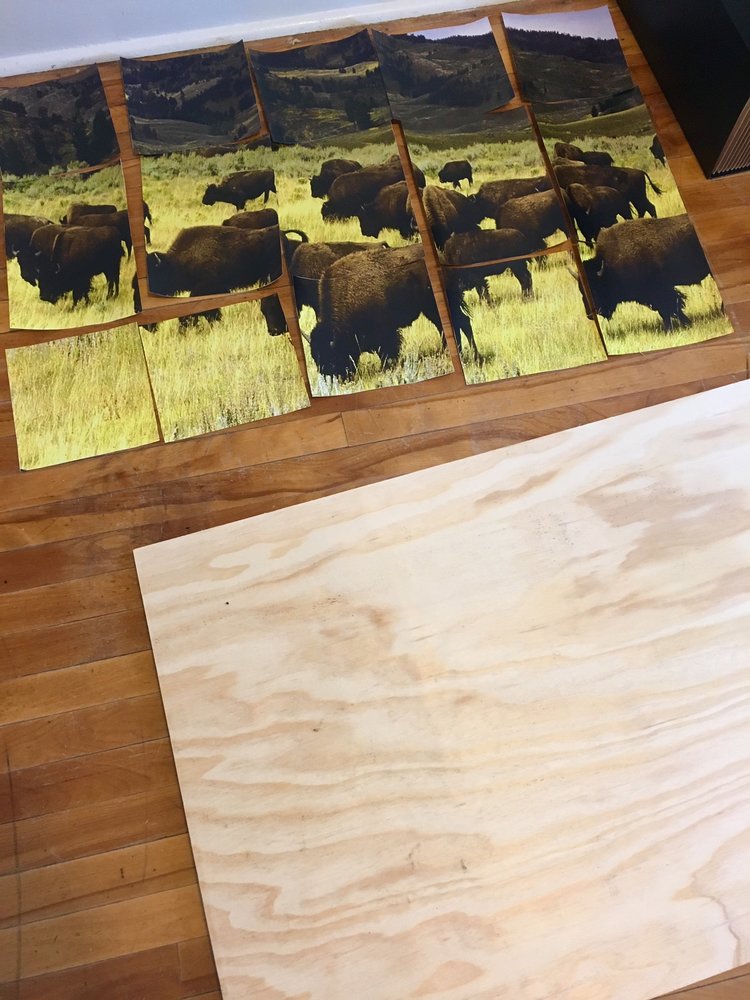
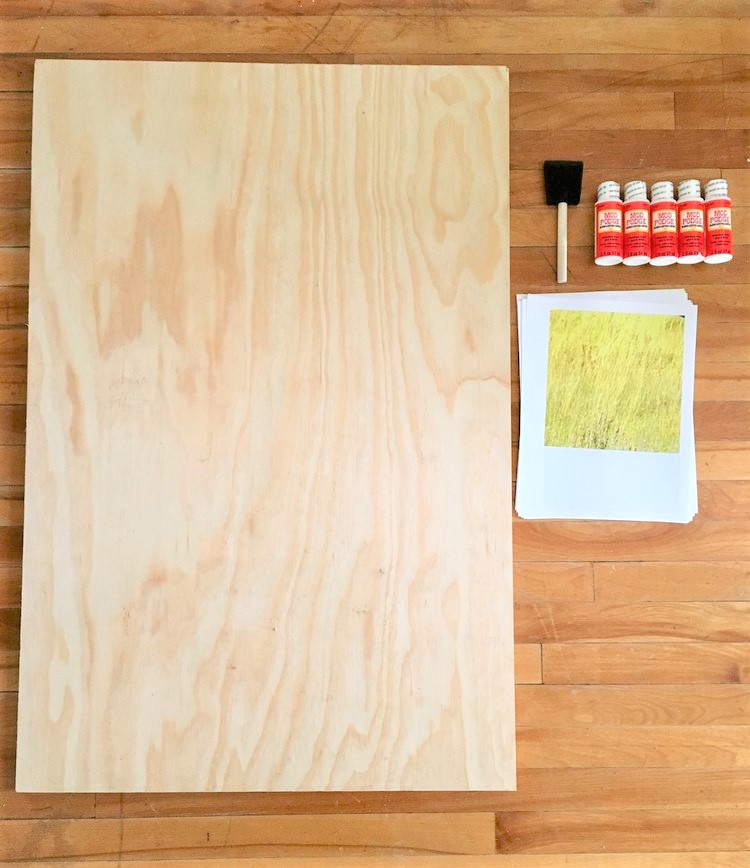
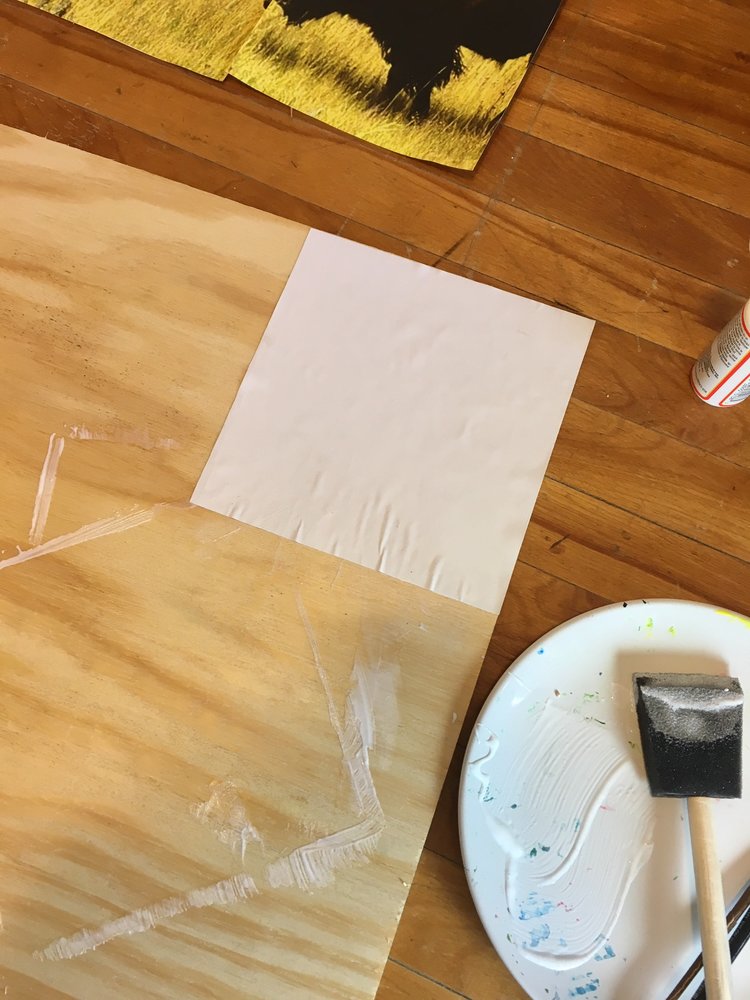
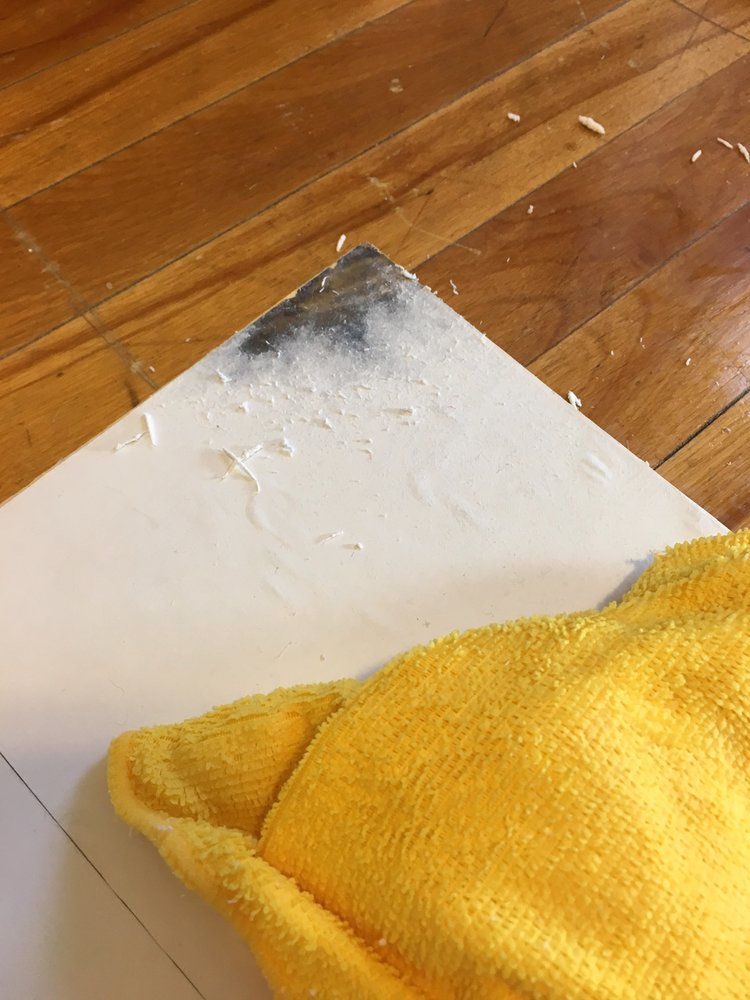
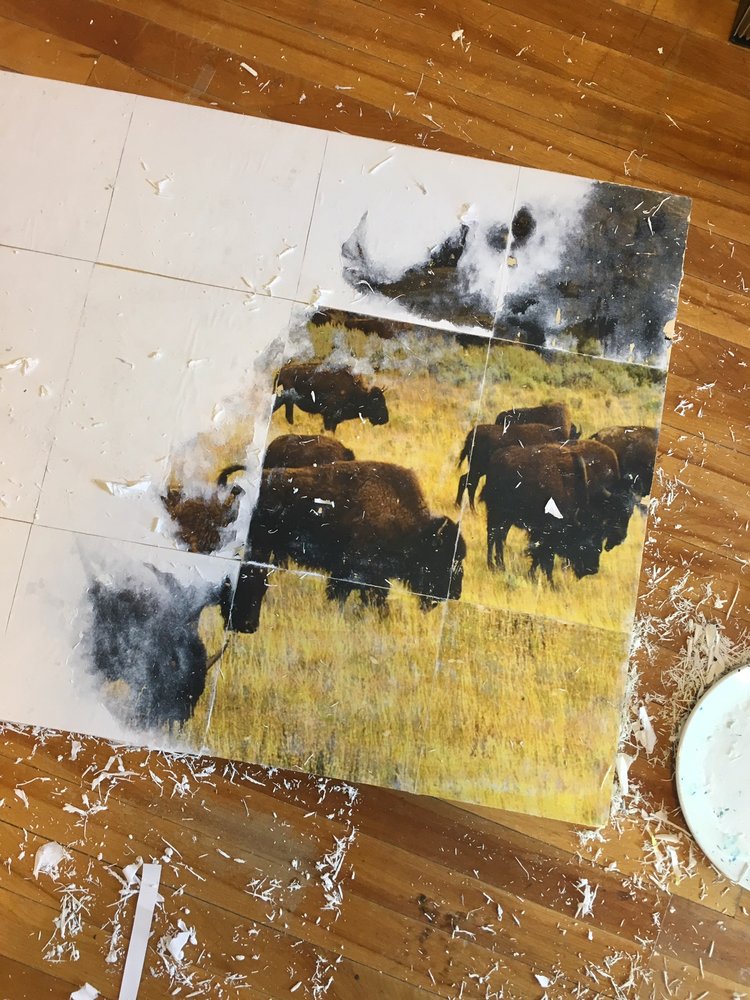
Mod Podge
This technique requires using a laser jet printout or a photocopy of a photo. Some people seem to have success with ink jet as well so you can experiment with it. Cover the wood with Mod Podge and place the image ink side down on top and smooth it out. Let it sit for 24 hours and then use a wet paper towel or sponge to rub the paper away. Learn more with our tutorial here.

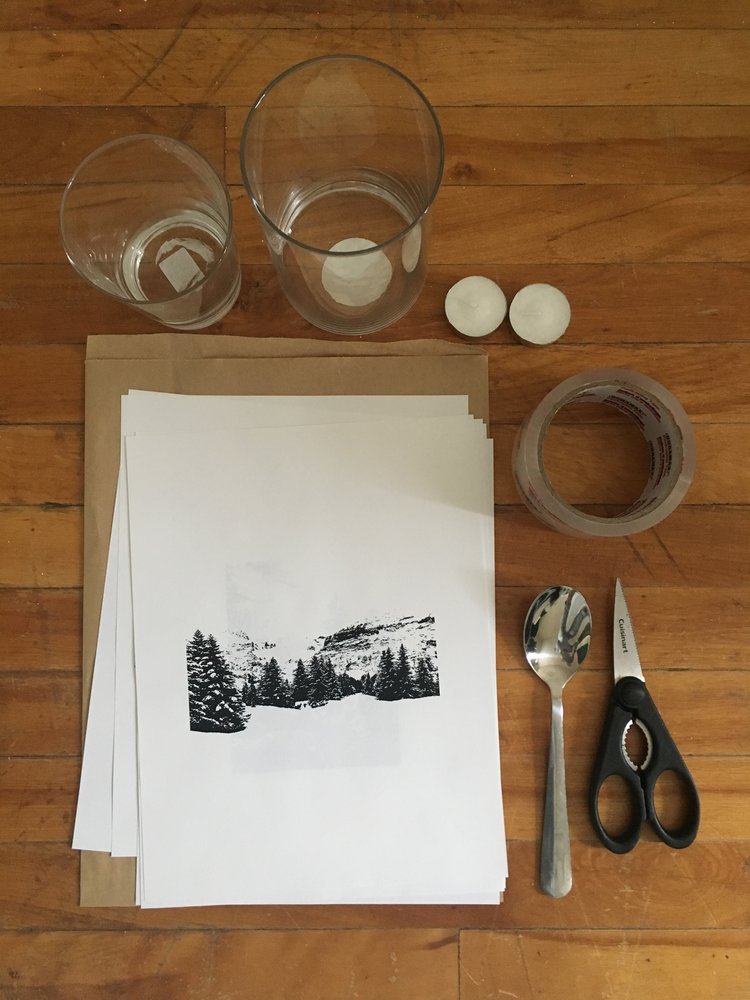
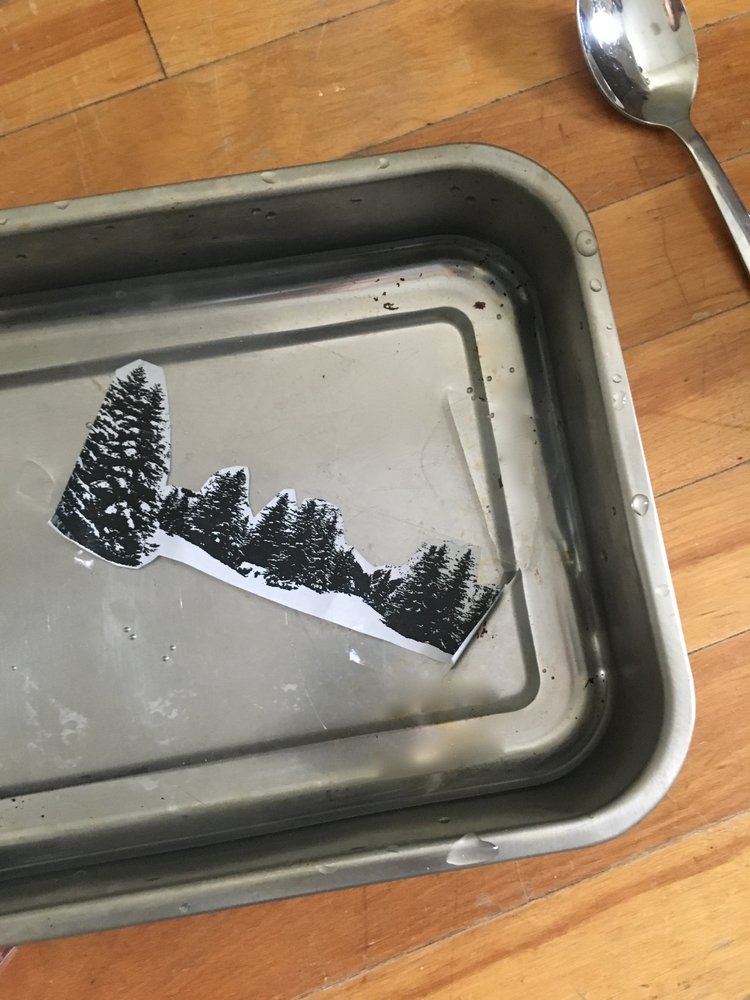
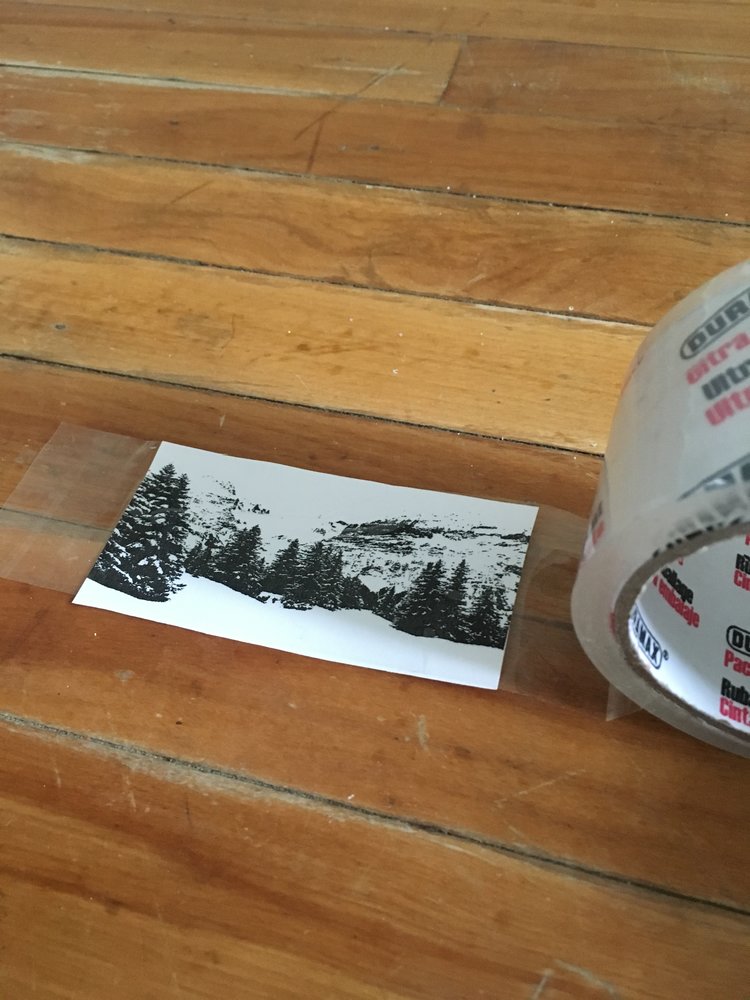
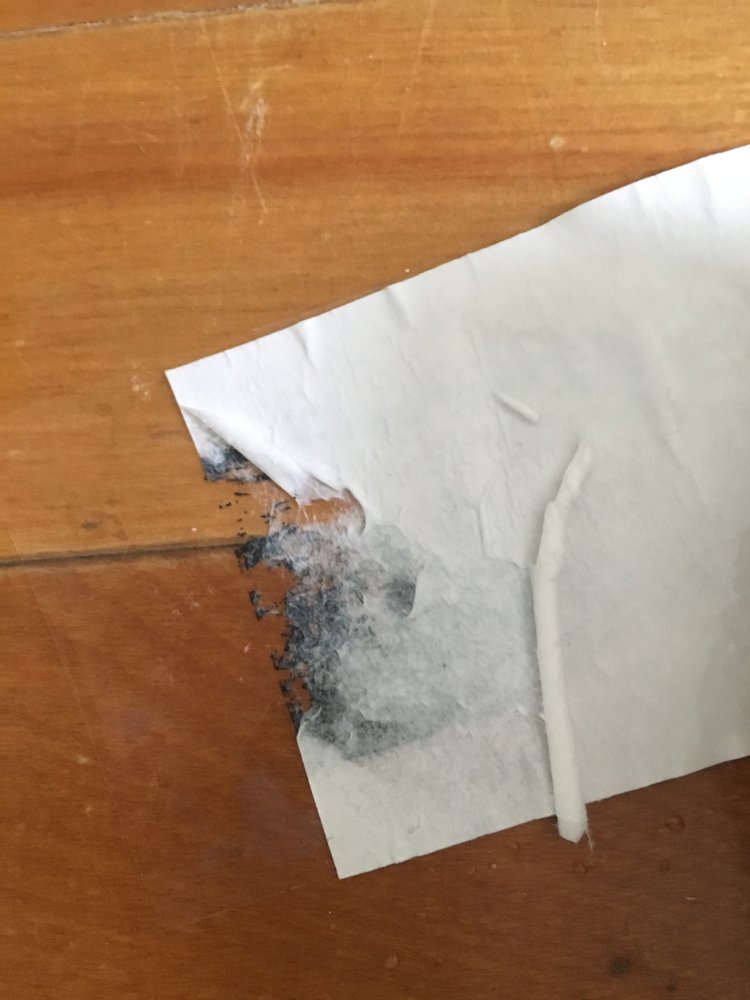
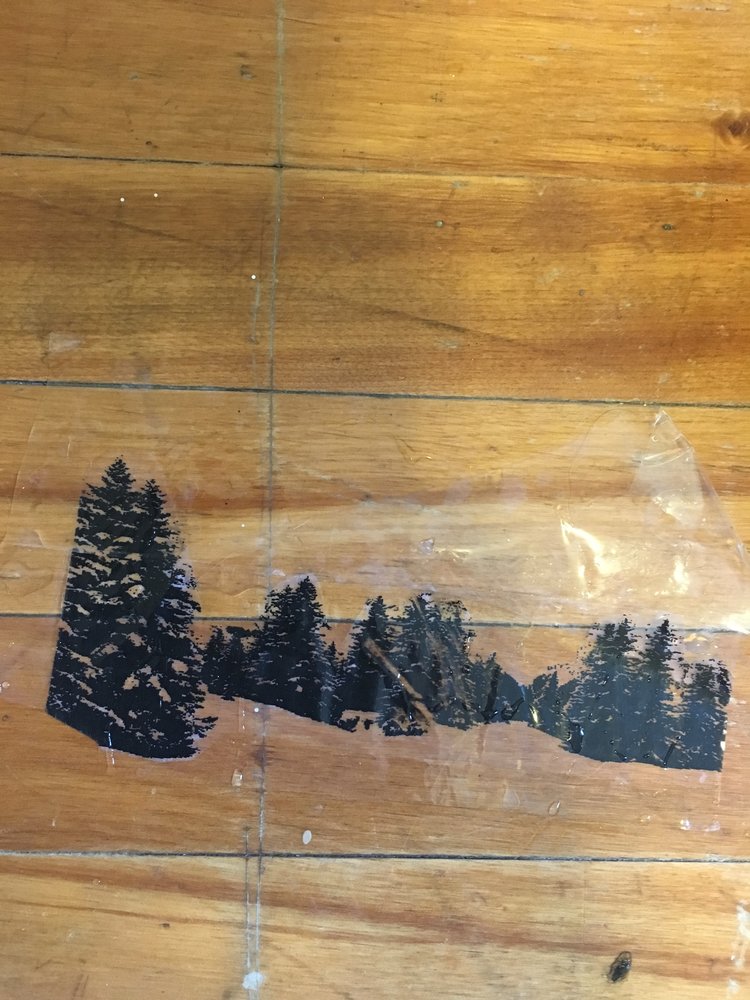
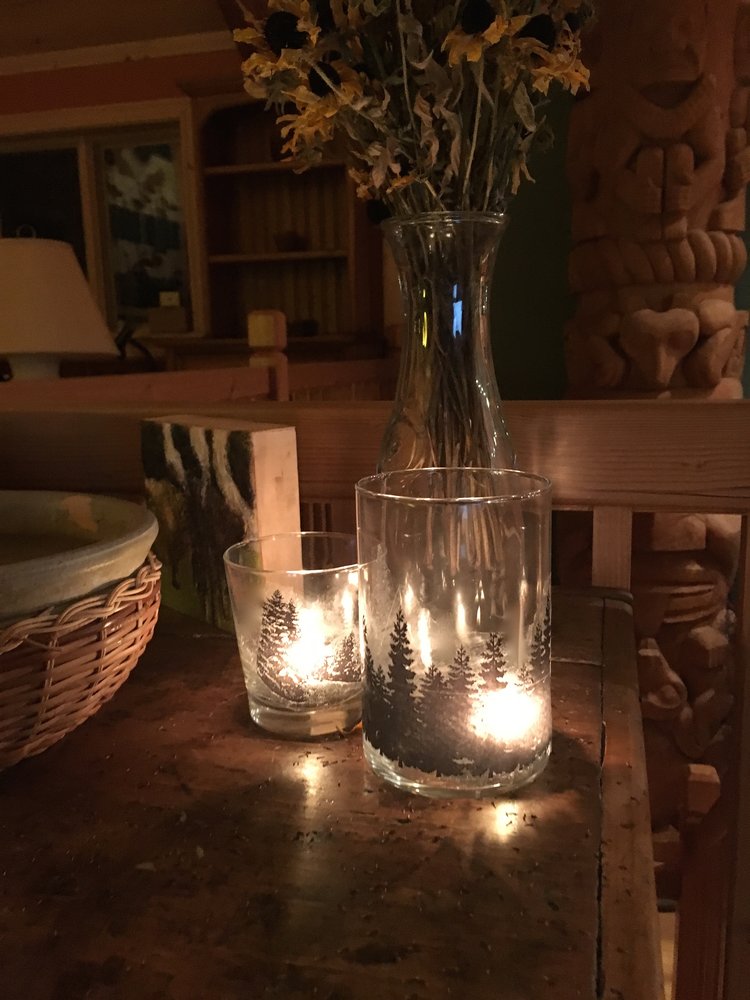
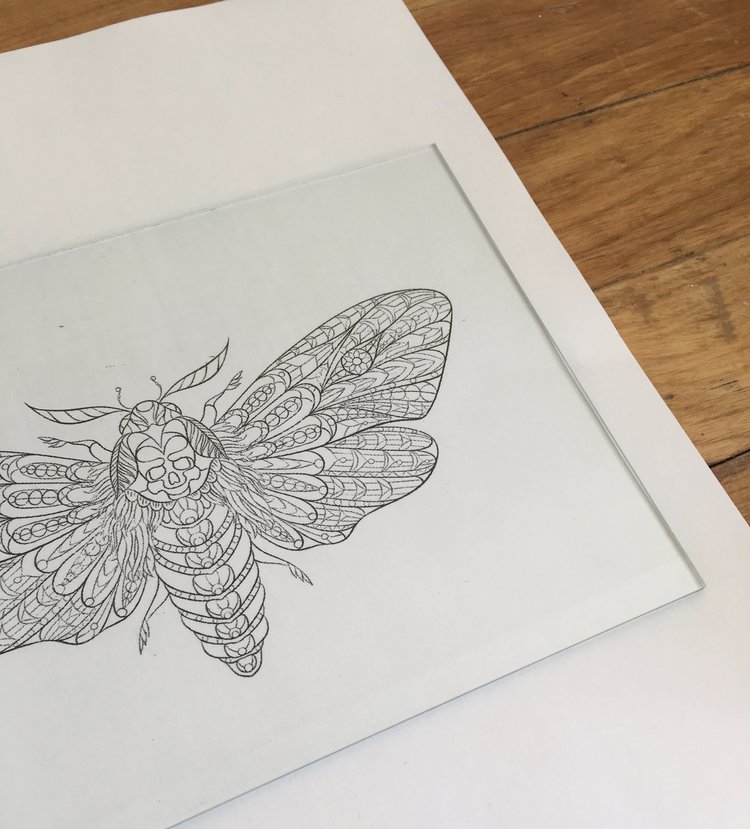
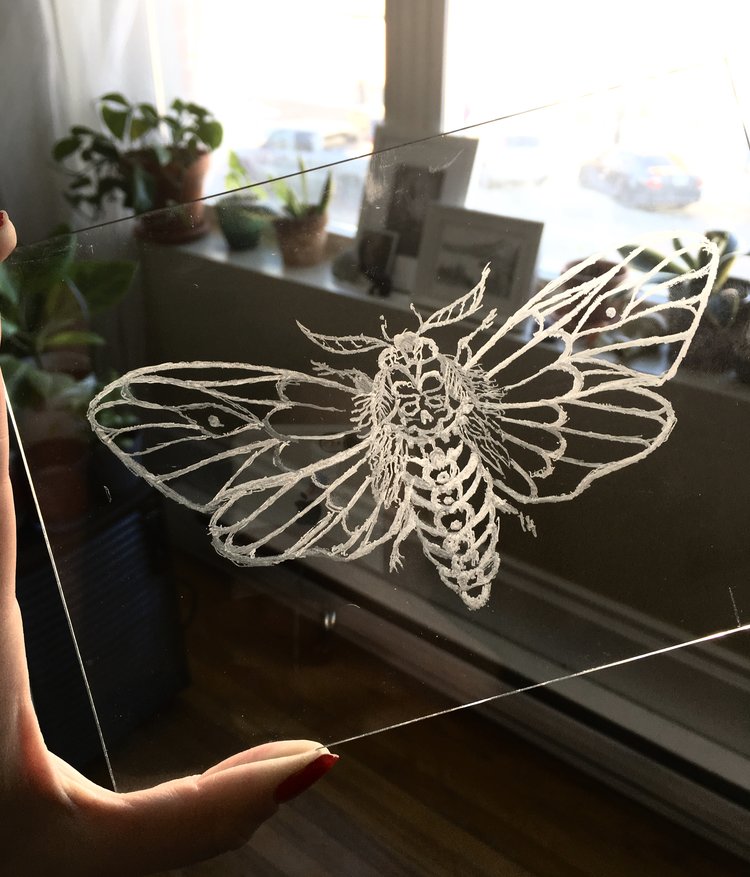
Transfer Images to Glass with Packing Tape
Cut out a laser jet image and place it ink side down onto the sticky side of a square of packing tape. Soak it in warm water and then scrape off the paper. Dry it with a blow dryer and attach it to any type of glass. Learn more with our tutorial here.
Matte Gel
Transferring an image with matte gel requires using a printout from a laser jet printer. An ink jet printout will work too but the image will not be as crisp. If you want to use a photograph, use a photocopy of it.
Cover the ink side of the printout with matte gel and place it on the project material (wood, paper, etc) while still wet. Smooth it down to get any bubbles out and let it dry for 12 hours. Use a wet cloth and rub the paper away with the tips of your fingers or a sponge until all of the paper has been rubbed off and the image is transferred. You can transfer to wood, glass, and possibly fabric this way. Tutorial coming soon!
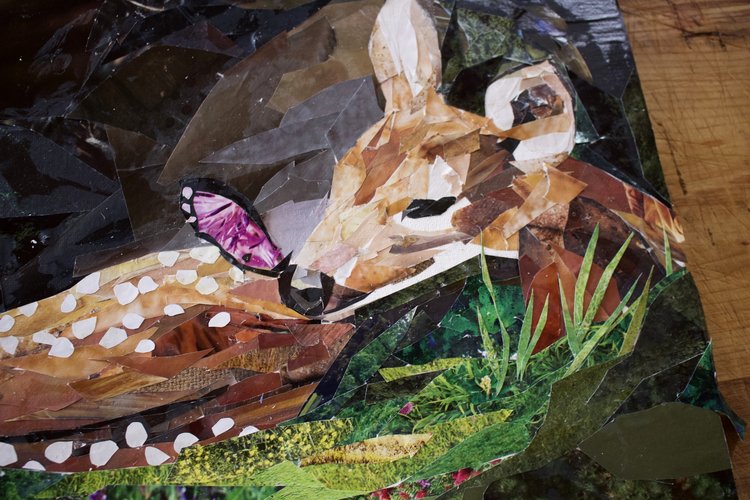
Collage Image Transfer
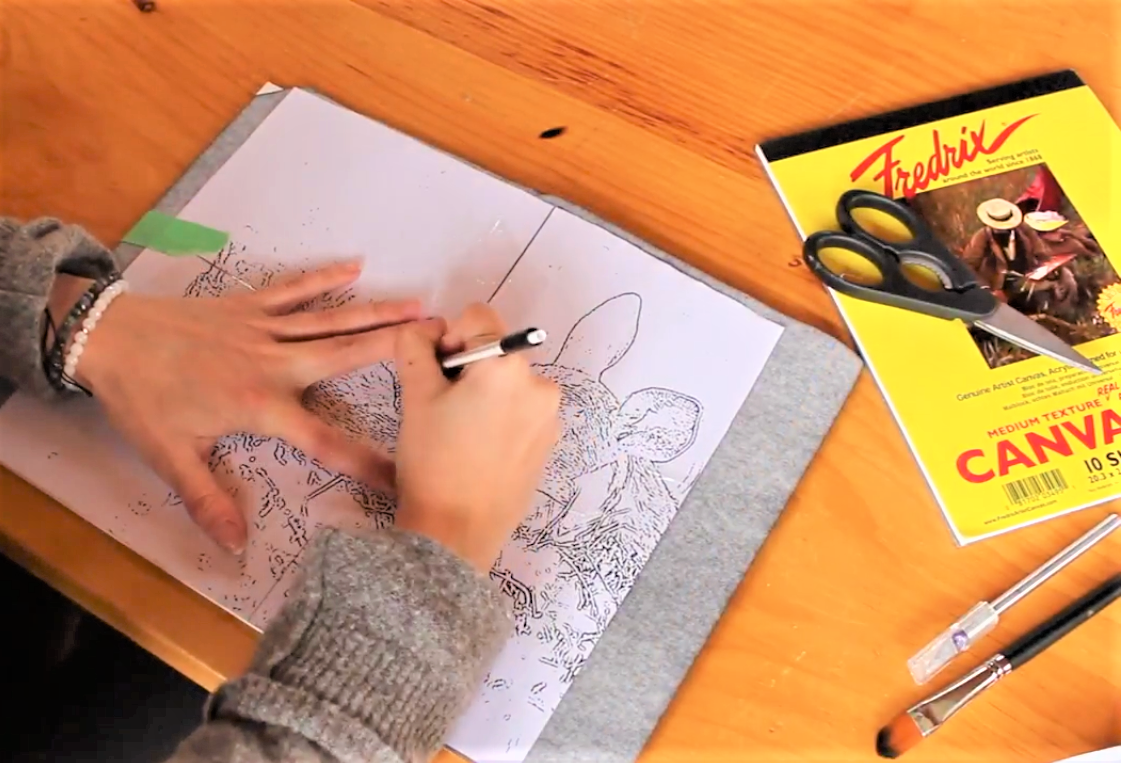
To create a collage, use carbon paper to trace the outline of the image you are working with. Then fill it in with collage material such as magazine pieces. Watch how to make one here.
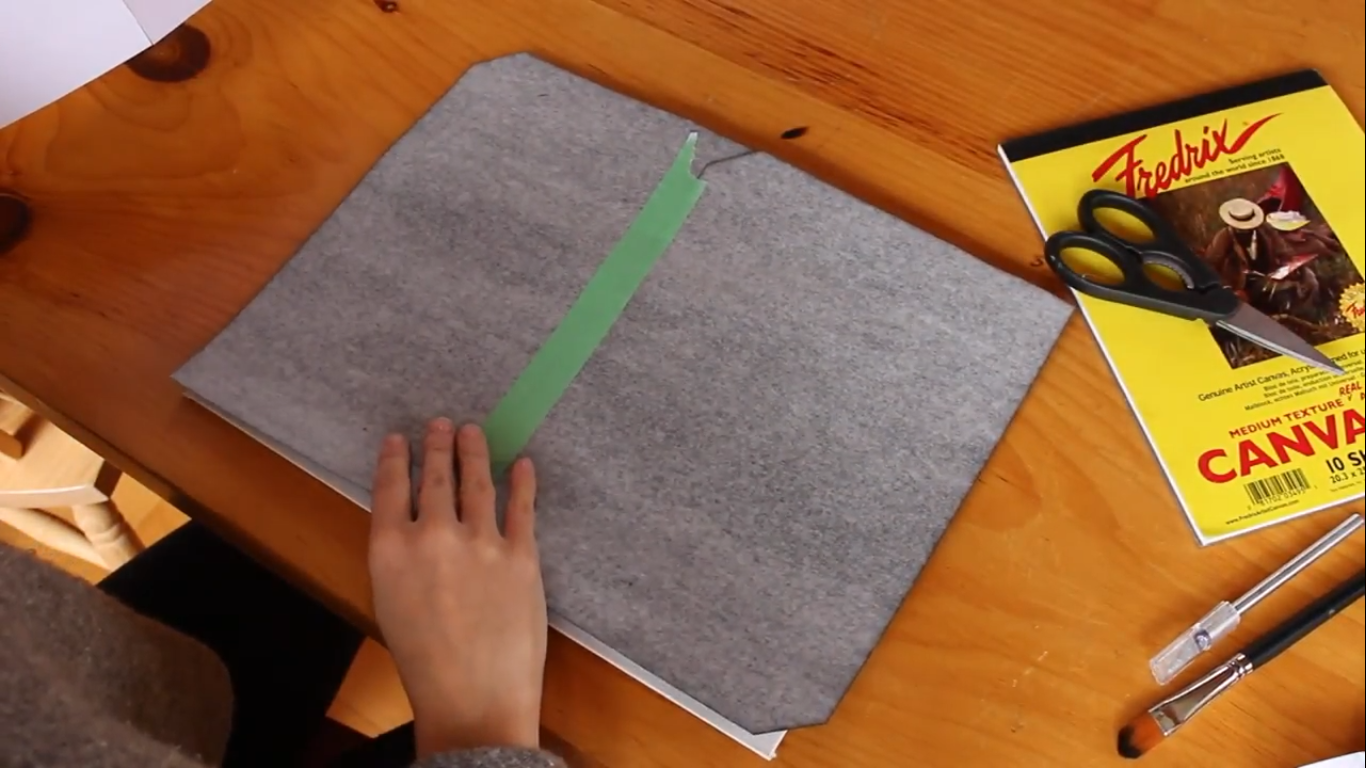
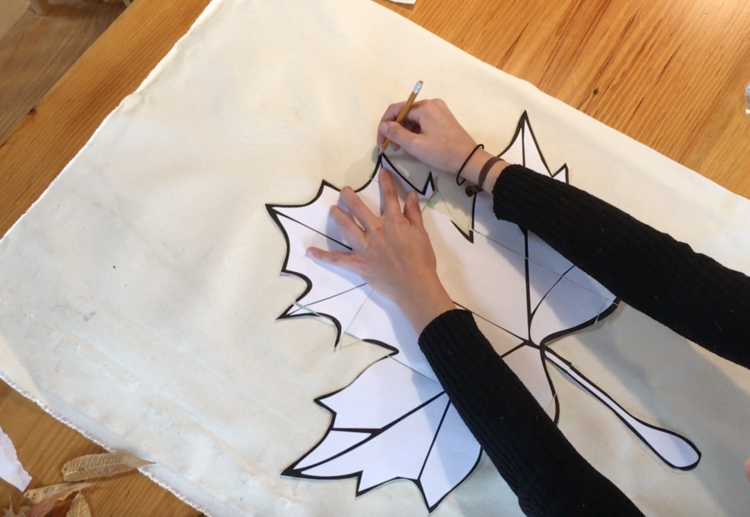
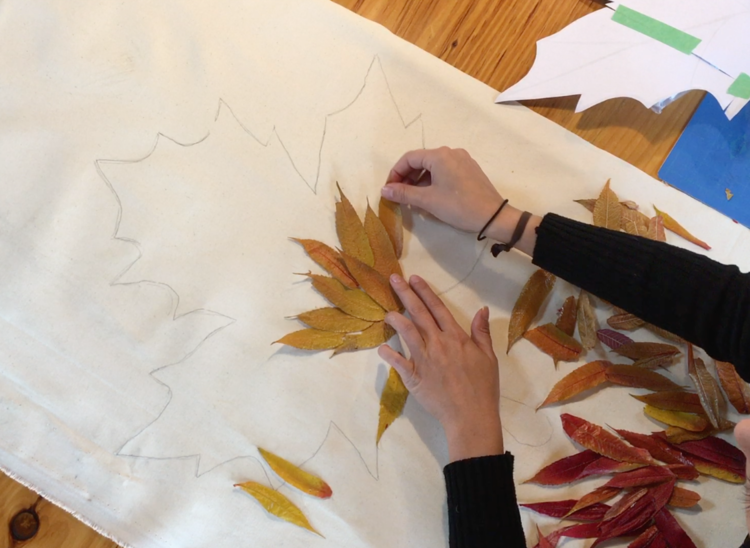
You can also cut out your image and trace it’s shape onto paper, fabric, canvas, or wood. Then fill the inside with collage material such as leaves to create a nature mosaic. Click here to see the tutorial.

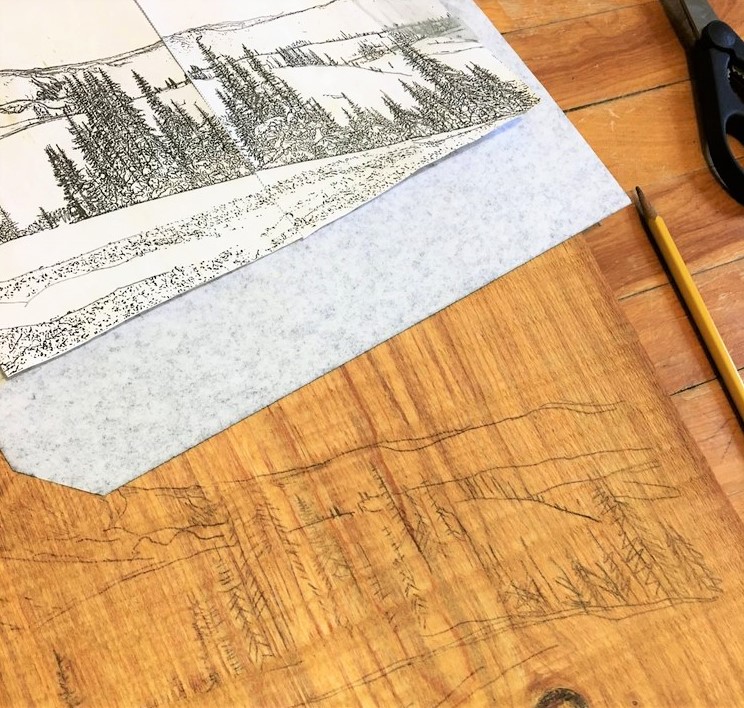
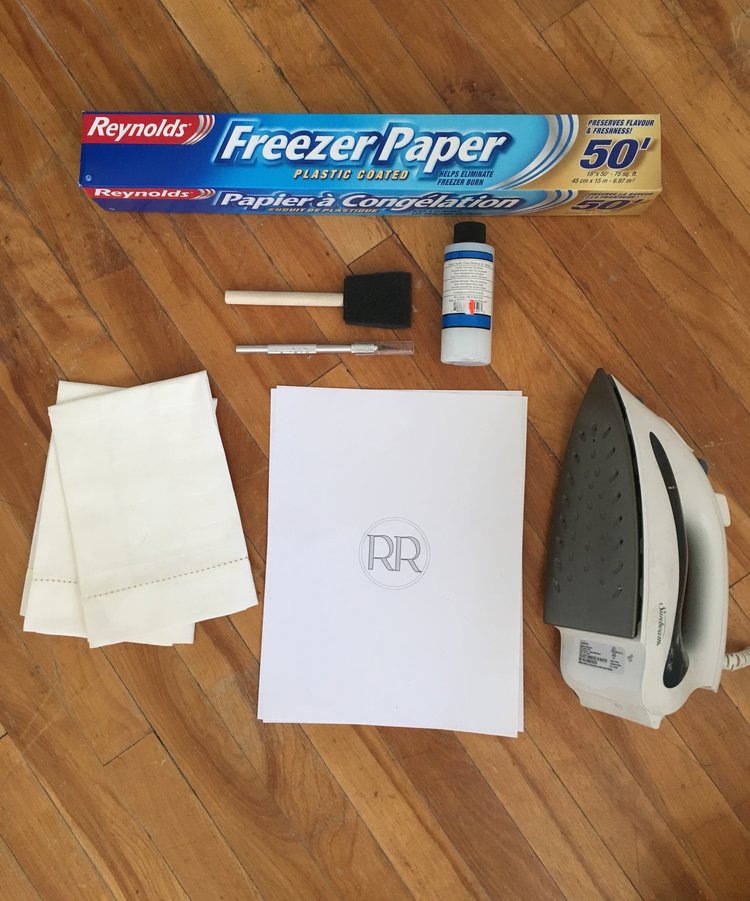
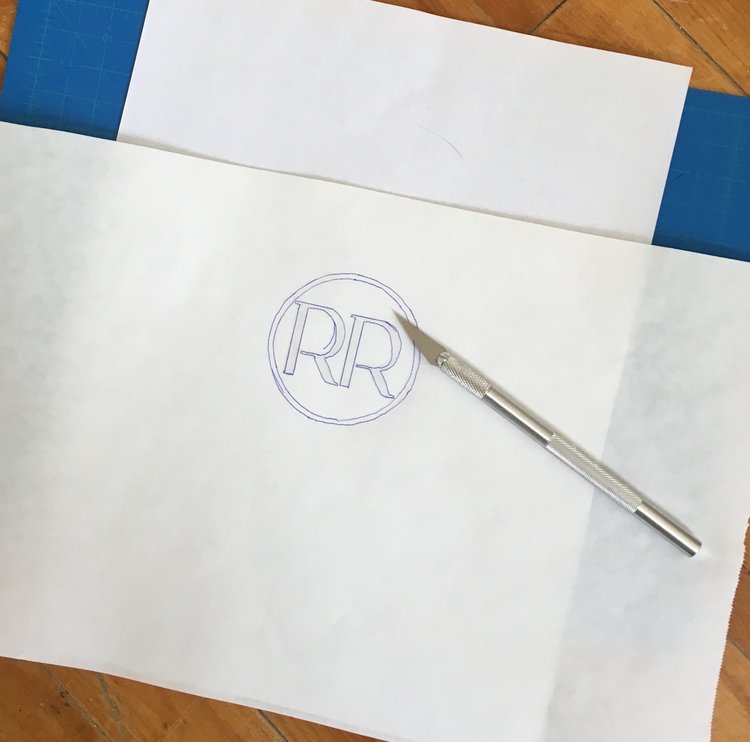
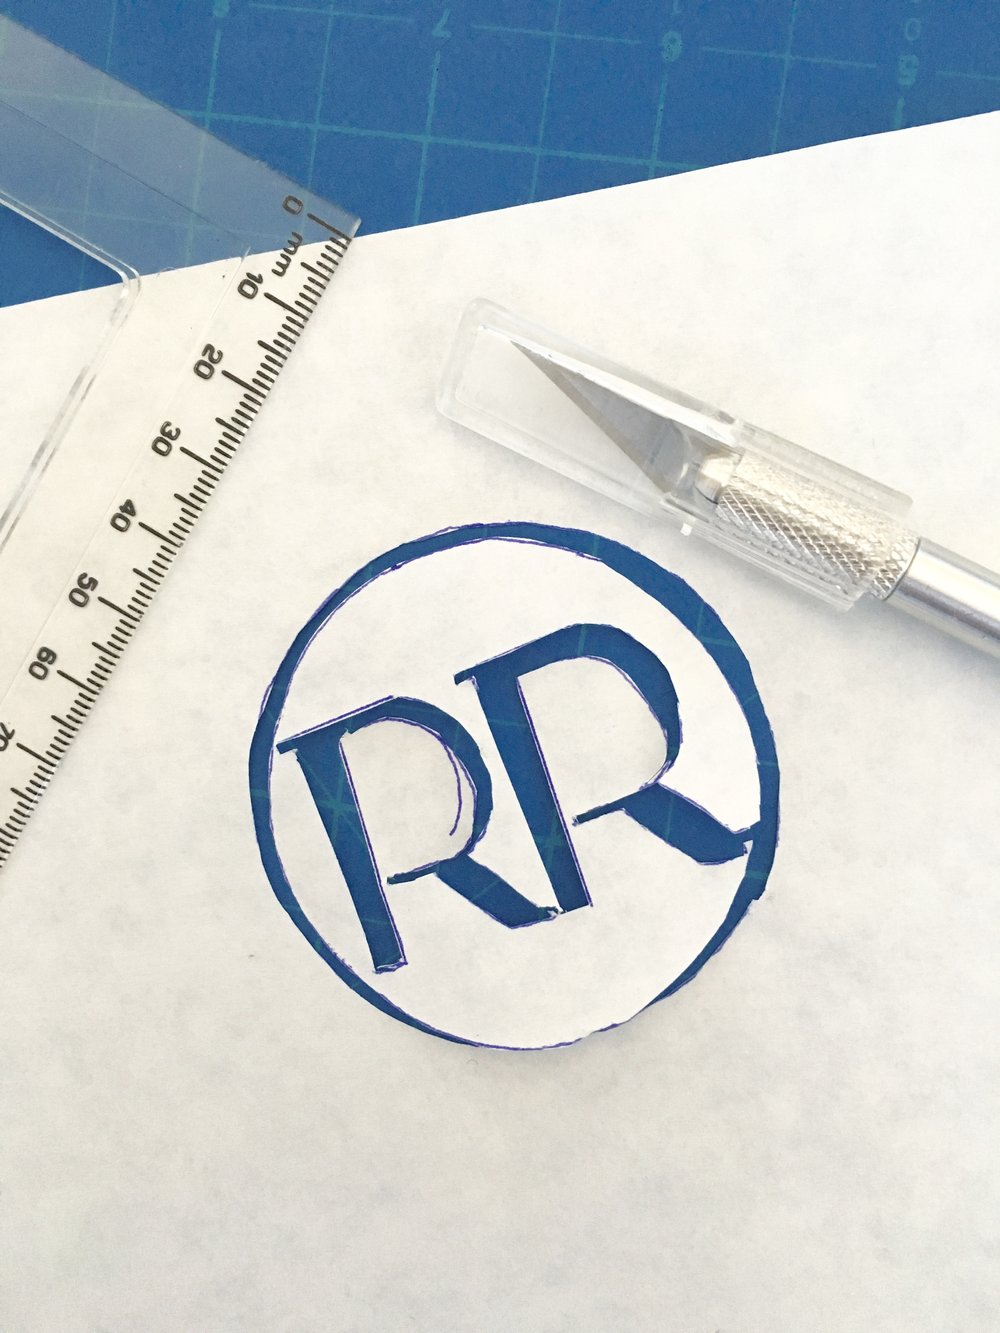
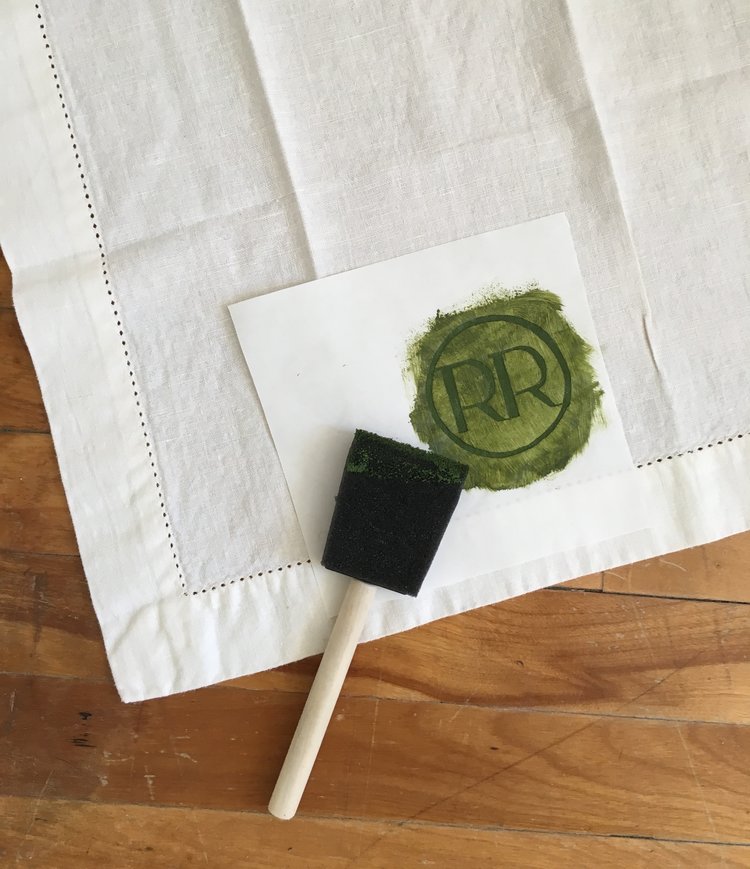
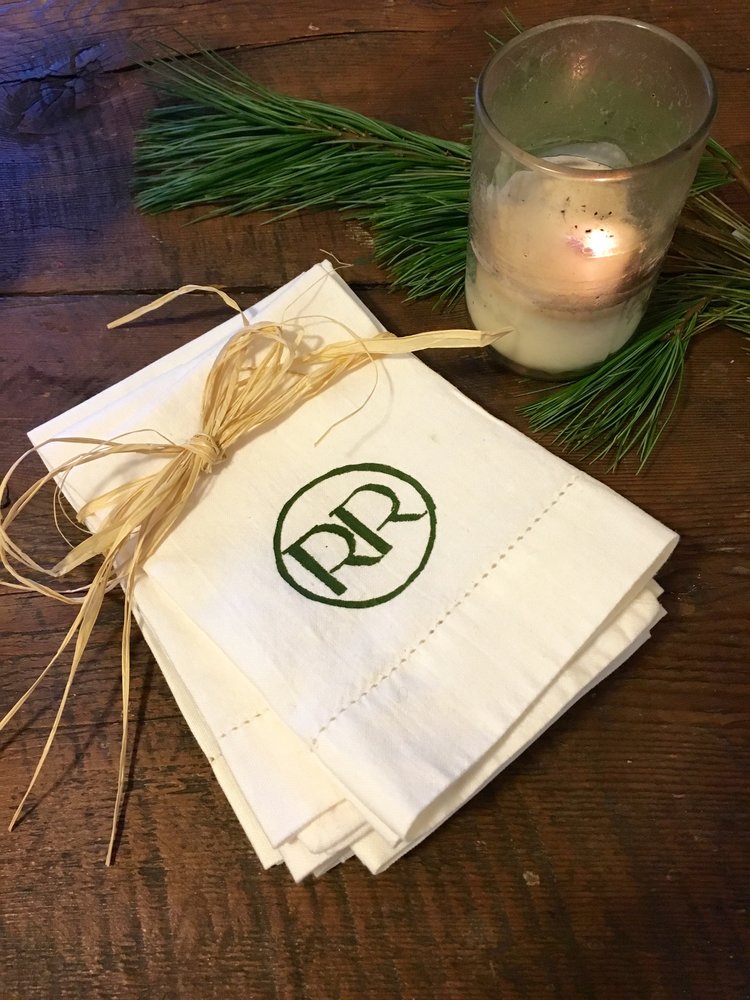
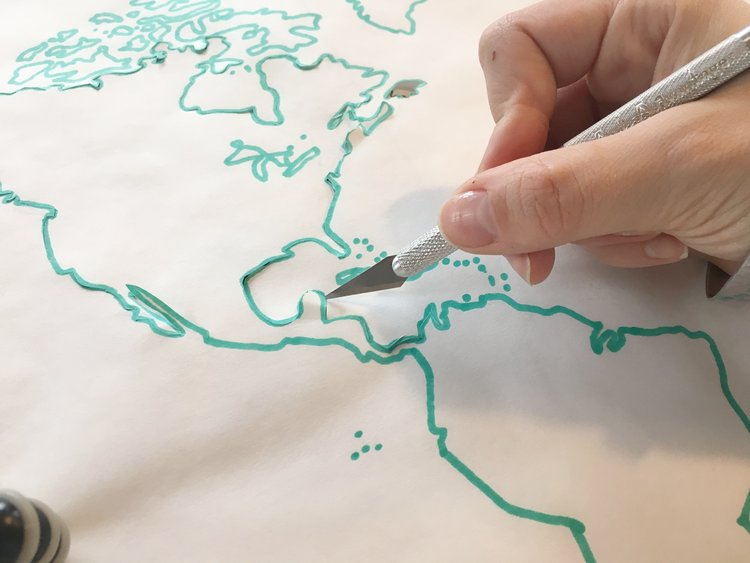
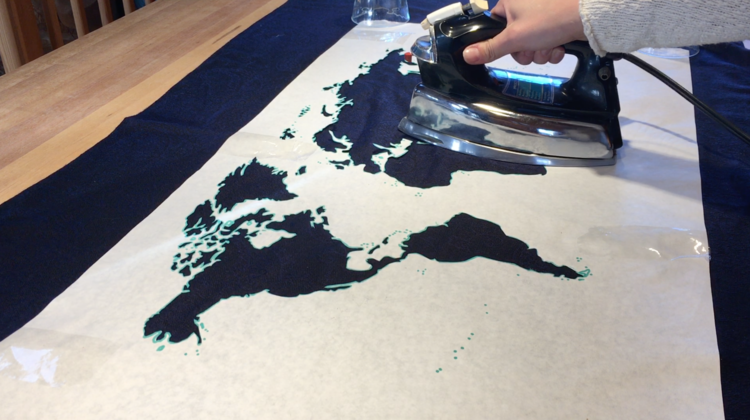
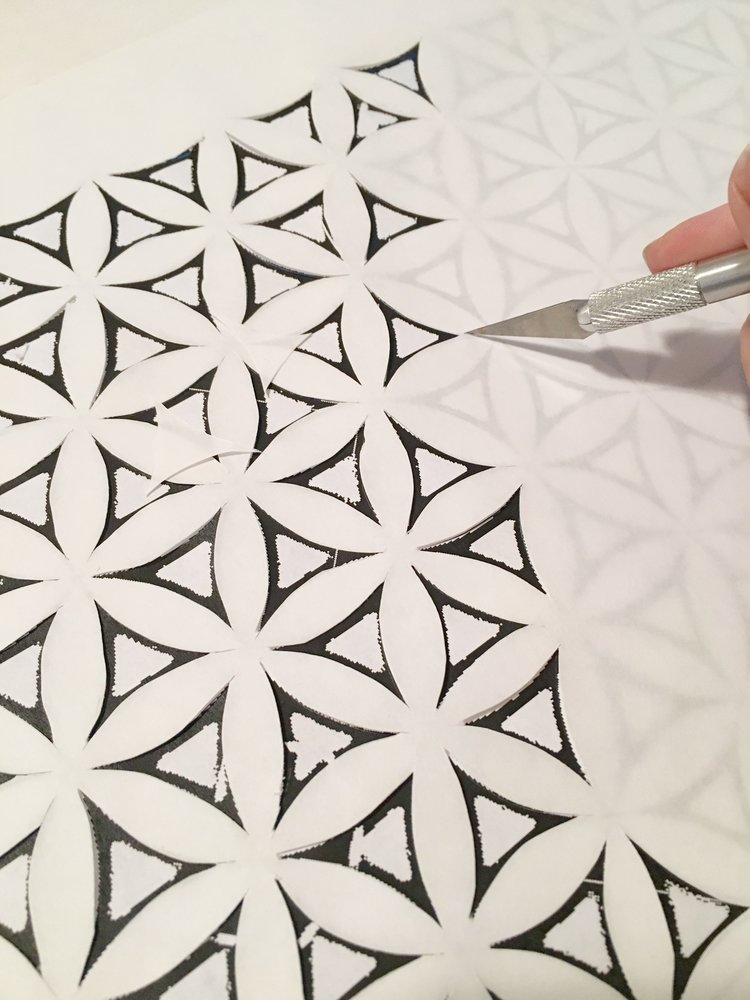
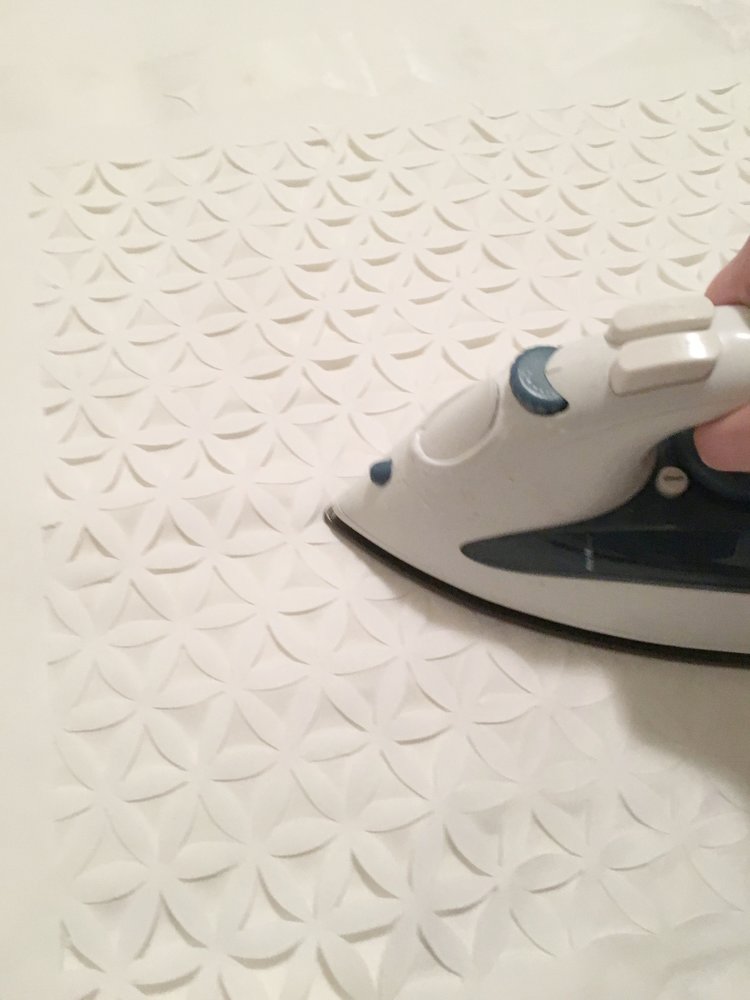
Transfer to Fabric
Place wax paper over your printout to trace your design and then cut out the shapes with an X-Acto knife. Use a clothing iron to adhere the wax paper to the fabric, and then decorate the fabric with paint and a sponge as shown in this monogram project. Click here to see the tutorial.
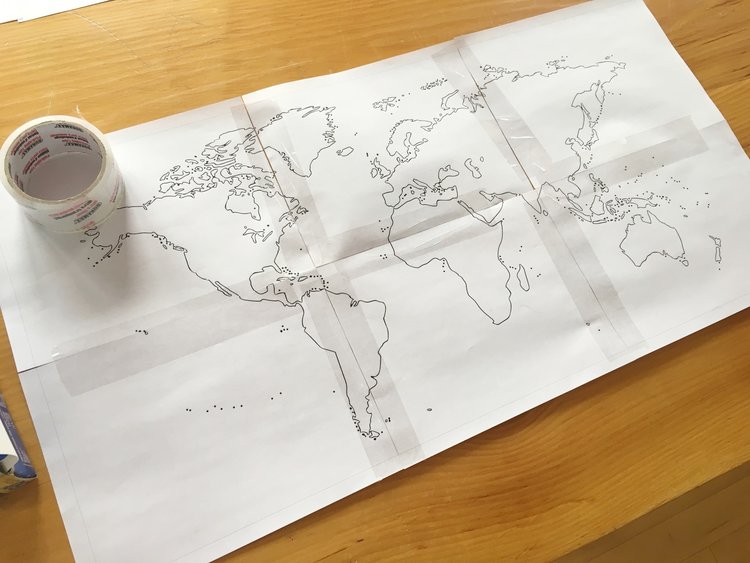
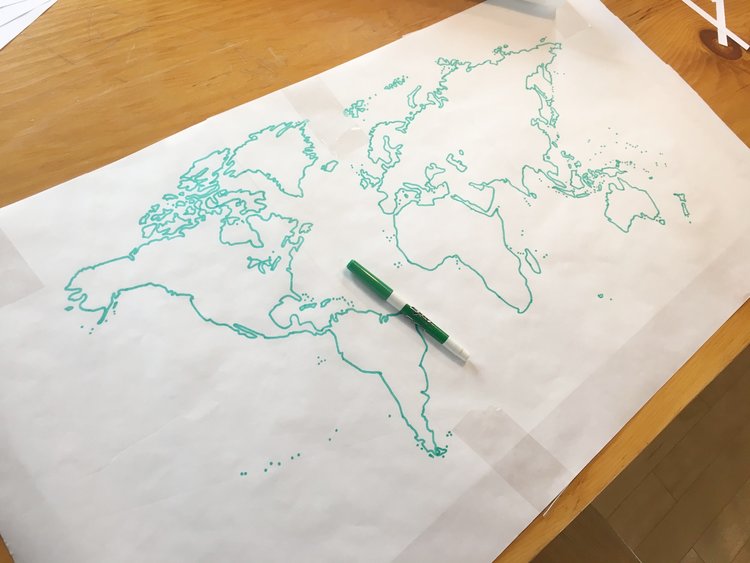
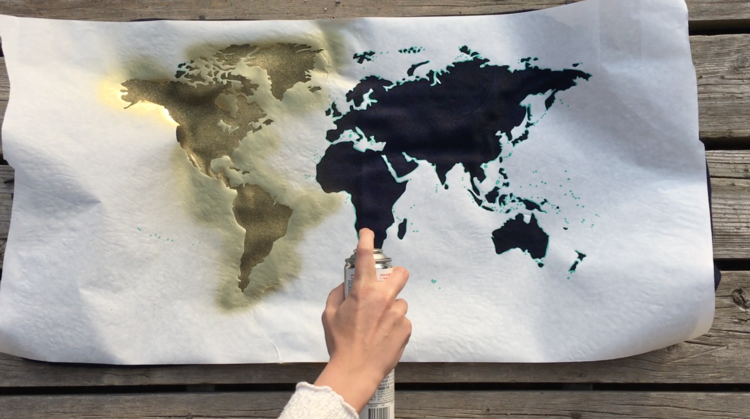
You can also use this technique with fabric and spray paint. Watch our tutorial here to learn how to transfer a world map to fabric using this method.

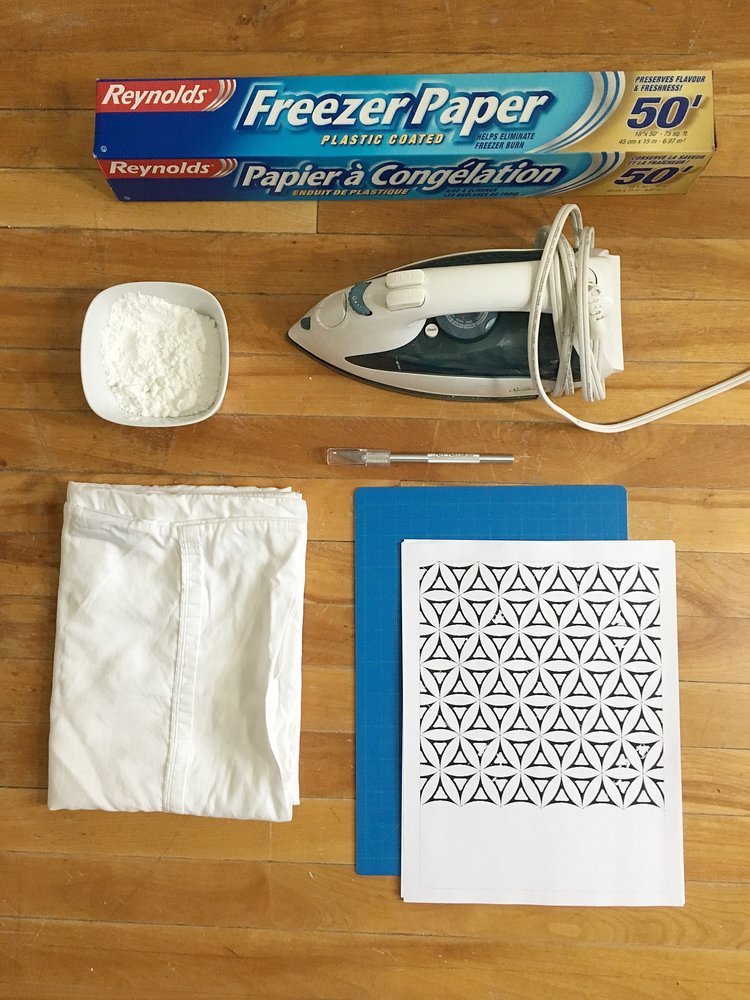
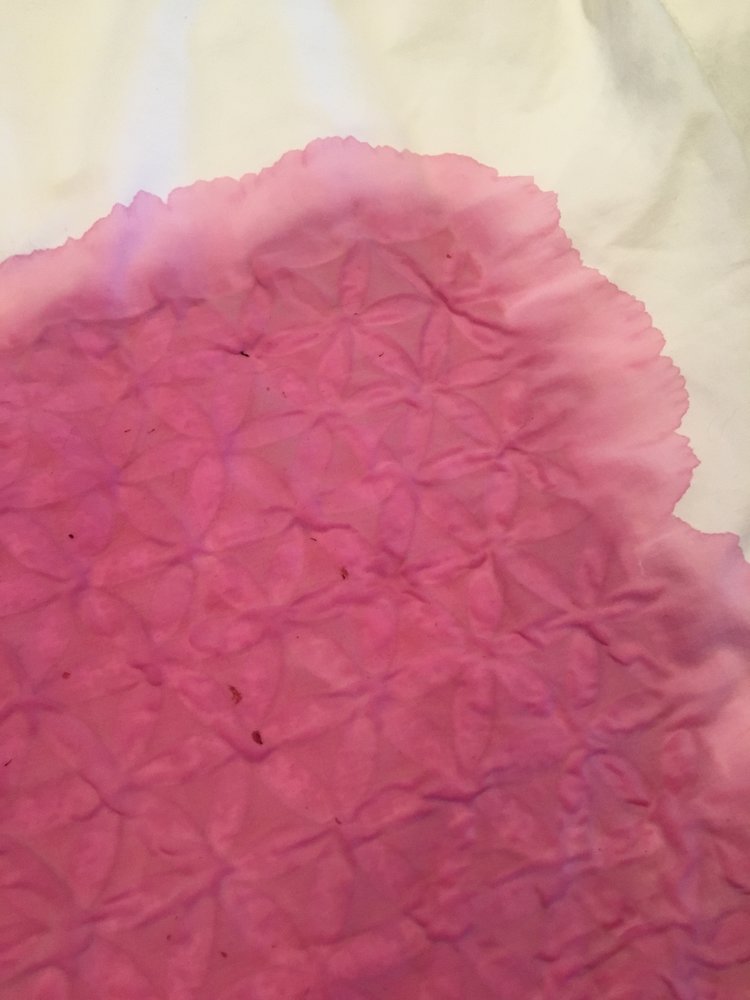
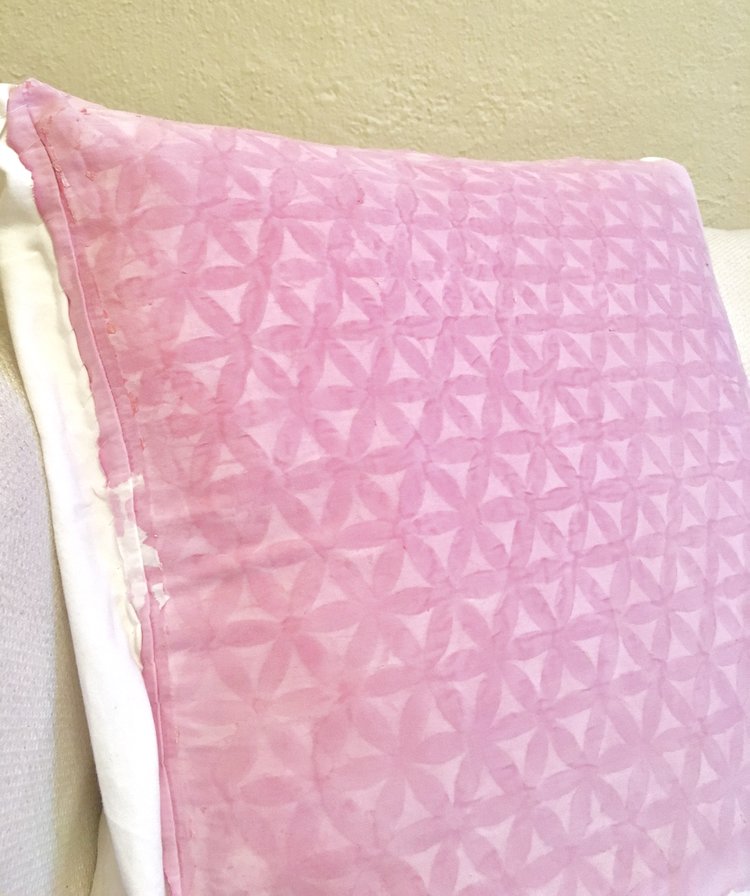
This method also works with dyeing fabric and you can watch our video about how to make this geometric design for a pillow. Click here for the tutorial.
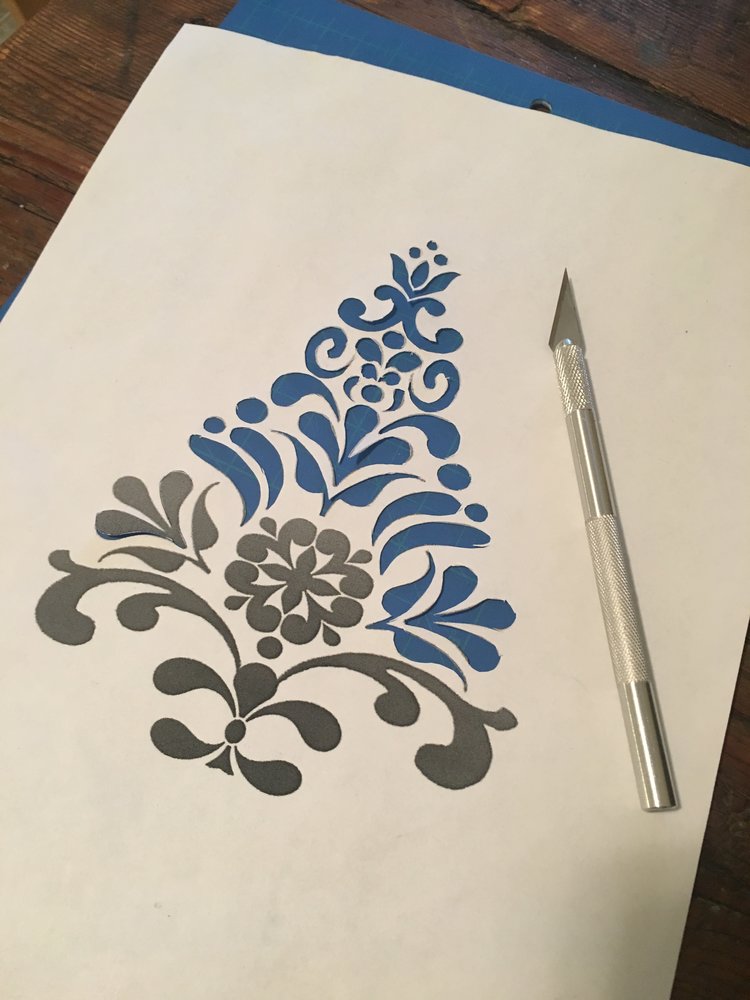
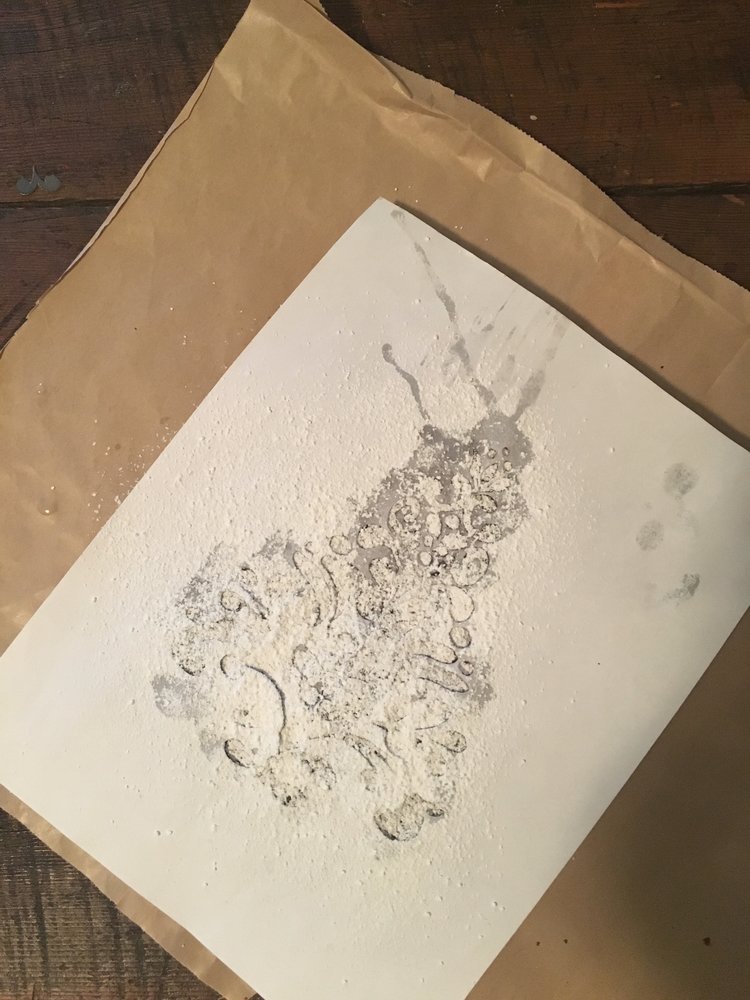
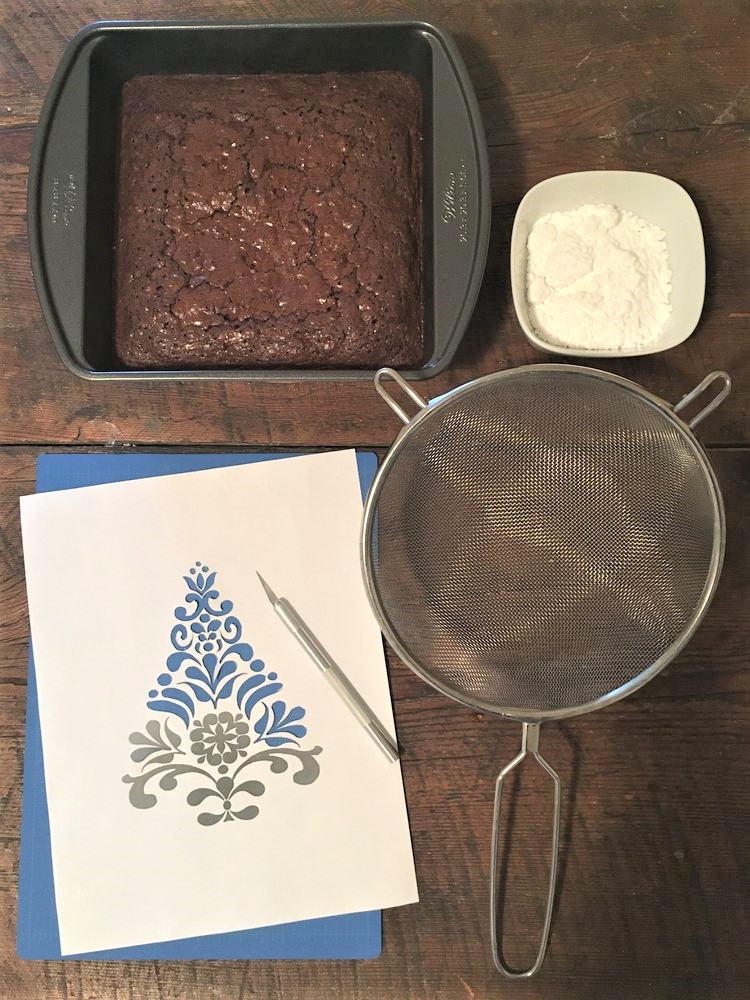
Cake Design
To transfer an image to a cake, cut out your design with an X-Acto knife and then place it on the cake. Sprinkle icing sugar over the stencil. Watch the tutorial here. Yum!

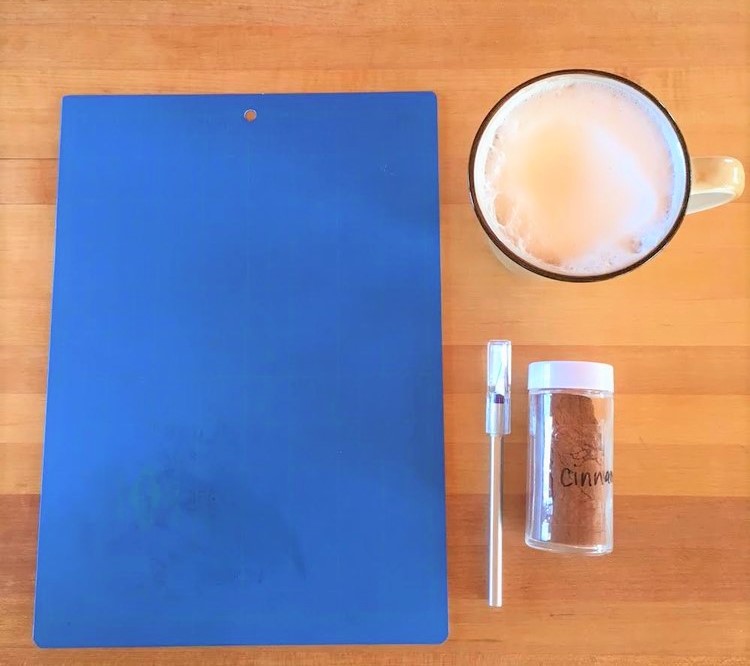
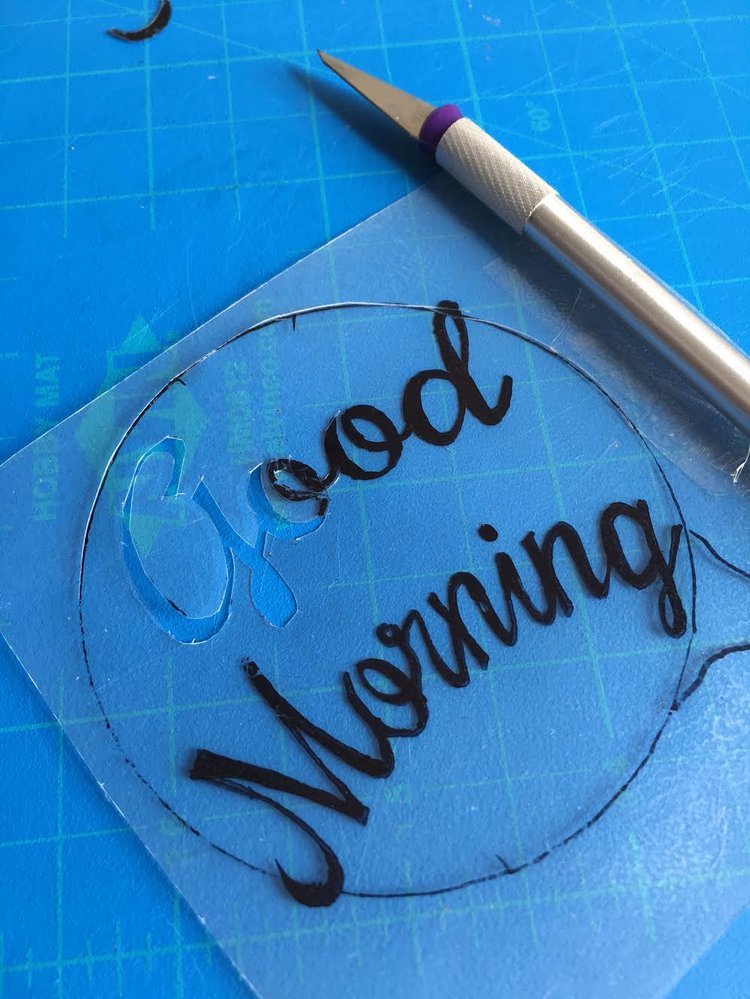
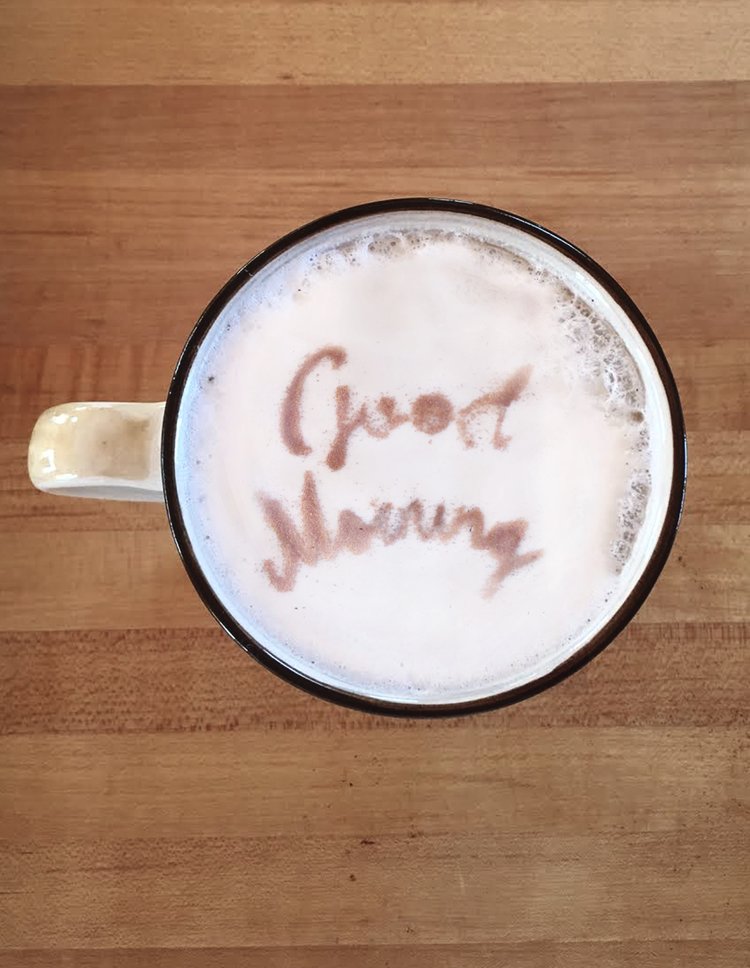
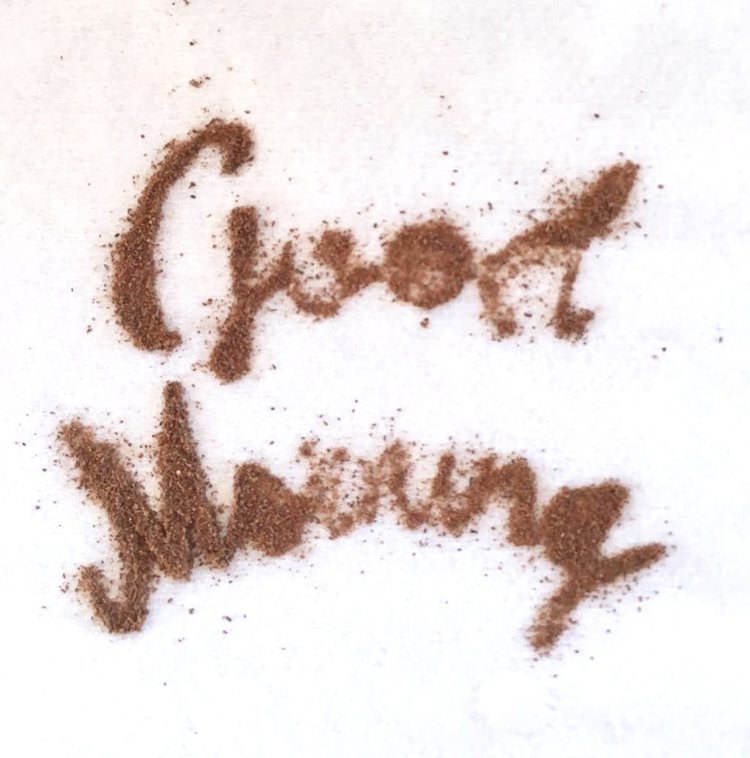
Latte Art
Transfer a stencil design to a latte by cutting your image out of plastic and holding it over the coffee. Sprinkle cinnamon or cocoa over the stencil after watching this tutorial.
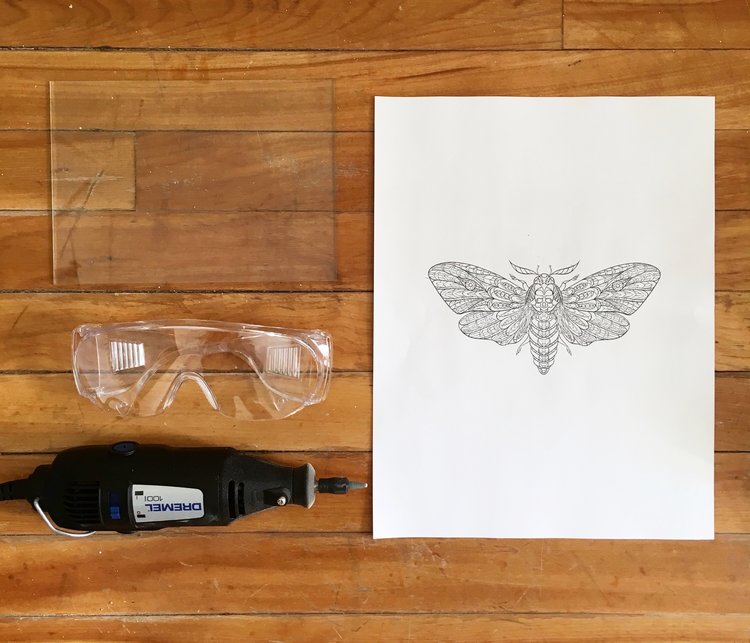
Dremel
If you are using a dremel on glass, place the paper printout of your image below the glass and so that you can trace it onto the glass. Learn more with this tutorial.

Also…
You may also be able to glue, pin, or clamp your paper pattern onto fabric or material.
Strong Reusable Stencils
Methods to make your pattern or stencil more durable:
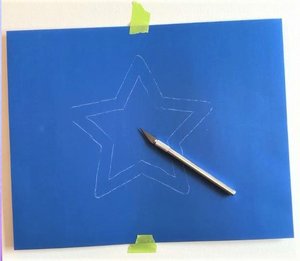
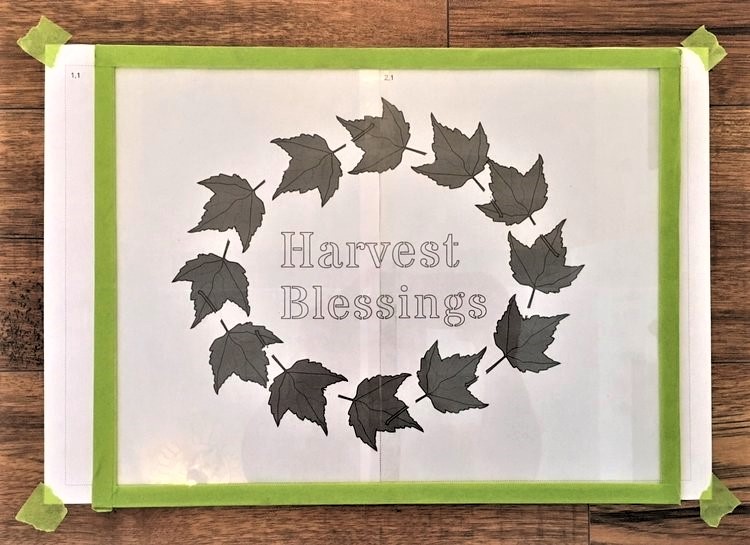
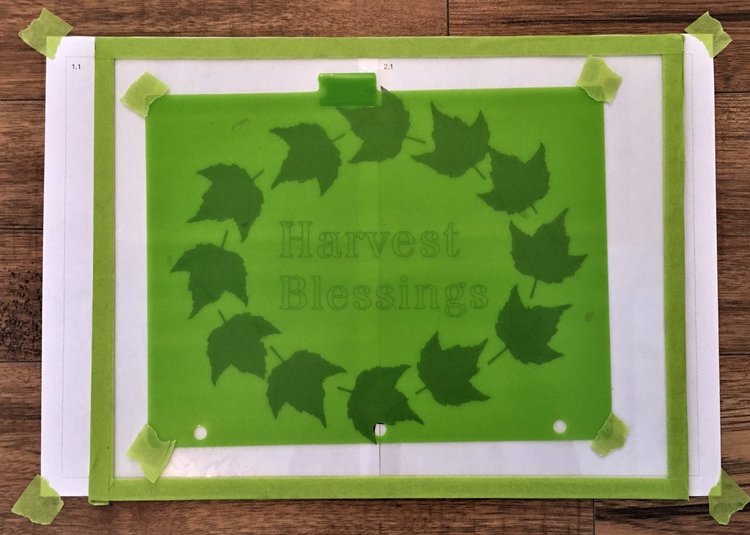
Mylar or Acetate sheets
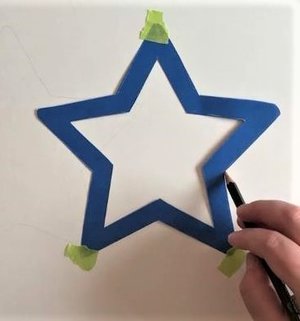
Print or trace your design onto paper and tape it to your work surface. Then place a pane of glass over it (you can get one from an old photo frame or picture frame from a thrift shop, just be sure to cover the edges of the glass in masking tape for safety). Tape the plastic sheet to the glass (thick mylar works the best but even a plastic divider from a binder will work)and then follow the lines of the design below the glass and cut it out with an X-Acto knife.
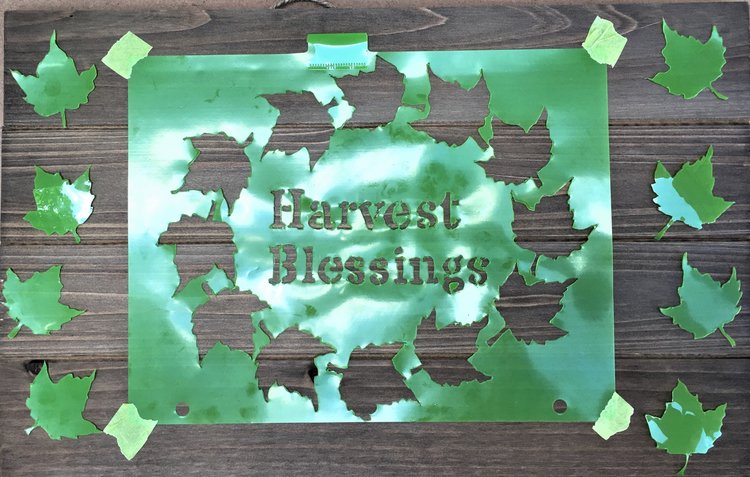
You can also use an electric stencil cutter or wood burning tool as long as you have good ventilation as the melted plastic will give off fumes. These tools will cut the stencil much more quickly but less accurately than a knife will. You can stencil designs on walls, floors, wood, canvas, paper, plastic, glass, paper, and fabric.
Learn more about this method and other transfer techniques in the short video on our blog.
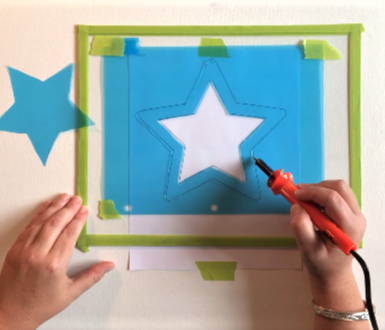
You can also use the method of using a wood burning tool with a plastic sheet to stencil lettering. See our tutorial about how to do so here.
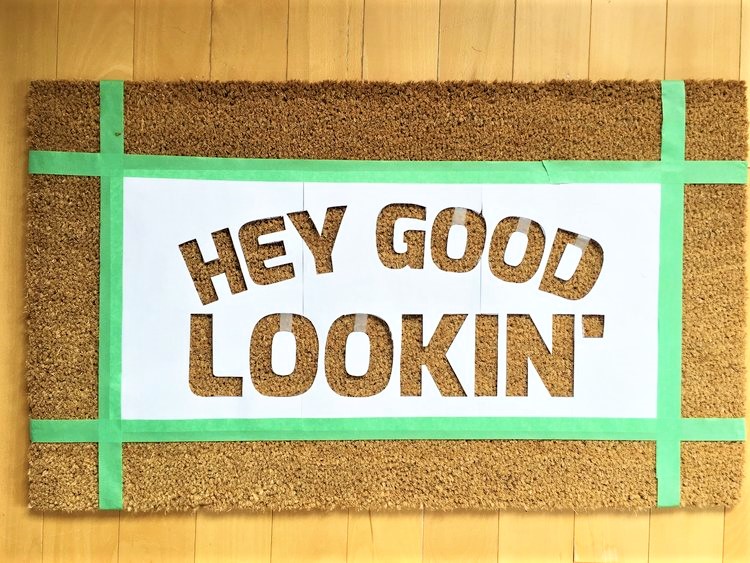
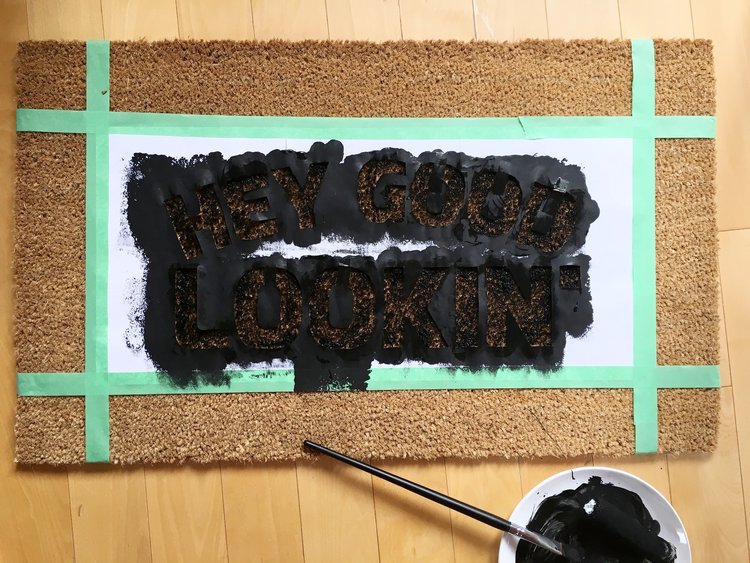
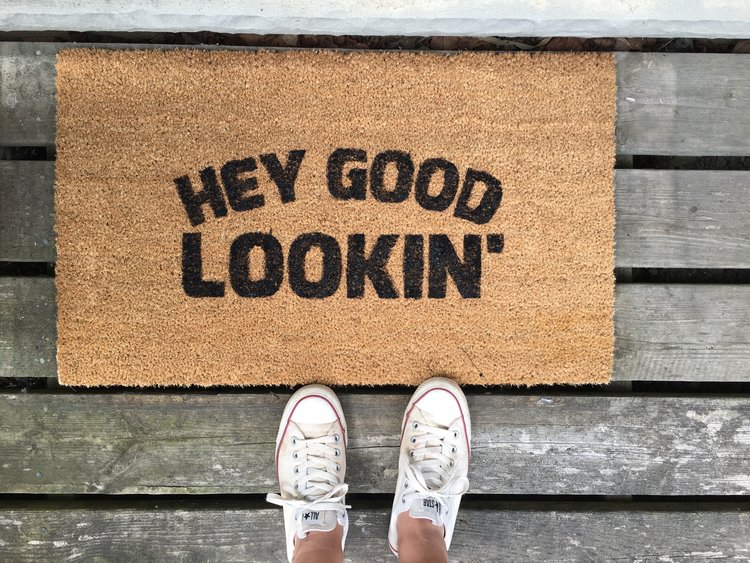
Cardboard/Bristolboard
Transfer your design using the graphite paper method (or cover the back of the printout with chalk or pencil shading) by tracing it onto the cardboard/bristol board. Then cut the design out with an X-Acto knife. Works with paint or spray paint. Watch the tutorial here.

If you have any other tips or techniques for transferring images please let us know. And we would love to hear how these methods turned out for you so please share if you like.
Happy Transferring!
~Melissa